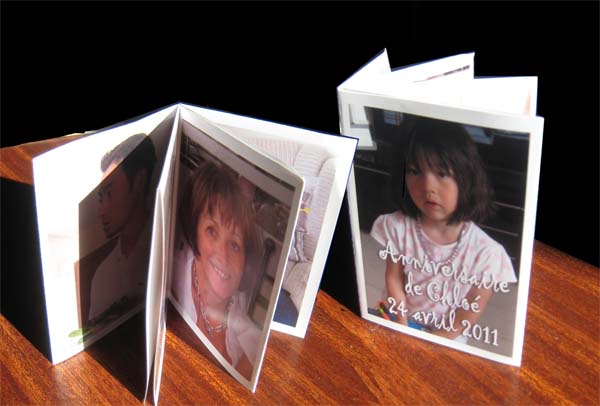
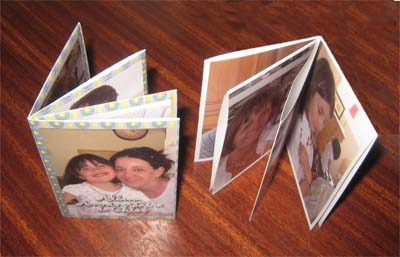
MINI PHOTO ALBUM FOLDING: 8 PAGES
SETTING UP THE PHOTOS (3)
You arrive at the last page dedicated to the 8-pages photo mini-album obtained by folding an A4 sheet....
The first page was dedicated to folding the sheet and the second one showed you how to build the photo grid of this mini-book....
Today we are placing our photos! Finally!!!!!
As mentioned before, we will work with PHOTOSHOP... but you can use your usual image processing software: PHOTOFILTER, PAINT SHOP PRO or PHOTOIMPACT, their functions are all similar!
 Before we begin....
Your mini-book-picture book has 8 small pages... so you need 8 photos that you will group together in the same folder, which will avoid coming and going on your hard disk.
For me, I have created the "WORK" directory in which I have placed my photos and the "A4 GRID" which I use to arrange them.
 Crop your photos....
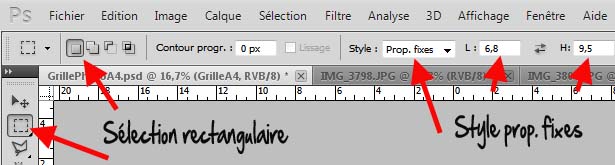
Your photos must fit in 9.5x6.4cm boxes... so the first job will be to eventually crop your photos... You probably only want portraits? Use the Rectangular Selection tool of photoshop or the Crop tool.
A tip: to crop the photos with the Rectangular Selection tool, I chose, in the options menu of this tool, the style Fixed proportions with L=6.4 and H=9.5. Thus, my selections will be proportional to these values... and "fit" well into the grid boxes!
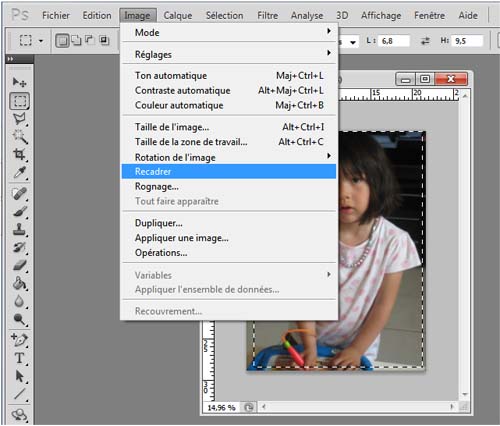
- Open the photos one after the other....
- Select the useful part (don't worry about the actual dimensions) then do Image>Crop.
Your photo now has the right proportions.
All your photos remain open in photoshop, ready to be placed in the A4 grid.
 Placing the photos
Now open your file GrillePhotoA4.psd and, perform: Image>Image rotation>90° hourly. This will simplify the placement of images.
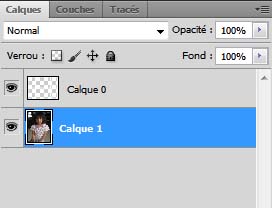
Check, in the layers window, that your image is in layer 0... otherwise, rename the layer.
Drag the first cropped image to PhotoGridA4 :
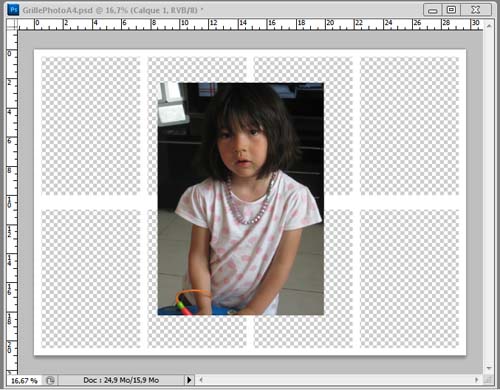
A new layer appears in the layer window: layer 1.
Click on this layer, hold the click and drag it under layer 0
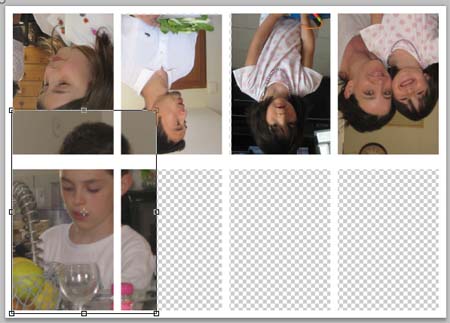
Your first image is now UNDER the grid.... All that remains is to resize and place it. Take the moving tool.
Perform CTRL+T: the resizing handles appear: Hold down the SHIFT key and pull the handles to change the image size. Leave it a little larger than a square on the grid!
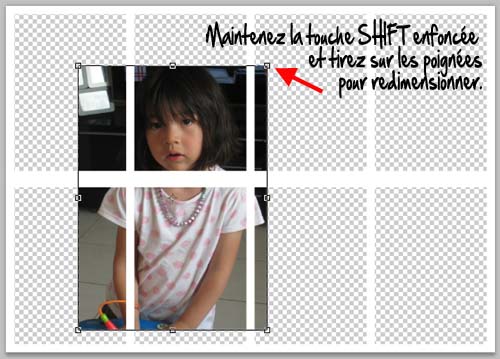
When you are finished, move the image to its location.... It's over for this image!
You still have to finish the bottom row.... Before returning the image by: Image>Rotation of the image>180° and place your second row of photos....
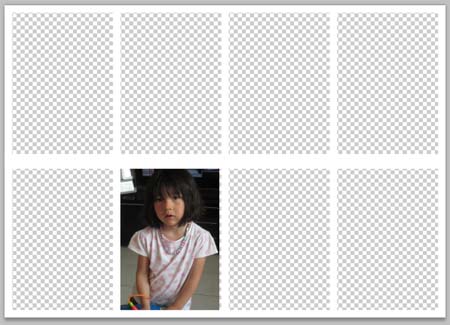
In this image, the first photo is being resized.
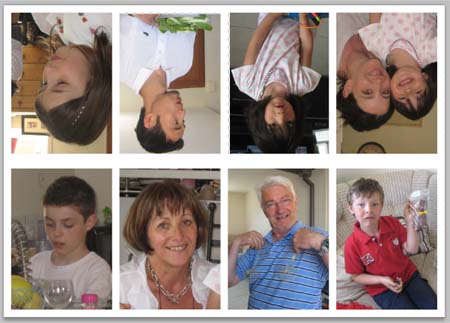
Complete the placement of your images... before printing your photo plate.
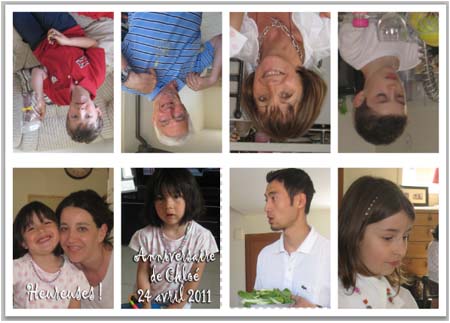
3) Add titles and journaling....
If you wish, locate page 1 and page 8.... (see map HERE) and add a title, a date... in short everything that personalizes your work!
4) Print your work
If possible, print without additional margins your PhotoGridA4 on glossy photo paper.... Then do the folding and... browse through your mini-book!
This mini-book has been printed on glossy photo paper in A4 format: 21x29.7cm