The right tools to frame an artwork
Where to find them?
At first, to start a picture frame activity, you don't need much equipment ... you already have it at home ! You can make your first framing work without having anything to buy!
But later, you will upgrade gradually : the equipment is not particularly expensive apart from the inevitable LOGAN or MAPED cutting ruler (or equivalent) virtually indispensable for cutting 45 ° bevels ... You must take that into account from the outset not to buy equipment that would be useless thereafter.
I give you here the list of what seems absolutely necessary, you may complete it thereafter according to your experimence.
We find this material in all supply stores or framing shops (the "Couleurs du Temps" for example).
 Cutting cardboard
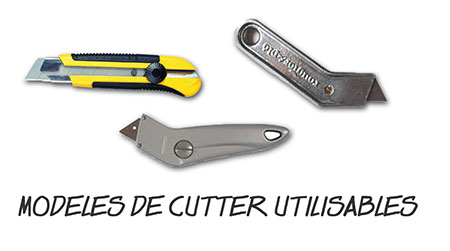
![]() The cutter: a robust cutter with breakable blades will do the job.
The cutter: a robust cutter with breakable blades will do the job.
If you want to equip yourself : buy at the framing store an aluminum cutter with interchangeable blades : it is perfect to heavy cuts! Its special design helps you to cut in a precise way the thickest paperboards. See Here for a MAPED cutter heavy duty use specially designed for framing work...
![]() The ruler: At the beginning, a good flat aluminum ruler is sufficient ... It serves to maintain the cardboard in place and guide the blade during the cutting.
The ruler: At the beginning, a good flat aluminum ruler is sufficient ... It serves to maintain the cardboard in place and guide the blade during the cutting.
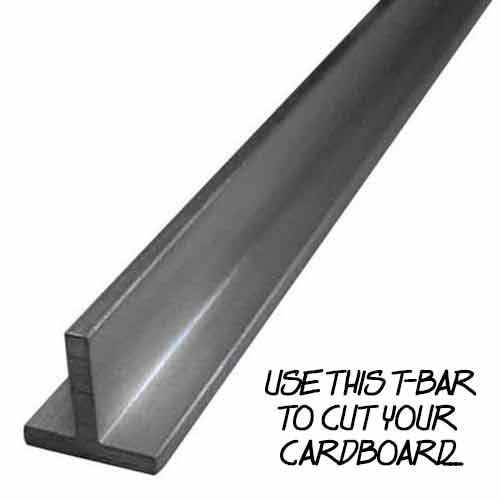
It must be heavy. It may also be a piece of angle iron or steel T bar under which you have glued a thin neoprene seal (sealing window)... or a good big aluminum ruler for picture framers (see supply stores like "Eclat de Verre") which will cost about 50$.
![]() The mat-cutter. Later, particularly for more comfortable cutting bevels to 45 degrees, you should buy a LOGAN 301S MAT CUTTER (or better a MAPED one but it's difficult to find it in USA), on which you put an inclined sliding blade-holder cutter (see the bevel to 45 °).
The mat-cutter. Later, particularly for more comfortable cutting bevels to 45 degrees, you should buy a LOGAN 301S MAT CUTTER (or better a MAPED one but it's difficult to find it in USA), on which you put an inclined sliding blade-holder cutter (see the bevel to 45 °).
We prefer the MAPED mat-cutter because it is able to cut large thicknesses of cardboard (4 to 5 mm) which cannot be done by the LOGAN mat-cutter which is more specialised in cutting laminated cardboards (1 to 2 mm).
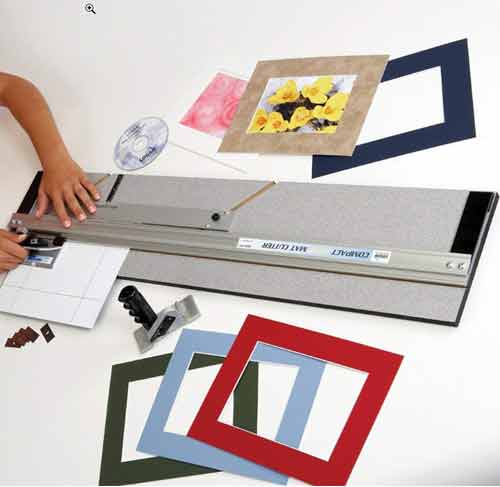
In USA ou UK you have LOGAN mat-cutters... The best model for a home picture framing DIY : LOGAN 350-1. These mat cutters are used by all those who, directly or indirectly practice picture framing.
They are quite expensive (around $110 for 301S model), but quickly becomes indispensable.
![]() Scissors.
Scissors.
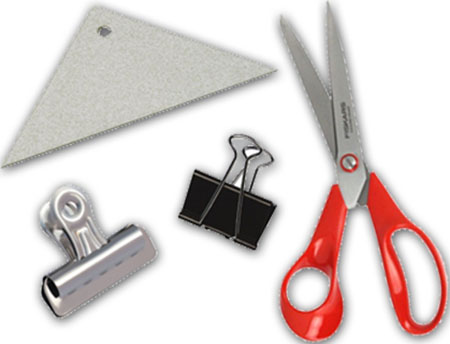
Clamps and clips: as on the photo above: they will be useful to maintain and tight elements of the package during the glue drying.
 Tracing on cardboard
You certainly have at home all this small material... except maybe the bone folder... and compass ...
![]() A square with 45° angle : assembling and dressing bevels require precision cuts. The metal model is ideal because you can cut the cardboard with it by taking it as a guide. A square of plastic school may be useful at first.
A square with 45° angle : assembling and dressing bevels require precision cuts. The metal model is ideal because you can cut the cardboard with it by taking it as a guide. A square of plastic school may be useful at first.
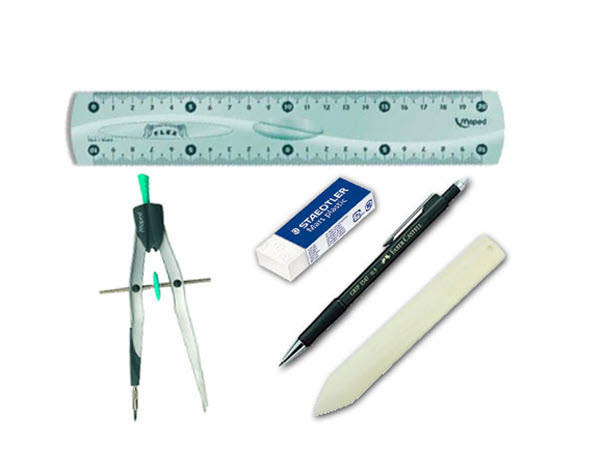
![]() A double decimeter schoolboy ... make sure it is not graduated to half a millimeter (when the graduations are too close together, it quickly becomes unreadable!)
A double decimeter schoolboy ... make sure it is not graduated to half a millimeter (when the graduations are too close together, it quickly becomes unreadable!)
![]() A steel graduated ruler it does not replace the double decimetre ... He is used as a cutting jig when opening windows in the making of mats and bevels. Its width is 3cm.
A steel graduated ruler it does not replace the double decimetre ... He is used as a cutting jig when opening windows in the making of mats and bevels. Its width is 3cm.
![]() A pencil or 0.5 and an eraser (HB grade for pencil leads , do not take fat pencil leads, they could smear your work).
A pencil or 0.5 and an eraser (HB grade for pencil leads , do not take fat pencil leads, they could smear your work).
![]() A bone folder: sort of plastic plate or bone used to mark the folds and fold the paper in the packing.
A bone folder: sort of plastic plate or bone used to mark the folds and fold the paper in the packing.
![]() A good compass is also very useful. It is mainly used to see distances, especially in the delineation of margins of the mat. A simple and robust one is always enough. The better model for framing : adjustable steel leather compass you can find HERE...
A good compass is also very useful. It is mainly used to see distances, especially in the delineation of margins of the mat. A simple and robust one is always enough. The better model for framing : adjustable steel leather compass you can find HERE...
 Assembling the elements
![]() A pot of glue, take a white vinyl glue pot. Ensure that the pH is neutral (acid-free scrapbookers say) to avoid damage to fragile items and documents.
A pot of glue, take a white vinyl glue pot. Ensure that the pH is neutral (acid-free scrapbookers say) to avoid damage to fragile items and documents.
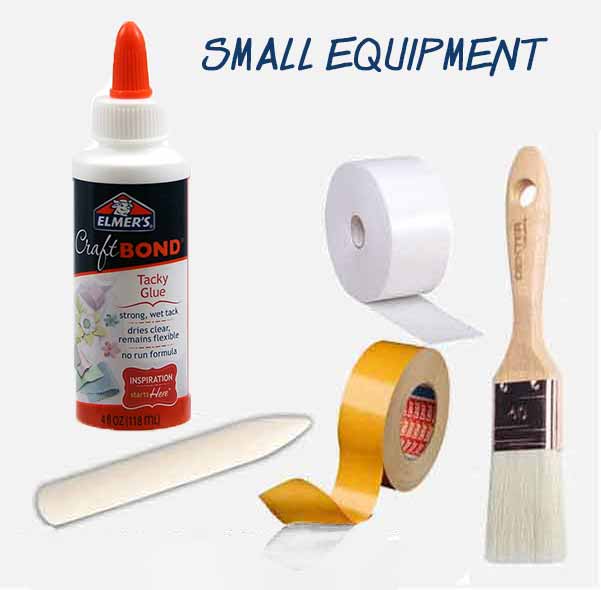
Remember the small flat brush to spread it ... We also obtained good results with a small brush for "rechampis" (round brush tip)
![]() A roll of kraft gummed tape: who will be primarily used to make the "package" final.
A roll of kraft gummed tape: who will be primarily used to make the "package" final.
![]() Double-sided tape.
Double-sided tape.
 Miscelleanous
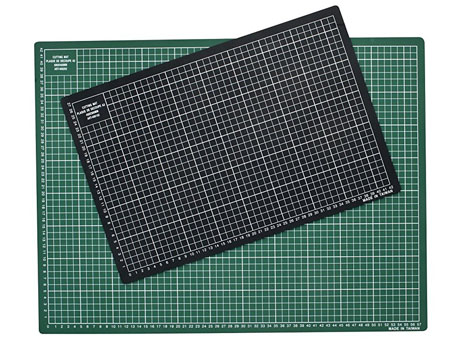
![]() A cutting mat : it's magic! You cut with a cutter a cardboard placed on it ... the blade penetrates the cutting mat ... that self-heals when the work is done! See here ! Only limitation: do not cut at 45° on this mat... you could seriously damage it, only cuts at 90°!
A cutting mat : it's magic! You cut with a cutter a cardboard placed on it ... the blade penetrates the cutting mat ... that self-heals when the work is done! See here ! Only limitation: do not cut at 45° on this mat... you could seriously damage it, only cuts at 90°!
Some "paper towel" ... a clean sponge ...
It's all... You're ready to start your framing activity !
I especially recommend this book :
Mat, Mount and Frame It Yourself
David Logan
Now it’s easier than ever to save time and money doing your own framing at home.
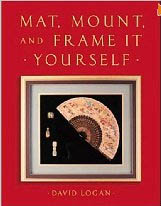
(click for +)
This demonstrates how easy it is to mat, mount, and frame art on paper and cloth, as well as three-dimensional objects. Readers will discover, step by step...
The best !
Home Book of
Picture Framing
by Ken Oberreicht
Excellent home book!
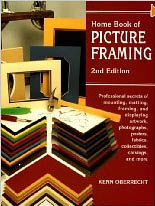
(Click for +)
This home Book of Picture Framing is the most comprehensive guide to mounting, matting, and framing oil paintings, watercolors, posters, photographs, calendar pages, and greeting cards without spending a fortune...