MAKE a TWO HEARTS
WOODEN PICTURE FRAME !
It was very “hype” around the Twenties… and that returns furiosly in the mode! I thus propose a nostalgic return in the past with this 2 hearts-frame…
Perfect for two small portraits… and it can stand alone on the desk : then adopt it because it is not quite difficult to build ! A few supplies, patience and care will be enough for you to conclude its realization.
 The material
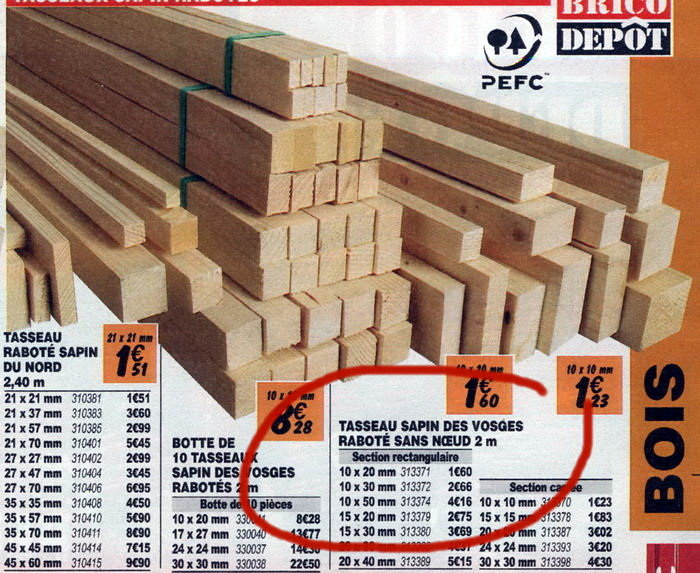
- 4 lengths of 28cm of pine stripwood 2"x0.4"
- 4 lengths of 28cm of pine stripwood 1.25"x0.4"
- stripwood 0.4"x0.4" on demand (see HERE)
- 2 small hinges.
- fast woodworking glue, clear oak dyeing or lasure
- two glass pane on demand (possibly)
- two pieces of strong paperboard (backing of the photo support)
A jigsaw to cut out the 2 hearts (you can find of them, low cost, guaranteed 1 year… for less 20$ in your local hard store ... and which works fine).
 Cut out strips
Although that is not essential, it is to better to work with the picture framer saw provided with his adjustable stop block.
Thus regulate the stop to 11.2" : that will enable you to cut out your stripwoods exactly the same length.
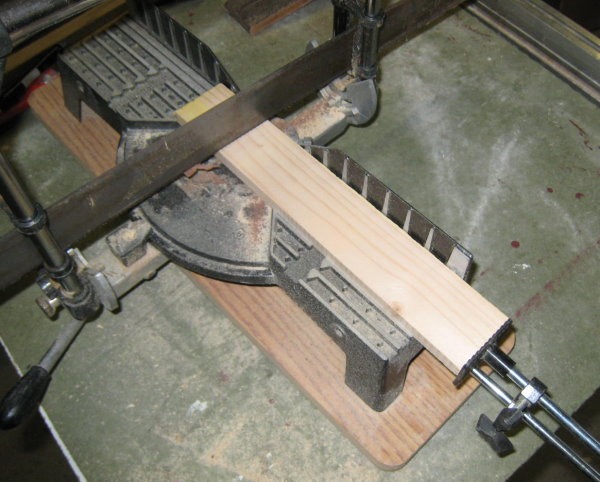
Thus cut 4 lengths in the 2"x0.4" and 4 lengths identical in the 1.25"x0.4".
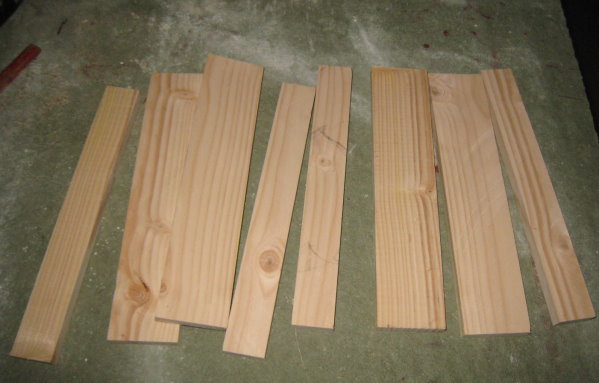
When these pieces are cut, dry-assemble front of you to check before joining.
 Assembly of the pieces
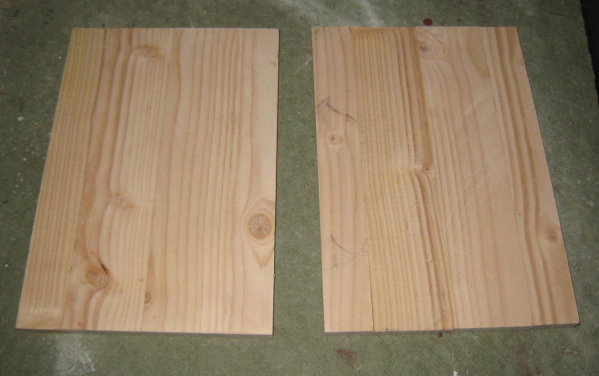
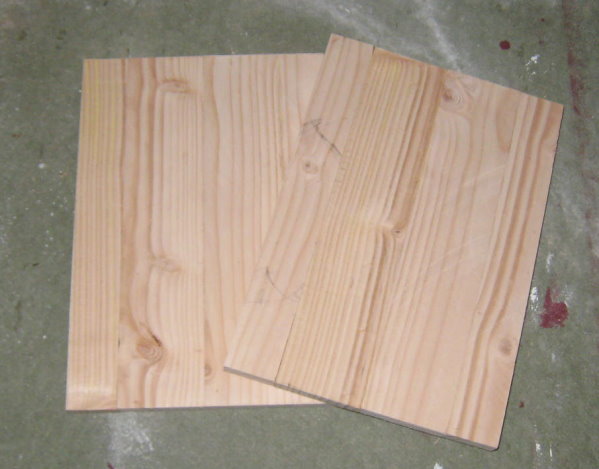
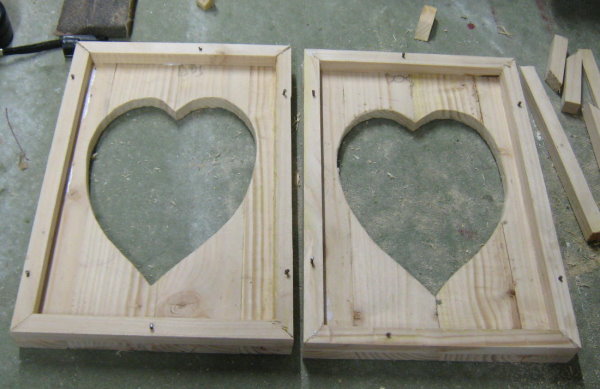
Paste the edges of the pieces and assemble to form two identical mini-panels which will measure 11.2" length on 6.4 width. Check the good alignment of the strips as long as the adhesive is not dry.
Each mini-panel consists of two stripwood of 2" with, on each side two of 1.25" which frame them.
Tighten the assemblies - with screw clamps - or any other manner with your suitability and let dry a few hours (the best is a night if your glue is not a fast adhesive one).
These modern wood glues are extremely resistant once dry and you can paste panels by their edges without fearing to see them thereafter dissociating by handling with no care.
 Layout and cutting of the 2 hearts
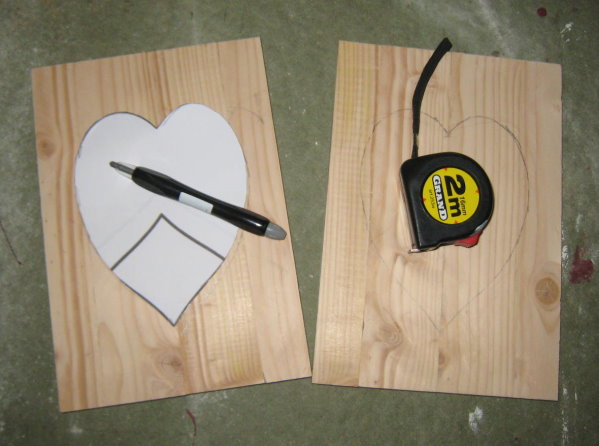
I propose you to download the gauge of hearts which I used for this example. You can print it on a A4 sheet and cut out it. Choose same measurements like me for the panels, it is perfectly appropriate.
Put the heart on the first panel and draw around edges. Repeat the operation for the second panel.
With a drilling machine and a 8mm bit, drill 2 holes along the cutting of the hearts to be able to pass the blade of the jigsaw. Saw following the drawing.
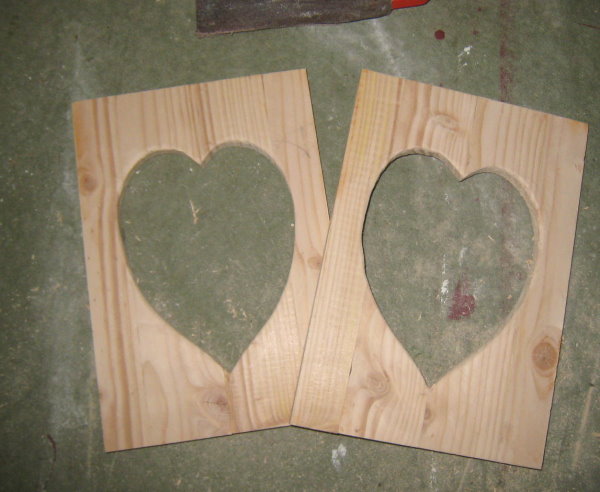
Cutting causes small slivers. So, you will have to sand them, initially with a coarse sandpaper (80) then with finer (120 for example) to obtain quite smooth edges.
 Work on the back of the panels
You now will pose on the back the stripwood 0.4x0.4. to strengthen the panels and to be able to fix a backing board and, also, a pane of protection for our photos..
For that, cut out in the strip 0.4x0.4 lengths with mitre ends to double the external edge of the panels. Paste these lengths.
So as to tighten more the strips during the drying, I hammered incompletely inserted nails you can see on the photograph. They will be removed after drying.
This edges also give somes“thickness” to your openwork panels.
 How to finish the 2 hearts frame
The completion of a picture frame is a very personal business. According to your interior and of your tastes you will choose that which is best adapted.
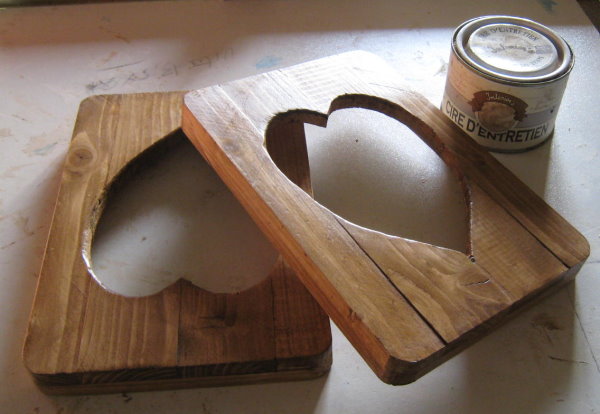
Rather than to paint (but it is perfectly possible) these frames in "broken" white… I preferred this time to treat them like old wood.
I thus stained them with a remainder of "dark oak" dye then I applied, after drying of the color, the INTERIOR'S special wax which gives to wood this inimitable tone and this special color which characterize the old English pieces of furniture in waxed pine . Once the wax dries… I rubbed with a steel wool what immediately gave this glossed aspect that I sought. One second layer of wax rubbed with a rag once dries.
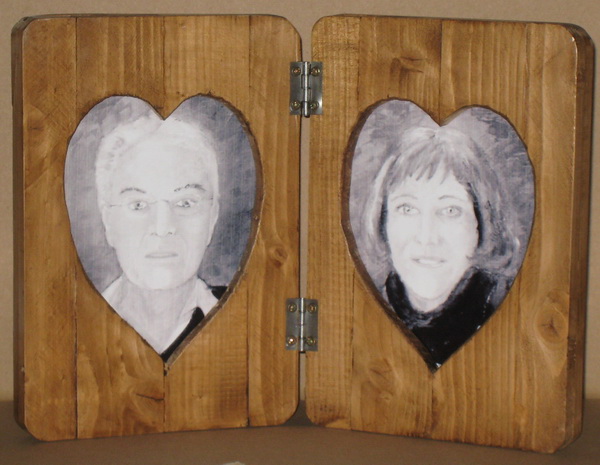
I also cut two glass panes with dimensions of the framework and two paperboards to be useful backing. These last pieces will hold with some little nails inserted in the edge.
And, to finish, I fixed, with small screws, two small hinges to articulate the unit… It missed nothing any more but the photographs…
Then, to be original, I chose two Black and white portraits!!!!!
Frame It!
by Tonia Davenport

Framing isn't something one has to leave to the professional.
With Frame It! readers will learn how to use ready-made frames and inexpensive framing materials to create frames perfect for their favorite photo, piece of artwork, canvases or souvenir.
How to Make Your Own
Picture Frames
Ed Reinhardt, Hal Roger
Excellent book for the beginner. Clear and concise. Step-by-step instructions with photos for each and every step.
This book covers all aspects of frame construction, painting, mats, glass-cutting and usage. A great book to trigger your own ideas to create custom frames.