Draw an oval
A basic technique
Drawing a perfect oval freehand is an old painter's dream... And yet there are techniques and even instruments to achieve it.
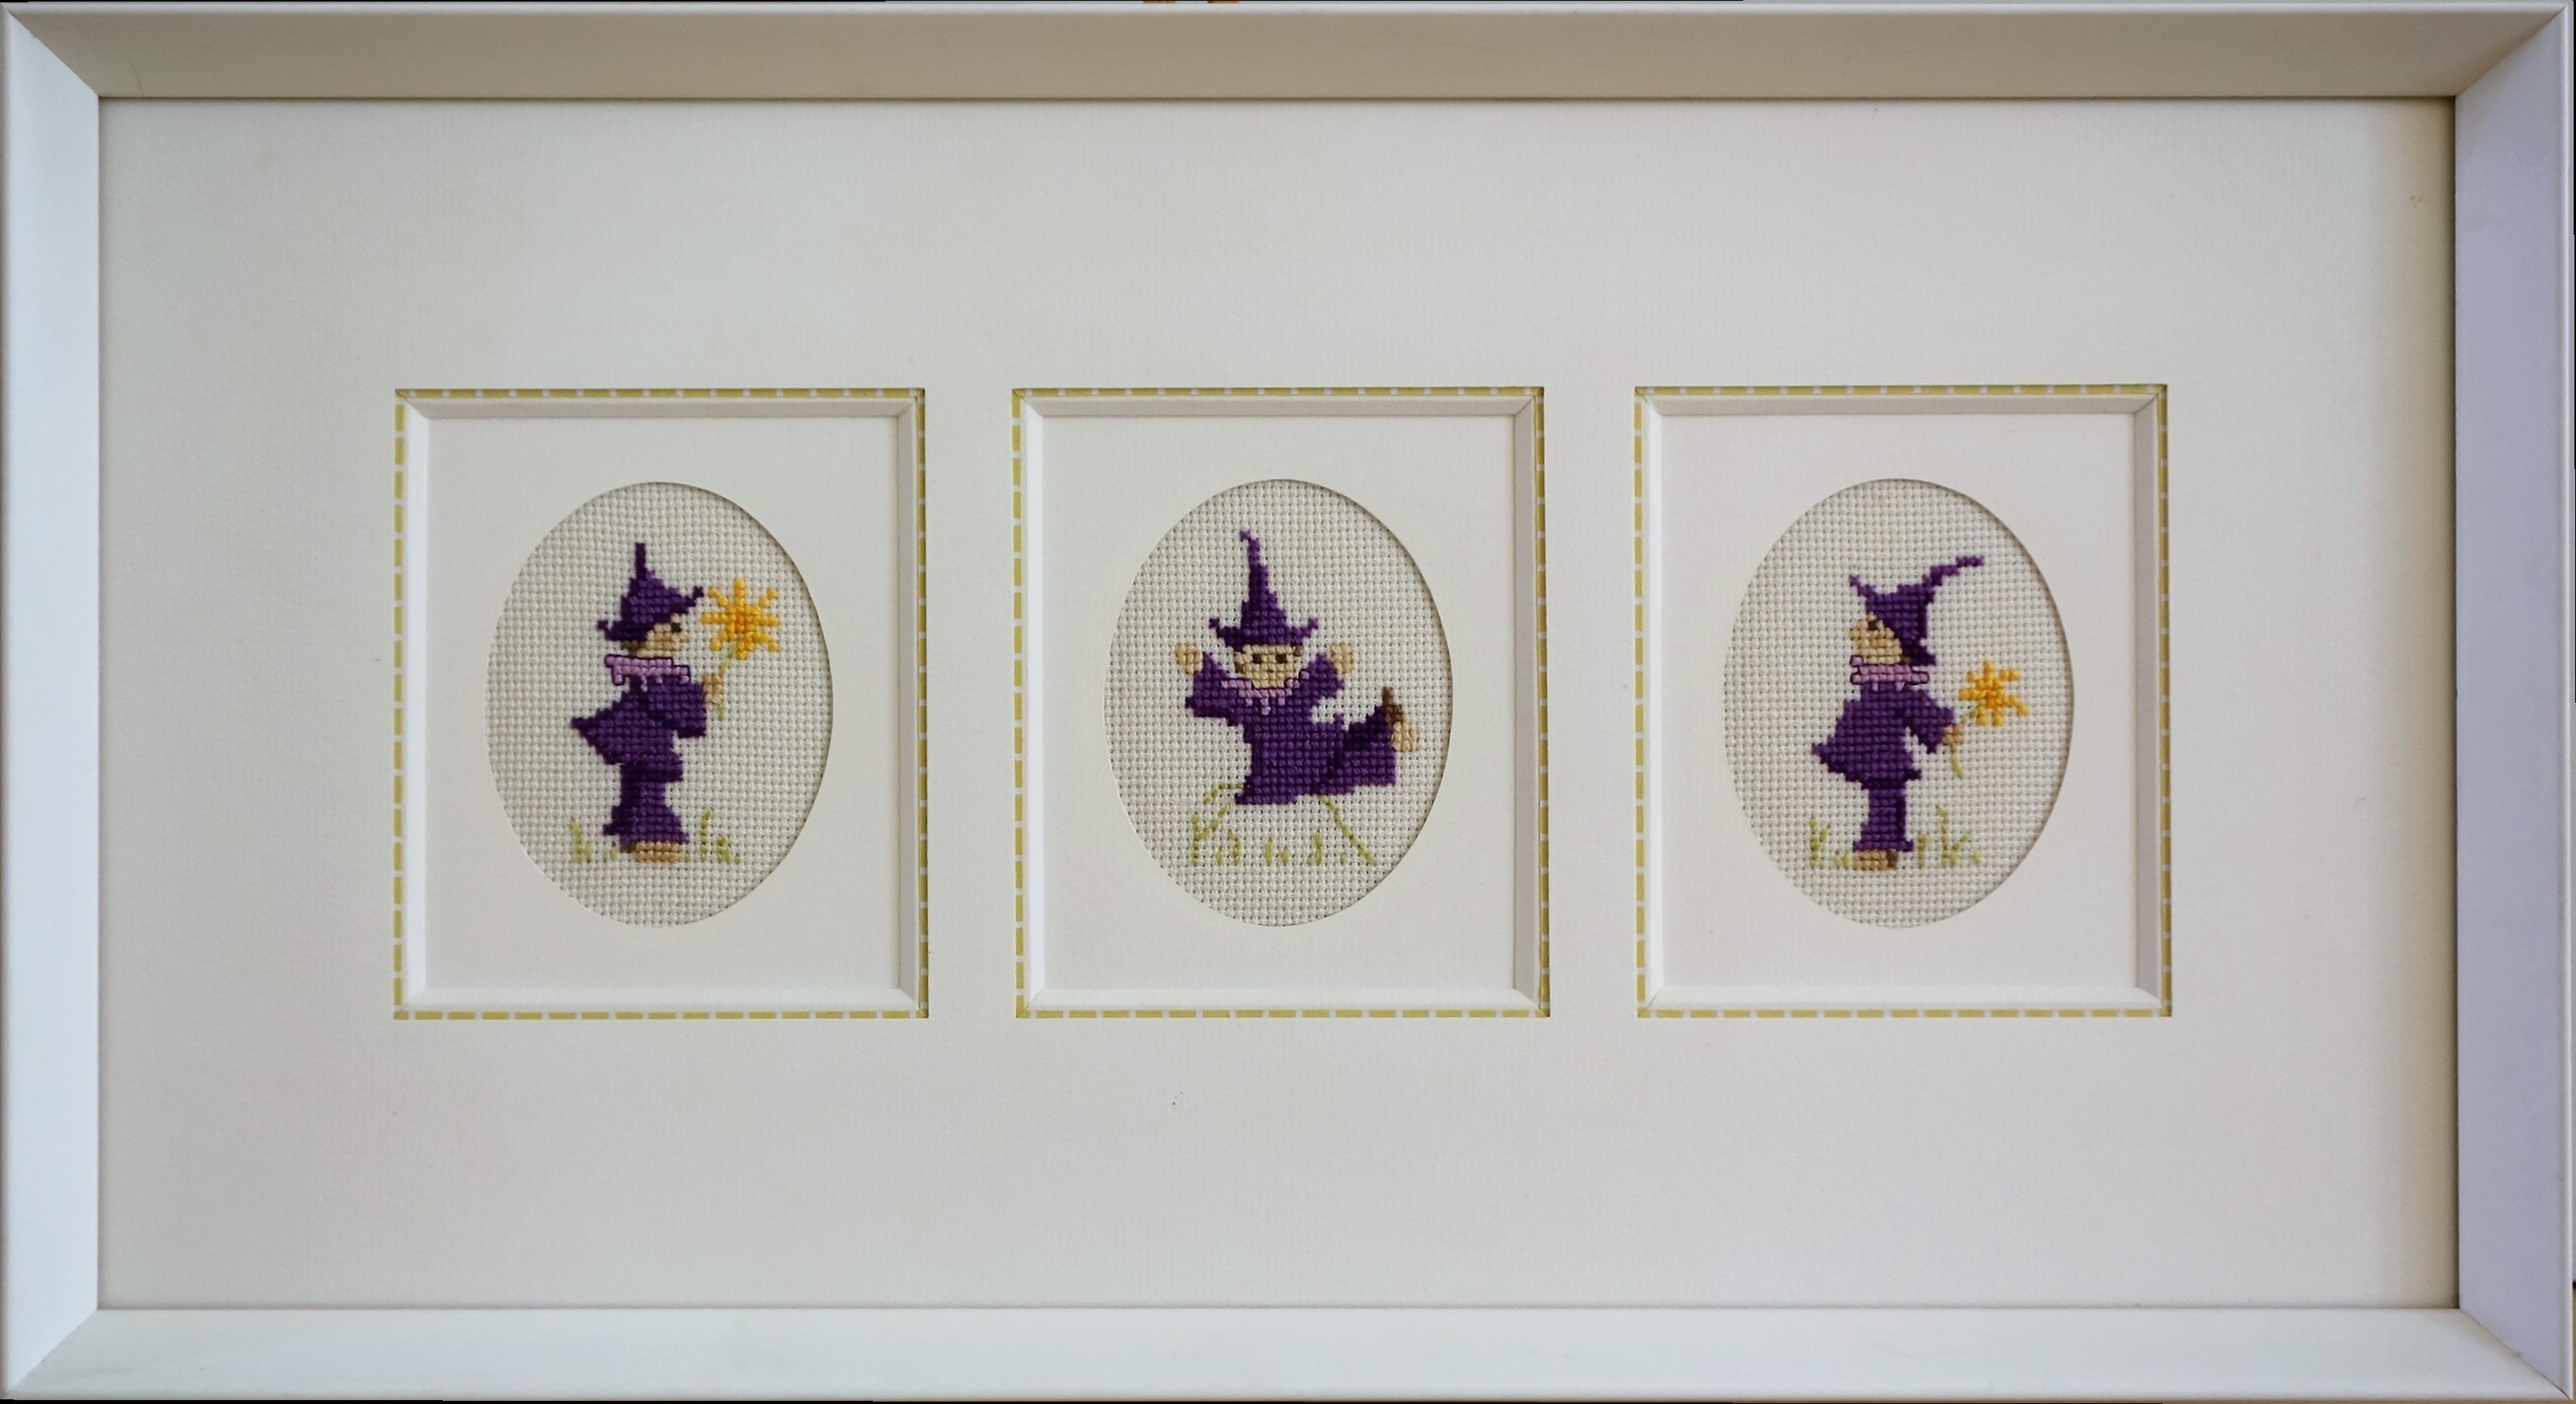
As far as framing is concerned, an oval passe partout particularly enhances old engravings with a compassed charm. Completely ignored by modern framers, it deserves to come back in grace and to find the place of honor it may have had in the past.
 An oval by the method of the gardener...
To obtain certain effects, especially when framing portraits or landscapes, one often tries to make a passe-partout with an oval window.
The difficulty lies in the precise construction of the oval: there, one cannot totally escape mathematics if one wants to obtain a precise oval!
But don't worry, these are not very complicated!
 A little vocabulary
Look at the diagram of the ellipse... And the points that we will need to know to trace our pass: its center O, and the distances OA and OB.
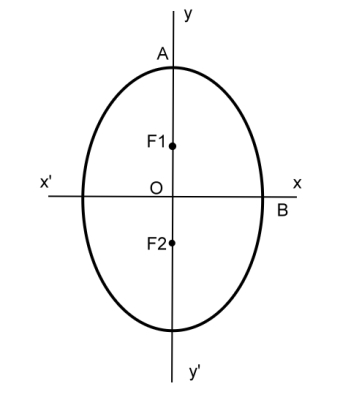
To obtain the points F1 and F2 :
- with your compass, take the distance between O and A.
- prick the compass on B and, with this distance, draw F1 then F2.
That's it, it's over! The ellipse is almost built!
On the photo, we see the mat on which we drew the margins. We then traced the medians which intersect in O.
With the compass we take the OA distance.
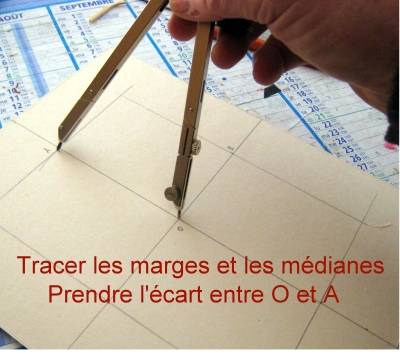
Now we pin the compass on B and draw F1 by cutting OA. In the same way, we trace on the other side to obtain F2.
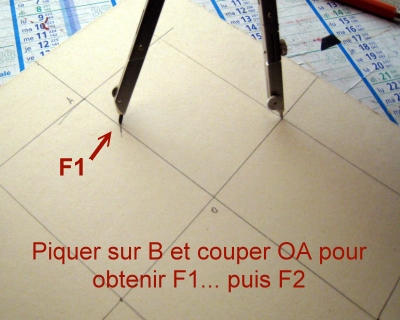
F1 and F2 are the "foci" of the ellipse and will be used to draw the ellipse.
For that, we use the technique of the gardener !!! With a thread and a pencil!
 The example
Your passe partout measures 24x18 and you want 4cm margins.
You draw your margins and the axes of your ellipse. Take the construction given above and draw the two points F1 and F2 (they are about 7.5cm from O).
 Drawing the ellipse
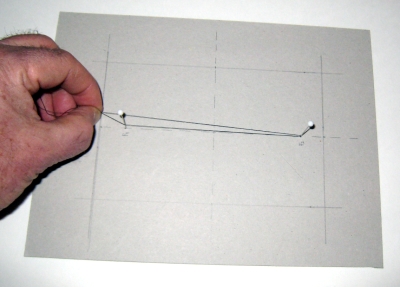
Place your mat on a thick cardboard and place 2 pins with heads at points F1 and F2.
With sewing thread, form a loop and pass it through the pins. Stretch the thread to A and mark with a line of felt on the thread where you will make the knot.
Form the knot, stretch it slightly loosely with a pin, and with a point, adjust by sliding the knot so that it tightens where you marked with the felt pen. When the knot is not tight, you can move the knot on the thread with the point. When the loop is taut, the knot should be in A.
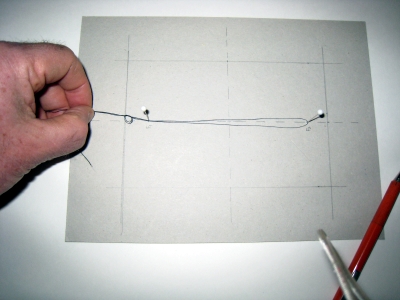
It's not easy on the first try... start again with a new thread if necessary.
When your loop is ready, you can proceed to the tracing of your ellipse: pass a pencil through the loop, stretch the thread and trace while turning while keeping the loop taut.
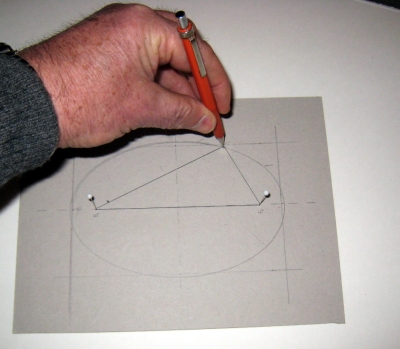
If everything went well... and if you have calculated correctly... the ellipse fits perfectly and respects the margins you have set.
 Note
Note
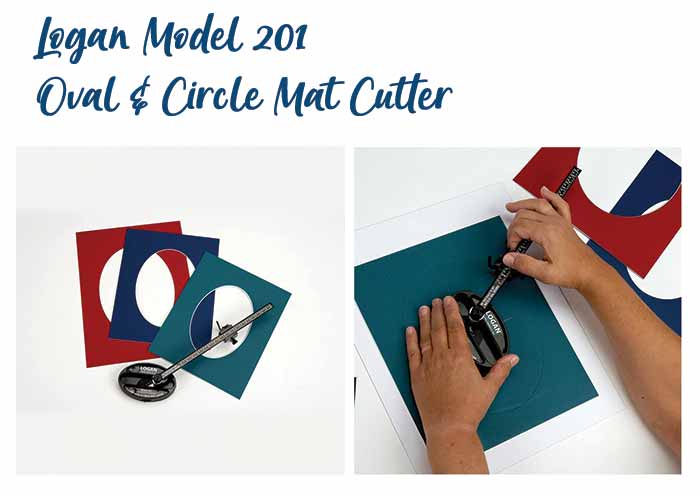
Modern framers no longer torture themselves with complicated calculations. To cut their oval mats, they use a small tool, the LOGAN machine which cuts them directly into the mat... No more headache and extreme speed...
It's the LOGAN MODEL 201 which is sold around 40$. Je vous donne le lien Amazon, mais vous pouvez vous le procurer chez tous les distributeurs LOGAN (Bliks, Walmart...)
GD