
MINIBOKS
How to create them
A miniBook is a small book obtained by folding a sheet of A4 paper in a certain way. In general, this sheet is printed on one side only, which makes it possible to reproduce it quickly by photocopying or by printing on a commercial printer.
So you have all the tools you need to start "Mini-Edition" and distribute your works! There are even sites that sell you mini-books ready to be printed: getting children to read without it becoming tedious for them is one of the reasons to be interested in mini-books!
 What to put in a mini-book?
To create a minibook, you must first have a content... What will we put in this minibook? Here are some ideas that might give you some ideas... and let your creativity run wild!
Your mini-book could be :
A poetry MiniBook
A photography MiniBook
A story for children
A comic book
A short story
A collection of essays
A small cookbook filled with your own recipes
A booklet of cocktail ideas
An informative MiniBook on your favorite subject
An illustrated glossary of terms
A MiniBook about your country of origin or heritage
A MiniBook about your favorite band
A collection of your favorite quotes
An instruction manual on how to do something
The options are endless!
 Choose the format of your mini_book
The mini-books can be presented in many formats... from the smallest, with pages of 5cm x 3cm to the most common 10,5cm x 7,5cm... They are also differentiated by their number of pages 8, 10, 12, 14, 16... depending on the folding and cutting used.
![]() MICRO-MODELE 8 PAGES : The shape of a mini-book can be extremely varied... See below the construction technique of a "micro-book" with 5 pages measuring 5,2cm x 4cm... Interesting but not easy to print because it requires 2 pages, at least one of which must be printed on both sides, which complicates the matter.
MICRO-MODELE 8 PAGES : The shape of a mini-book can be extremely varied... See below the construction technique of a "micro-book" with 5 pages measuring 5,2cm x 4cm... Interesting but not easy to print because it requires 2 pages, at least one of which must be printed on both sides, which complicates the matter.
You will choose your type of minibook according to the length of your text or the number of drawings or photos you want to use: the easiest to print and to build is the eight-page folding miniBook... It is the one most frequently used...
![]() 8 PAGES TEMPLATE : For this mini-book of 8 pages, you will find on this page the technique of folding the printed sheet as well as two techniques to create the pages, one with an image processing software, the other with a word processor like Microsoft WORD... page which continues on this other page... You will find there the WORD template which automatically places the texts at their place !
8 PAGES TEMPLATE : For this mini-book of 8 pages, you will find on this page the technique of folding the printed sheet as well as two techniques to create the pages, one with an image processing software, the other with a word processor like Microsoft WORD... page which continues on this other page... You will find there the WORD template which automatically places the texts at their place !
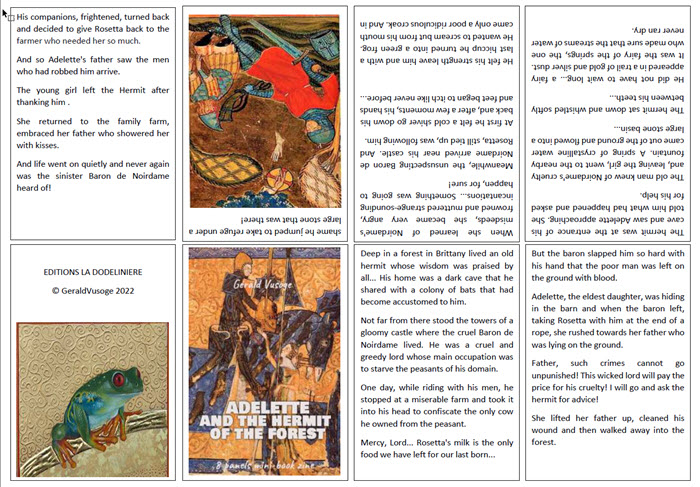
This model of mini-book is the most commonly used: simplicity of folding, only one side to be printed and "large pages of 10,5 on 7,5cm... Enough to tell a complete story...
Here is an example to print if you wish... Click on the image to download the pdf
And, if you want to modify some elements, here is the WORD .docx file
![]() 10 PAGES TEMPLATE:
10 PAGES TEMPLATE:
We could mention the 10-page folding model which is a little bit uninteresting because it forces to print one side with 8 squares and its reverse side with 2 other squares...
You will find it here, among two other techniques:
![]() 14 PAGES TEMPLATE : Here is another template which works very well : we start from an A4 page, printed on one side only and which will give 14 pages easy to implement...
14 PAGES TEMPLATE : Here is another template which works very well : we start from an A4 page, printed on one side only and which will give 14 pages easy to implement...
You will find its complete description on this page with, of course, the WORD templates to place the pages automatically !
![]() 16-PAGE TEMPLATE : And, to finish this description of origami mini-books, here is the least known of these models and which will give us 16 pages in 10.5 x 7.5 format... Of course, there is no mystery, to have a 16 pages mini-book of this size, you will have to print the page on both sides... 2 passes in the printer, some printers do it automatically.
16-PAGE TEMPLATE : And, to finish this description of origami mini-books, here is the least known of these models and which will give us 16 pages in 10.5 x 7.5 format... Of course, there is no mystery, to have a 16 pages mini-book of this size, you will have to print the page on both sides... 2 passes in the printer, some printers do it automatically.
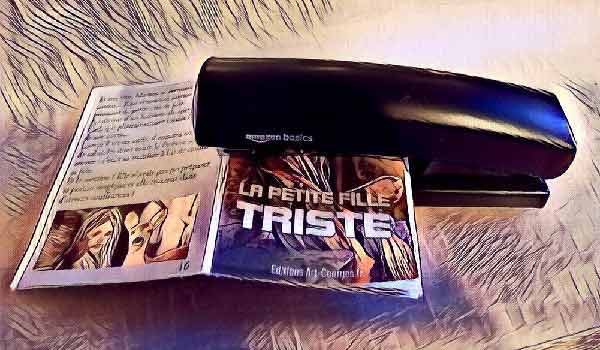
The folding is very easy to do and you will need a stapler to secure the pages. It is not mandatory but it is useful! Provide a stapler with a long arm of 8 cm or more so you can staple the center of the mini-book. I found this stapler on Amazon for less $7 (with 1000 staples!!!)
The placement of the pages on the sheet to be printed is meticulous... you must have a plan with the location of the pages and not get lost!
Otherwise, you can opt for the automatic placement by using the WORD template: You "pour" the text in the box 1 and it is automatically distributed in the other boxes ... you can then add images and, to make it "fall right" modify the font or the case ...
As an example, here are the two sides of the tale "THE SAD LITTLE GIRL"..
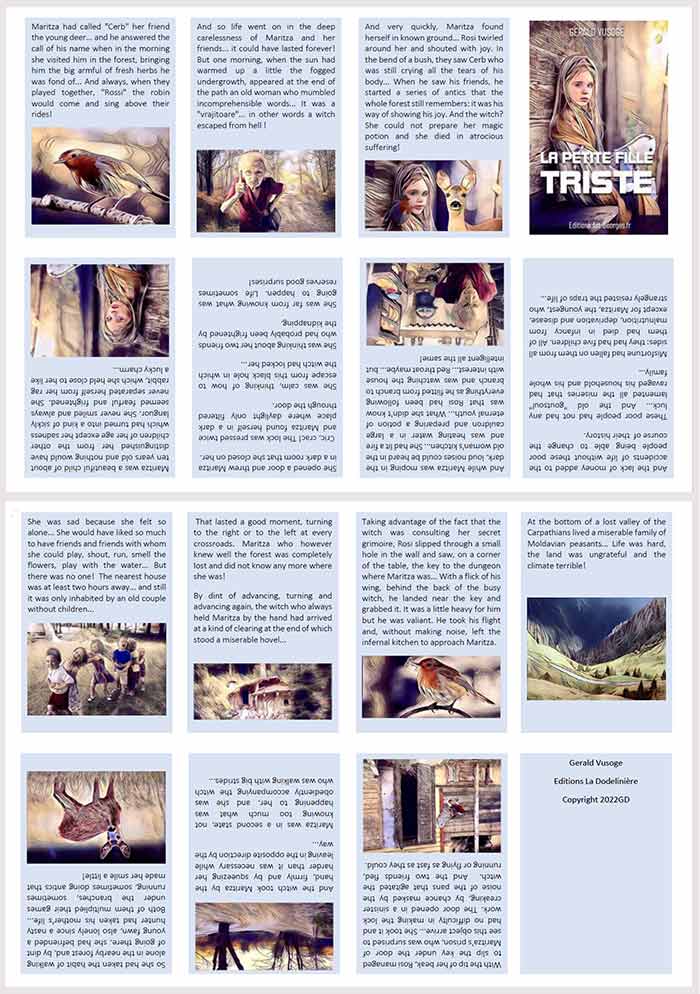
If you just want to print this page on both sides to get a better idea, download the pdf HERE.
You will find all the detailed explanations on this page and again on this one (for the use of the WORD model).
![]() MULTIPAGE CONCERTINA PAGES TEMPLATE : In fact we are here at the limit of the subject of this page because we leave the principle of the monofold to arrive at a glued assembly, certainly very simplified. It's a mini accordion book that can have as many pages as you want...
MULTIPAGE CONCERTINA PAGES TEMPLATE : In fact we are here at the limit of the subject of this page because we leave the principle of the monofold to arrive at a glued assembly, certainly very simplified. It's a mini accordion book that can have as many pages as you want...
I let you discover the explanatory video...
More simply, here is a short story printed on 3 strips of A4 paper...
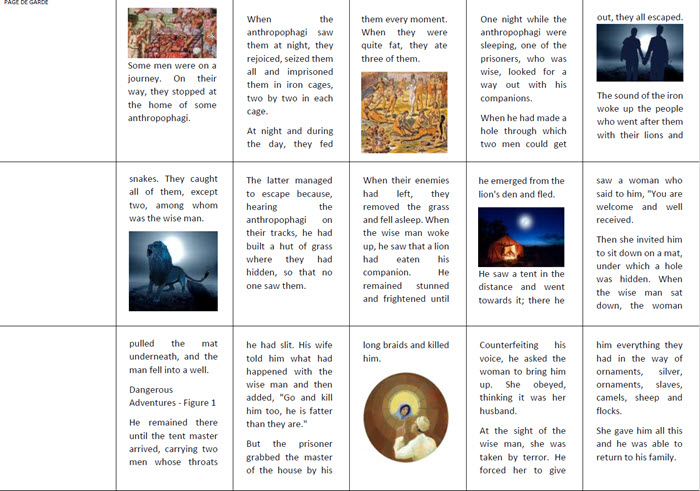
If you want to print it out to try it out... here is a ready-made pdf ! And if you want to try it with your own story, here is the WORD template ready to use: pour your text in the second box, it will spread in the other boxes respecting the order of the story. Then adjust with the font size and case to fill all the boxes.
Once printed, cut each strip and glue them one after the other: the white boxes on the left will be glued to form the final strip.
Fold this one in accordion... A little bit of glue on the back to make the front and the back of each sheet united...
Cut a stronger paper cover to the size of the mini book and glue the accordion to this cover as in the video above...
Your MiniBook is finished! Now it's time to share it with the world.