WALL ART CANVAS
FRENCH TRENDY HOME DECO

![]()
Since how long do you practice home-deco?
I began the home déco just a year ago. It is thanks to a store of creative leisures (Cultura) that I discovered this activity. I wanted much to document me before beginning because I did not want to be disappointed of my first fabric… I thus waited 2 months before launching me.
What do you prefer to do in home déco?
I like very much to carry out fabrics representing of the flowers. You can see a multitude of it on my blog!
I also like to use auxiliaries of painting to give relief and different textures to my paintings.
Which are your preferred colors?
My colors are the pink/purple mauve, but I adapt!
But at home, all is not purple!!!
What brings the home déco to you?
A great satisfaction! The fact of being able to create personal fabrics which adapt perfectly in my interior, and of course that they are single !
Maryline on her blog…

 What is home deco ?
Personalize your interior with your own decoration? You have to get started! To do this, why not create your own paintings...Home Deco! This is what I will try to explain to you ...
Fed up with empty walls in your home? Tired of seeing a decoration done in a hurry? I invite you to make your own paintings without having an artistic background or being a gifted drawer...
Home decoration consists of applying various decorative techniques (painting, cutting, collage, stencils ... .) on canvas frames, wood panels or any other support to decorate.
Most often, acrylic paint is used (ease of use, quick drying, no need for water, possibility of adding auxiliaries ...).
Various relief effects can be added with the help of auxiliaries: sand structure gel, structuring paste to create thicknesses, medium to achieve transparency effects ... etc etc etc, there are many different forms of auxiliaries ...
All fantasies are allowed to invent an original work, a work that you will have thought of from A to Z and in the colors that you will like!
 How to start in wall art ?
It is best to start with a small format, the ideal being a small frame the size of an A4 sheet of paper, you will indeed be able to make a model on a sheet of paper of the same size.
The basic material :
- A few tubes of acrylic paint (primary colors + black + white),
- A few brushes,
- A frame (you can find them in discount stores or in a batch)
- A pencil,
- Glue
- Tracing paper,
- Recycled objects (photo, cardboard, small objects, fabrics, ribbons...)
You can therefore start home decorating without spending a lot, which is ideal.
 Ready to test ?
Let act your imagination and take your preferred colors…
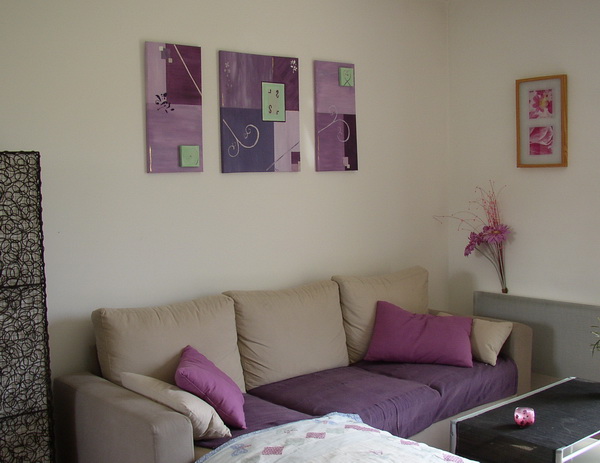
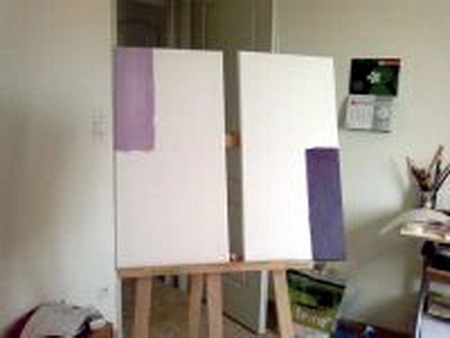
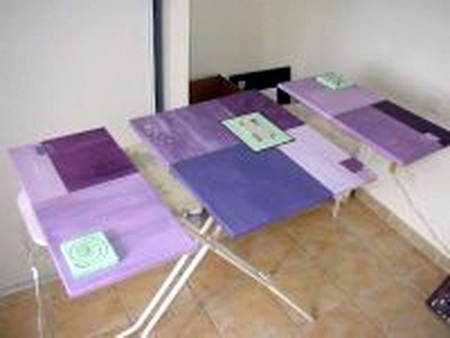
This triptych Home-Déco can be ideally hung on a large wall because its size is rather consequent (130x60cm)
Supplies :
- Canvas : 1 of 50x60cm and 2 of 30x60cm - 2 mini frames of 10x10cm - acrylic painting: various nuances from purple (me I use the primary colors + white + black but best is to buy a tube of purple because this color is prevalent here)
- paper, pencil
- ruler for tracing
- Adhesisve tape to delimit the features of pencil to paint the various parts more easily
- stencil key sets hand manufactured - model of flowers found on Internet - cutter
- lino
- painting effect “sands”
- paste with relief or modeling paste
- palette knife (to apply paintings for purpose)
- painting 3D or relief in ring
- gold sheet in transfer Rico design
- adhesive magic art for the application of the gold sheet
- brushes and brushes of various sizes - painting 3D or relief - brushes and brushes of various sizes
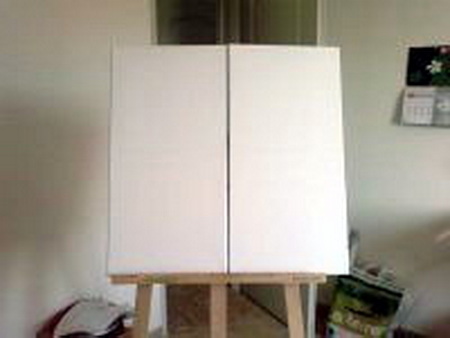
 Draw the lines with pencil and ruler :
As the name of the Step indicates it, it is a question of making the bases of the future painting while placing the various parts with the pencil there.
 Place the tape
and start to paint the bottom
Place the tape
and start to paint the bottom
- Put the Adhesive tape at the place where you want to paint.
- Prepare the various colors of painting and start to paint.
.
 Admire the result already!
Remove the strips of tape delicately and start again for the other remaining parts taking care that the paint dries between manipulations...

It is fast enough for acrylic painting, if need be, you can accelerate with hair dryier on a position not too hot.
After having painted the bottom, you will be able to begin the effects and to begin the purpose of the fabric…
 End of the preparation of the bottom
After having painted the background, we can start the effects and get into the heart of the subject of the painting...
On the picture, we only see the 2 frames of 30x60cm but you can imagine that the end of the background preparation concerns the 3 parts!
For the 50x60cm frame, the delicate phase is the positioning of the tape to leave a white square in the middle.
 The sand effects
This effect is achieved with a stencil made of lino. I applied with a knife the "sand" paint that I colored with the acrylic paint...
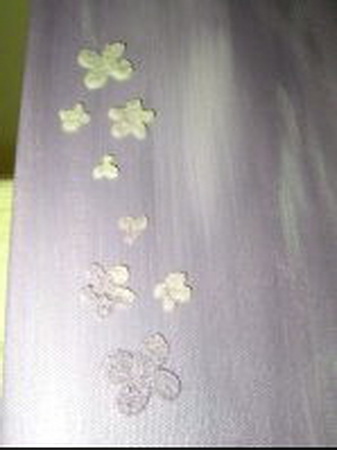
 Sand effects 2
Another effect with another "flowers" stencil, again with "sand" paint this time left in white and degraded to very pale mauve.
 Other effects
painting sands, modeling paste
 Always other effects
Painting sands + stencil key set flowers
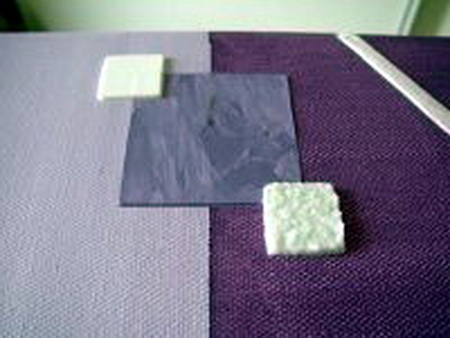
 How to create special effects
Detail of a modeling paste effect
Here is the knife application of this famous paste in a stencil ...
We may be more aware with the photo!
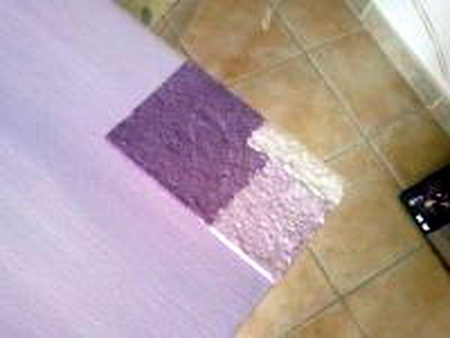
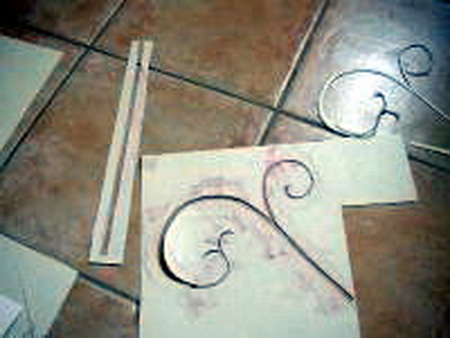
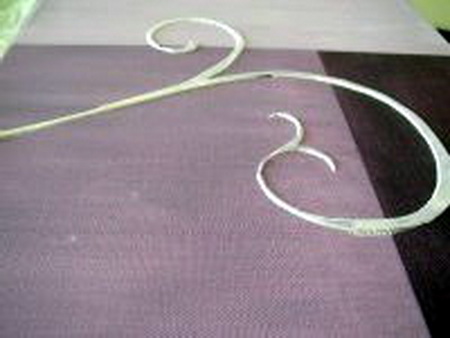
Creation of a stencil key set:
Here is the creation of one of the stencils used to make the large patterns of the painting.
The tile is the ideal place to be able to cut quietly because it does not scratch.
Tip creation of stencils :
Use lino, or old radios because they are reusable (unlike paper which tears and does not clean).
Application of modeling paste
Mixed with 3D paint the effect is very nice, the colors mix and it gives a shiny effect.
All this is done with a knife
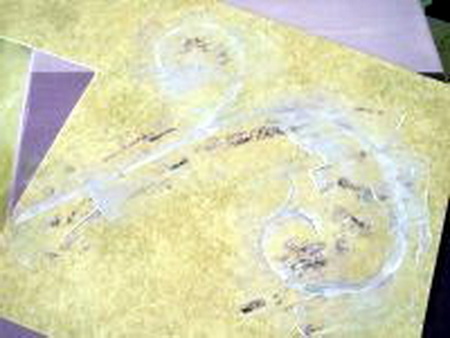
And here the result:
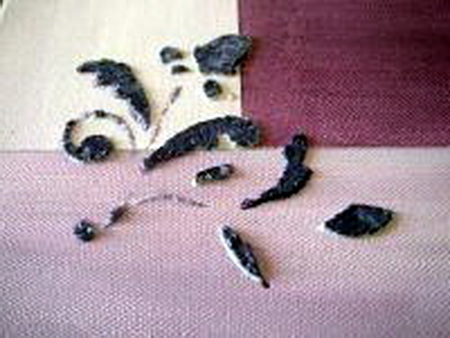
After having removed the stencil key set
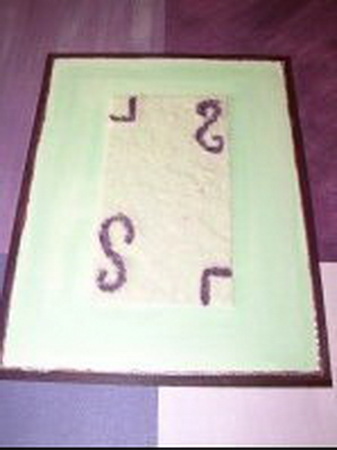
The central pattern
Colored sand paint, stencil...and green acrylic paint
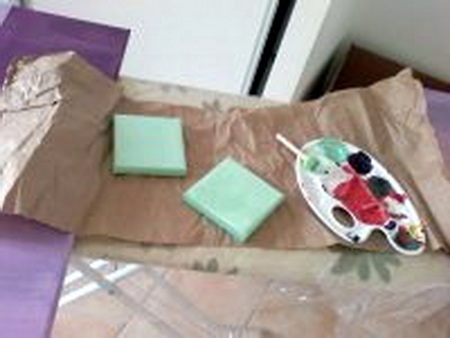
Mini canvases
Painting of the 2 mini frames in pale green using small foams brushes .
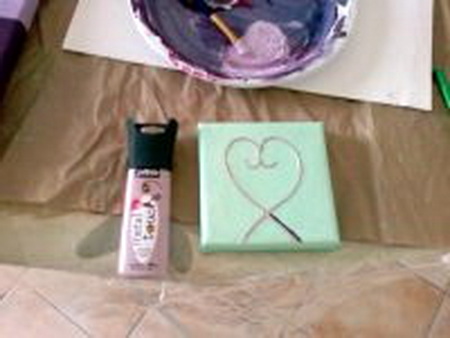
Déco of the mini frame to painting 3D : I drew a heart in 3D painting and a spiral freehand.
Behind the scenes
Here is the color palette to show you an overview of the mixes...

The painting in progress : The ironing board is not bad to get an idea of the final representation.
It's true, the more you work on large formats, the more difficult it is to project yourself because you have to put the canvases next to each other at all times.
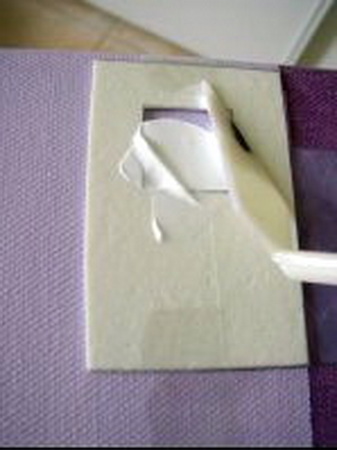
Application of the gold sheet:
It is initially necessary to apply the adhesive to the brush and to let it dry a few minutes.
When it is almost dry, press a gold sheet with the fingers, well crush so that gold applies correctly and raise the transfer.
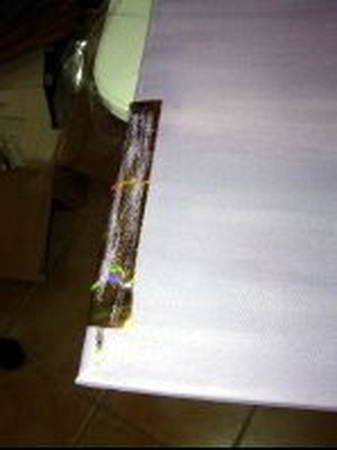
The result:
Once the transfert gold sheet is removed
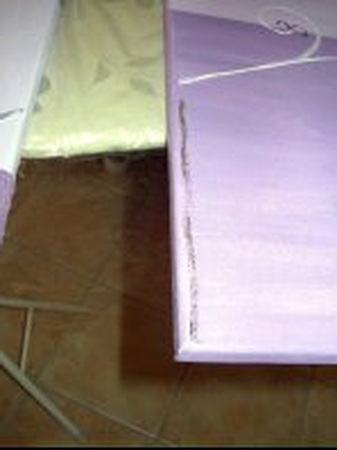
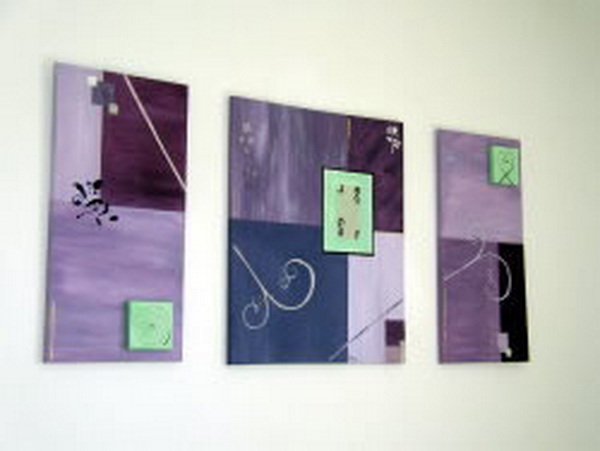
End result
I think of not having forgotten anything of all the Steps of the realization of this table tryptic.
It any more but does not remain to hang it and contemplate!

Not so muchEnglish books about homemade canvas art...
Homemade
101 Projects
You Can Make at Home
Ros Badger
Expand your creativity!

Homemade contains over one hundred craft projects that require you to look no further than your very own home.
My Favorite Art Book:
I Love to Paint !
Jennifer Lipsey
Here's a book that is as attractive as it is useful
Following introductory information about supplies, each spread, framed on bright-white pages, introduces a different technique, beginning with finger painting...
Abstract Painting :
Concepts Techniques
Vicky Perry
Learn abstract painting... very easily !

Vicky Perry shows you the abstract painting secrecies...
Artful Spaces: DIY Wall Art for the Home
Gerard Smith
Looking for quick, creative ways to add art to the spaces in your hom e? You'll find them here.