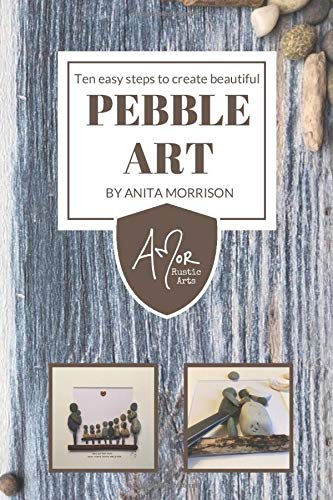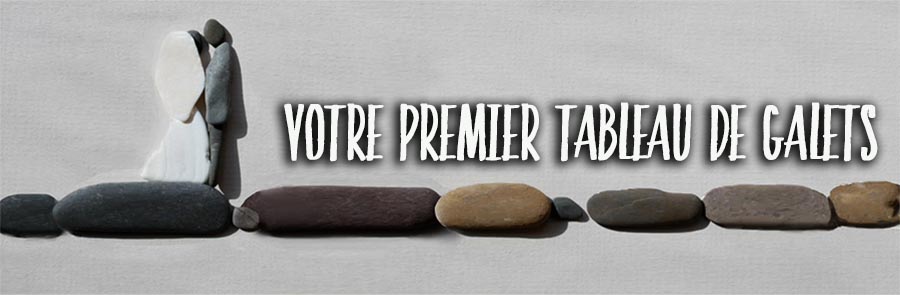
Achieve your first pebble board
For you, a "pebble-art".
The "Pebble-Art"... what is it?
It's simply the art of creating small scenes or landscapes made with pebbles, rolled pieces of glass, natural elements... all picked up on the edge of beaches.
It's a nice activity with strong decorative power and will involve the whole family... from the collection of materials to the final hanging of the painting! The children are particularly gifted to find in the middle of a pebble cart, the one with the shape they are looking for !!
 The material for pebble stages
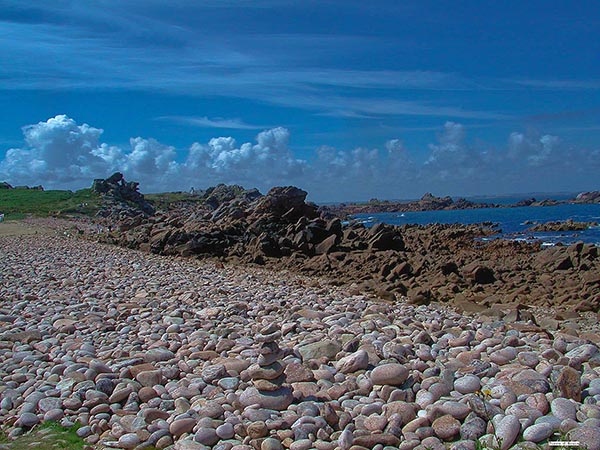
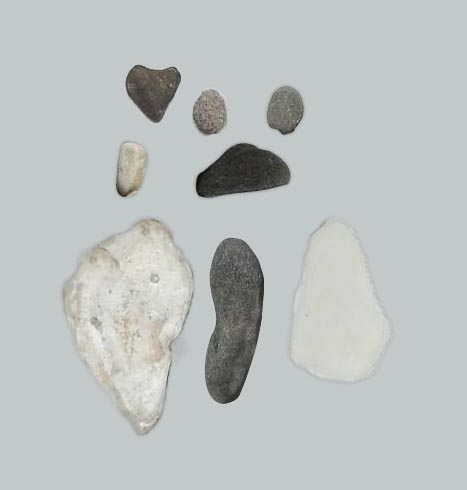
First, the family will have to be mobilized to collect very small pebbles worn by the sea. No question of bringing back complete rocks, just small splinters polished by the surf. The more the shapes are tormented, the better!
On this subject, a warning: it is forbidden to pick up and take with you pebbles... But it would really be necessary to fall on a grumpy coastguard to get into trouble !! Especially since the ones we are interested in are really very small !
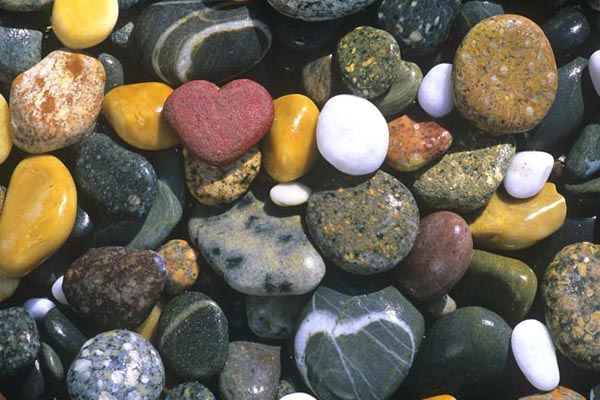
Favour small flat pebbles with an elongated shape (if you want to simulate human forms) or very rounded. Collect also the shells splinters of all colors ... Don't forget the small pieces of frosted glass, of all colors ... even the smallest!
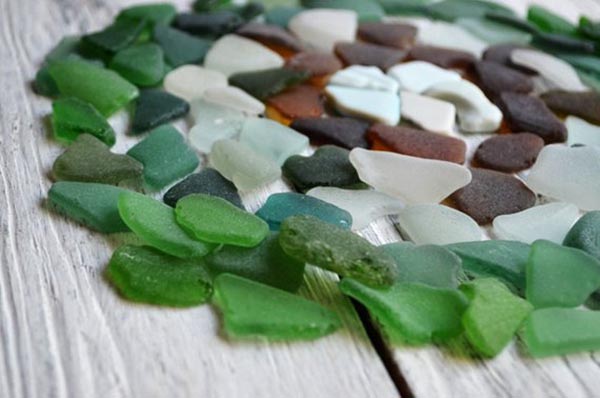
Constitute a war treasure from which you can draw later at the whim of your imagination...
You will have the chance to fall perhaps on natural shapes in heart for example... Do not pass without seeing them!
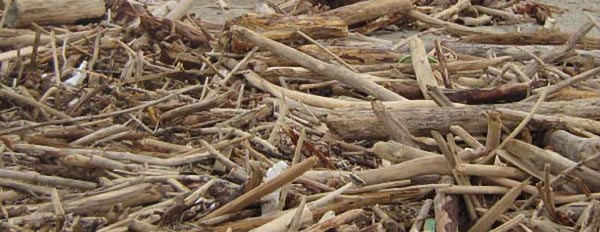
Don't forget also the driftwood: tree branches or even pieces of planks with shapes tormented by the sea! All this will be useful later! Collect also the "bits" of rope and other sea fortunes...
 Material for the creation of the pebble board.
Le problème essentiel est de coller les galets sur le fond que vous aurez choisi...
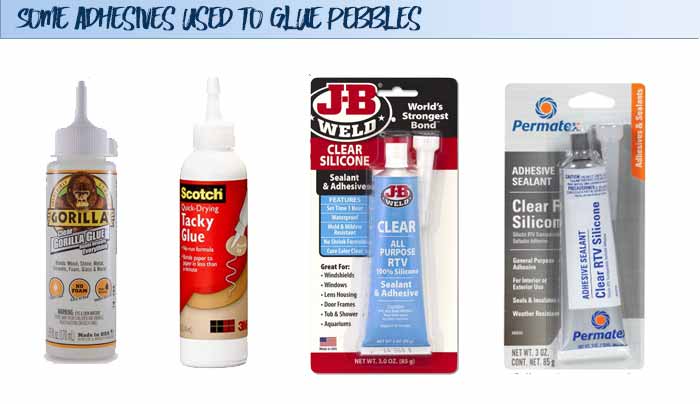
 Strong glue or silicone glue
It will be necessary to fix the pebbles between them or on a support (bottom cardboard, piece of floating board or other). For this, a strong glue is necessary. You have 3 options:
It will be necessary to fix the pebbles between them or on a support (bottom cardboard, piece of floating board or other). For this, a strong glue is necessary. You have 3 options:
The tube of strong glue : style GORILLA, SCOTCH
Do not use "super glue" type glue which, as it dries, has no thickness: your glue must be thick enough to give a good base to the irregularly shaped pebbles you are fixing .
A tube of translucent silicone glue (sink seal style)
It is even better than the tube glue... a silicone dot sticks perfectly and the fixation remains adjustable for a few moments by displacement... Question brands, you'll be spoilt for choice ... Permatex, JBWeld or RVT4500... Above all, choose a tube with a conical applicator for more precision.
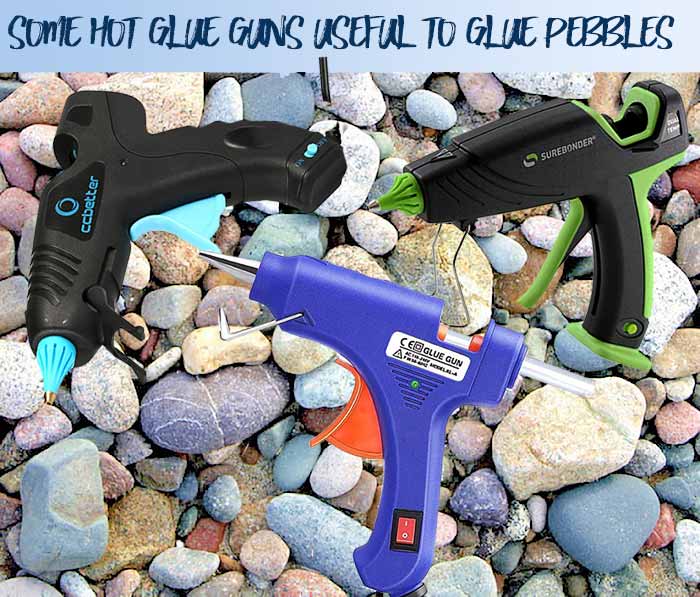
the hot glue gun...
It is the ideal and most practical. The advantage is that the glueing made by hot glue gun is hyper-resistant and practically instantaneous.
Don't buy it only for these pebbled paintings: it will find frequent use in the home for fixing, repairing, jointing ...
Many models, from the basic CCBetter (less than 10$) to the very precise BOSH (at 40$) and the very sufficient TopInd... There is no lack of choice !
These guns inject glue made liquid by the heat... As it cools, it solidifies and adheres strongly to almost all materials. Here again, it is possible to use a powerful glue but which keeps a little flexibility over time.
 The search for subjects, scenes
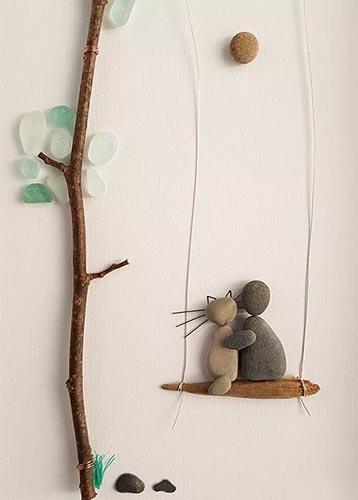
On a white sheet of paper, you will arrange your pebbles while looking for shapes... It's easier to start with characters and imitate what has already been done. The creation will then come with the habit!
With 5 or 6 mini pebbles well chosen we create an expressive scene ... A twig, a few pieces of rolled glass, a small piece of wood and here is a snail waiting for a breath of air to come alive ...
Vous allez ainsi pouvoir imaginer et créer des scènes : bord de mer, paysage de montagne... Déplacez les galets sur la feuille de carton, de temps à autres, prenez une photo avec votre téléphone... Et lorsque votre sujet vous convient passez au collage.

 Le collage
Choisissez votre carton de fond... Il peut être blanc ou gris (davantage de classe !) et fixez vos galets en centrant le sujet.
Ne reste plus qu'à "encadrer" le sujet... J'ai choisi un cadre IKEA noir, déja muni d'un passe-partout clair : j'aurais préféré un noir mais ça rend tout de même bien...
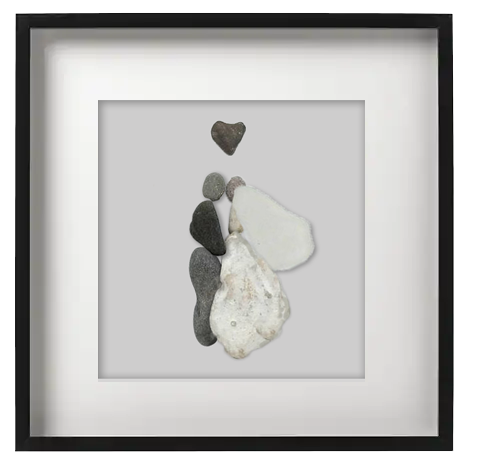
You must obviously think about putting extensions inside the frame to prevent the characters from being pressed against the glass of the frame. A significant recess is more elegant! Vous pouvez également untiliser les cadres appelés shadow boxes...
 Some advice
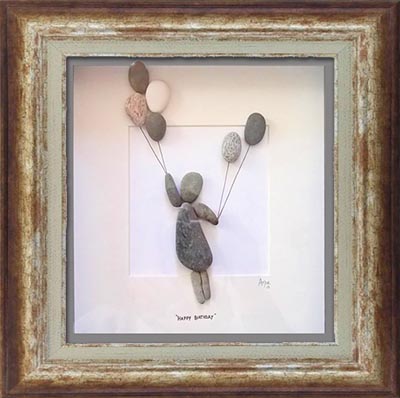
To give even more relief to your composition, do not hesitate to "get out of the mat" which will animate your scene and give it rhythm!
Look at this example in which the character and the balloons literally come out of the passe-partout which gives an extra dimension to the scene!
In another way: a mixture of driftwood and pebbles, a few touches of black felt ... Play with the colors of your material... And here is a family of seabirds ready to take flight!
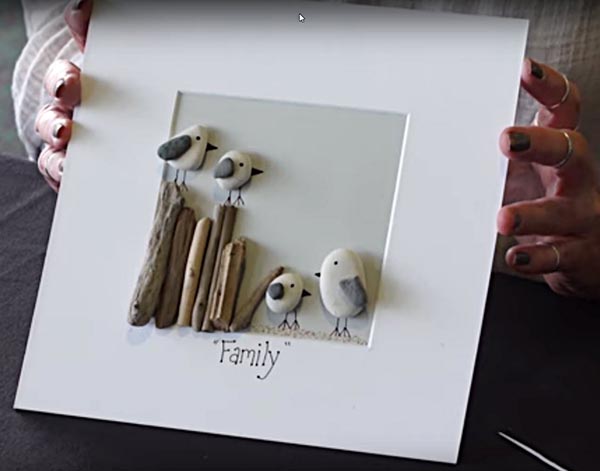
Let your imagination take over!
Some books on the creation of decorated pebbles