
Create a 8 PAGE mini-book
Methods to make a mini-book
 What is a mini-book?
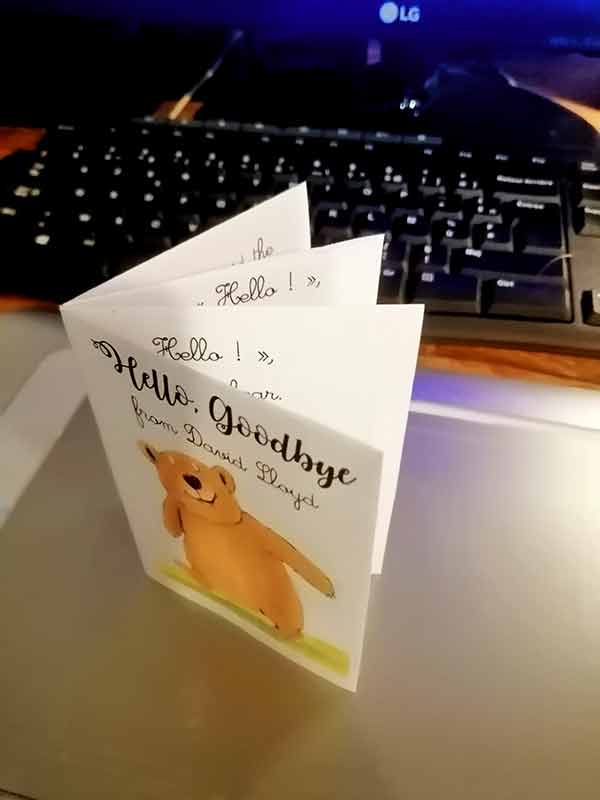
A mini-book (sometimes called a mini-book!) is exactly what its name suggests: a little book that you will produce, edit, print and distribute by yourself.
The special thing about it is that you will get this mini-book by simply folding this A4 sheet of paper and, once this little job is finished, it will have 8 pages in 10.5x7.4 format (A7 format? I don't know if it officially exists!)...
You will print a simple A4 sheet (21x29.7) that you can then reproduce by photocopy and distribute as is to ensure the distribution of your work.
The best way to get to know the mini-books better is to download this mini-book and then print it: click on the image to obtain this pdf file...
 How to fold your mini-book ?
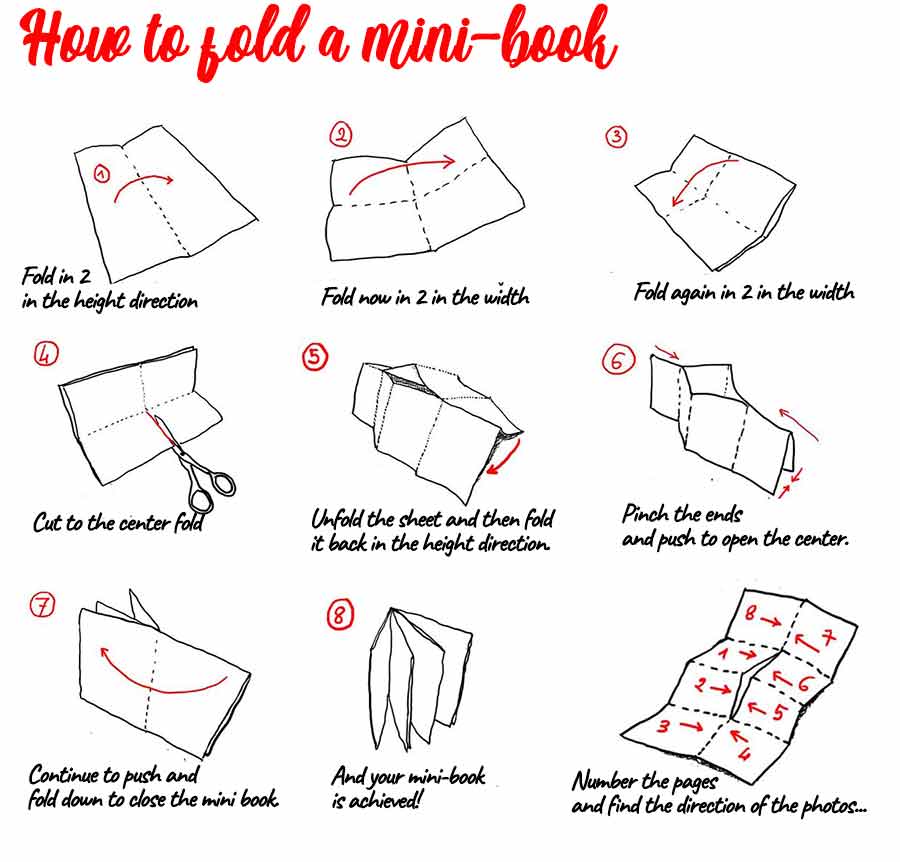
Once your mini-book is printed... you just have to fold it 3 times and to give a chisel blow in the center... Follow the instructions on the board below to get your mini-book !
 How to create a mini-book ?
This is not the most difficult part ! And I propose you here several techniques to do it...
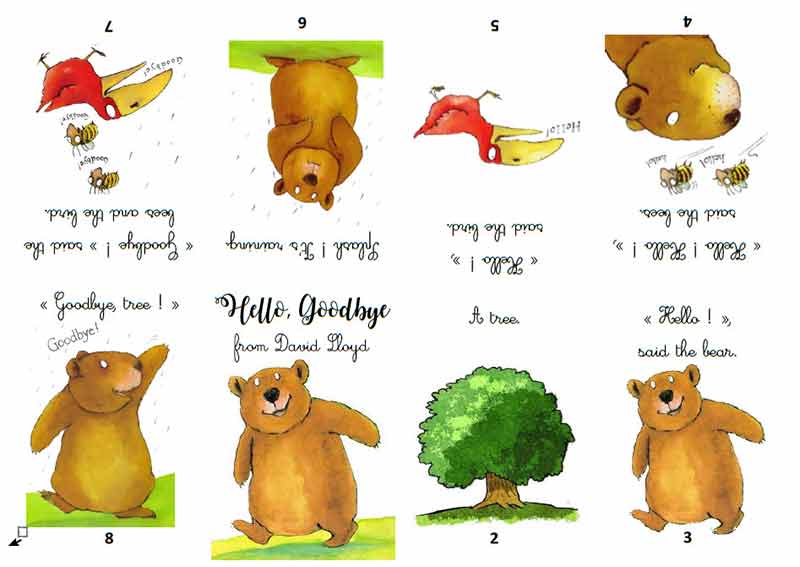
This mini-book has 8 pages: you usually reserve page 1 for the cover and page 8 for the spine of the book ... There are still 6 pages to create.
We start from an A4 (21x29,7) landscape format and in which we have to create these 8 pages.
Taking into account the printing and folding margins, each page of the mini-book will measure 7x10... Or smaller if you want more margins.
 Method with separate images.
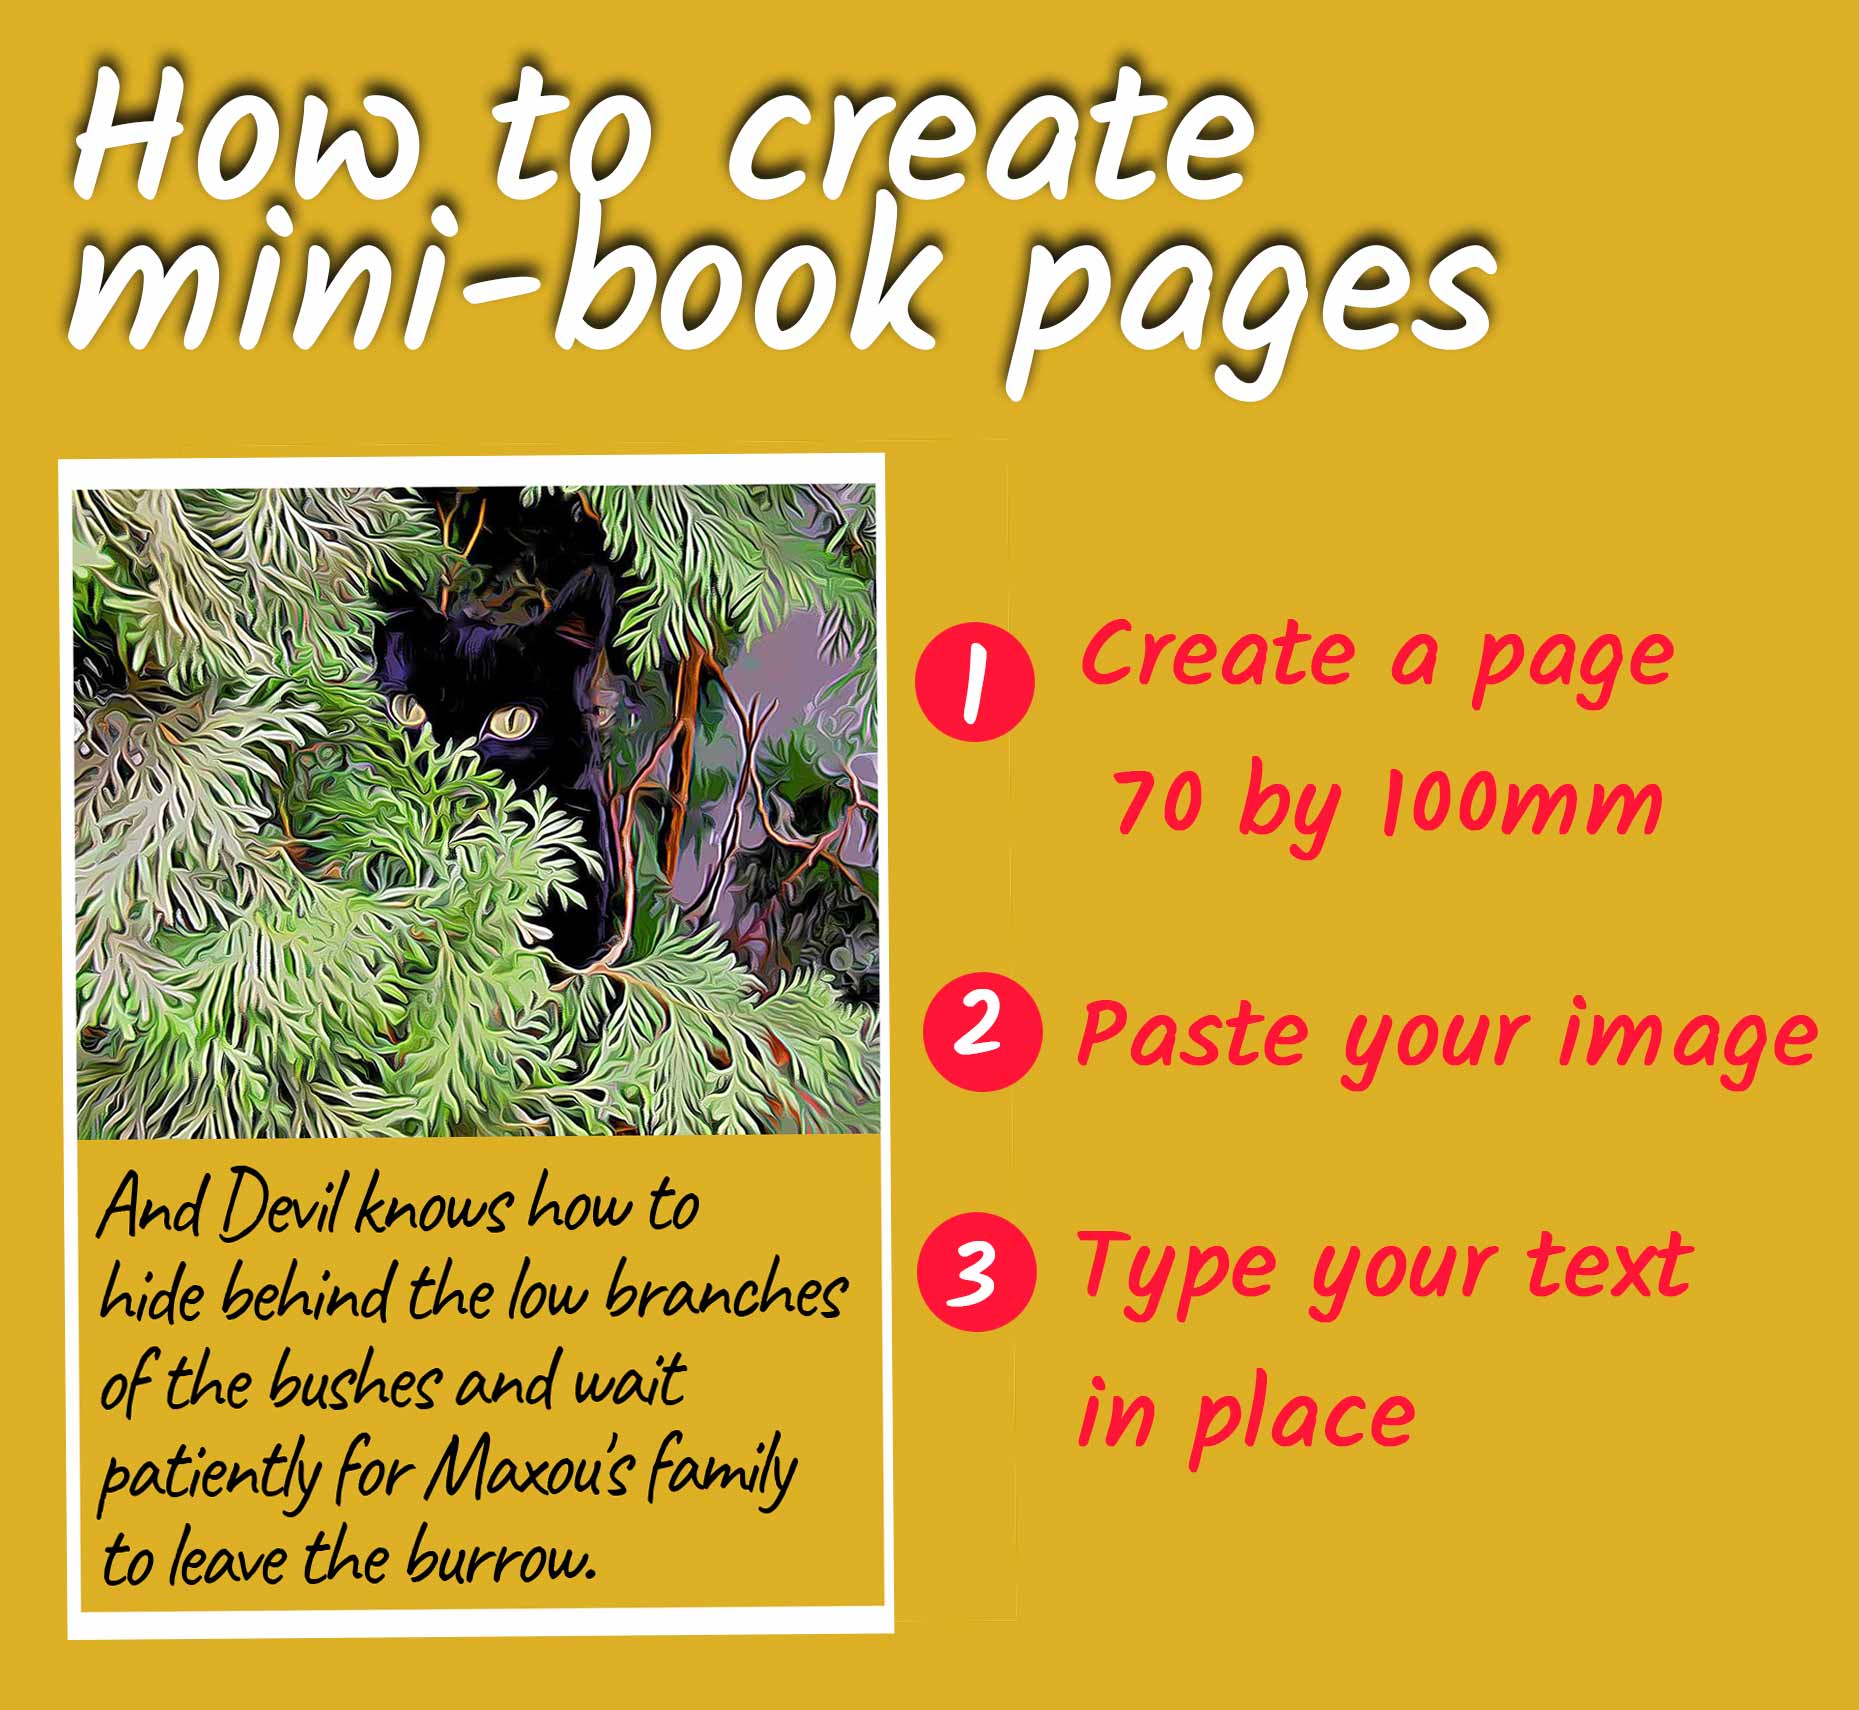
In photoshop (or any other image processing software... the gimp, photofilter...) you will first create separate pages in 70x100mm format.
Each of these pages will be filled with text or photos or drawings... and form a page of your mini-book. You will save each page in jpeg format...
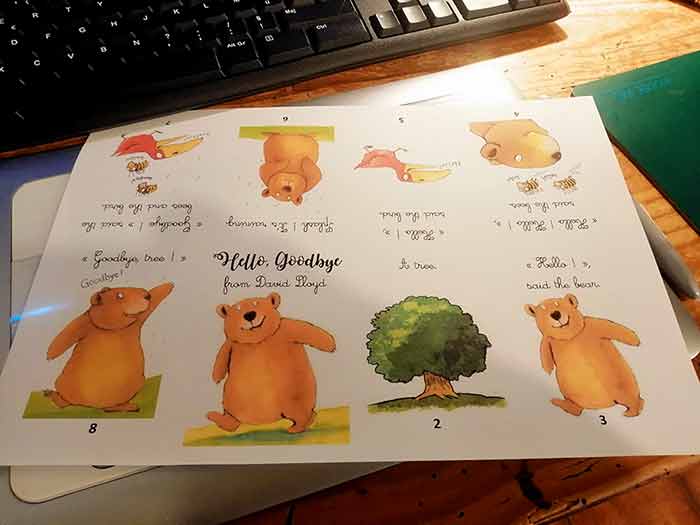
When all the pages are ready, you will proceed to the final editing: You will create a page in A4 landscape format on which you will drag each of the created images in turn.
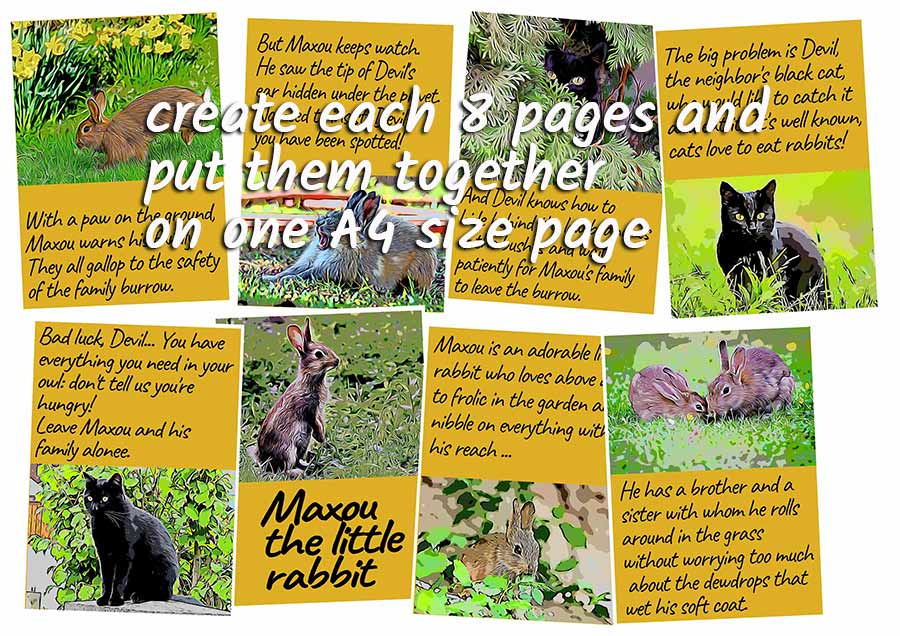
You will notice that pages 4, 5, 6 and 7 are upside down, it's normal !!!
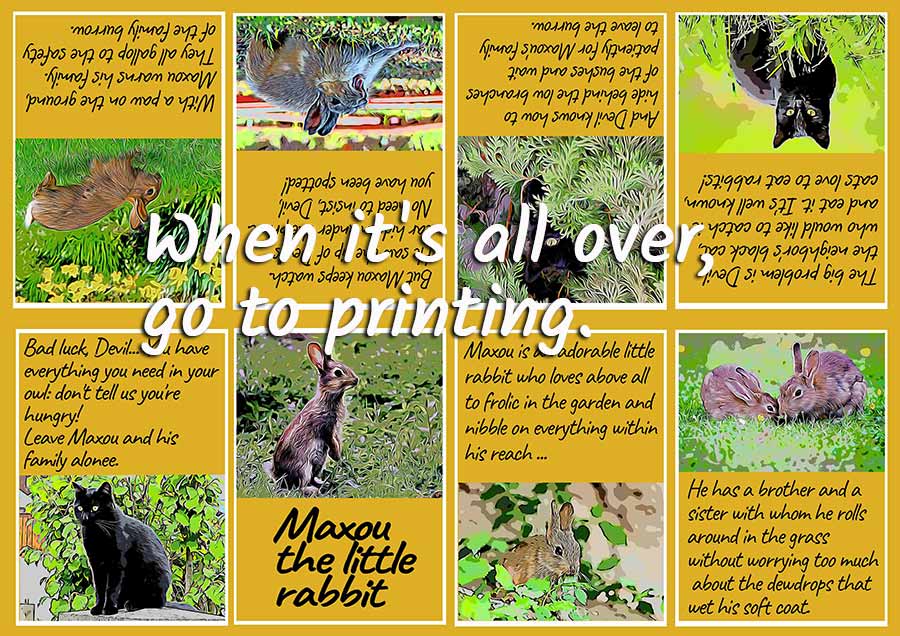
You just have to put the pages back in the right place !
In general, Image processing softwares have alignment functions that are very useful: I would have been better off using them !!!
This method has the advantage of not being complex: and if you only have one mini-book to create, this is the one I recommend.
 Ready-made grid method
You are going to download a ready-made grid and work with it to place your texts and images! This grid contains two layers : the background and the grid itself . This grid will always be placed above the stack of layers, and the background will always be placed below the stack...
Create a layer that you insert between the background and the grid.
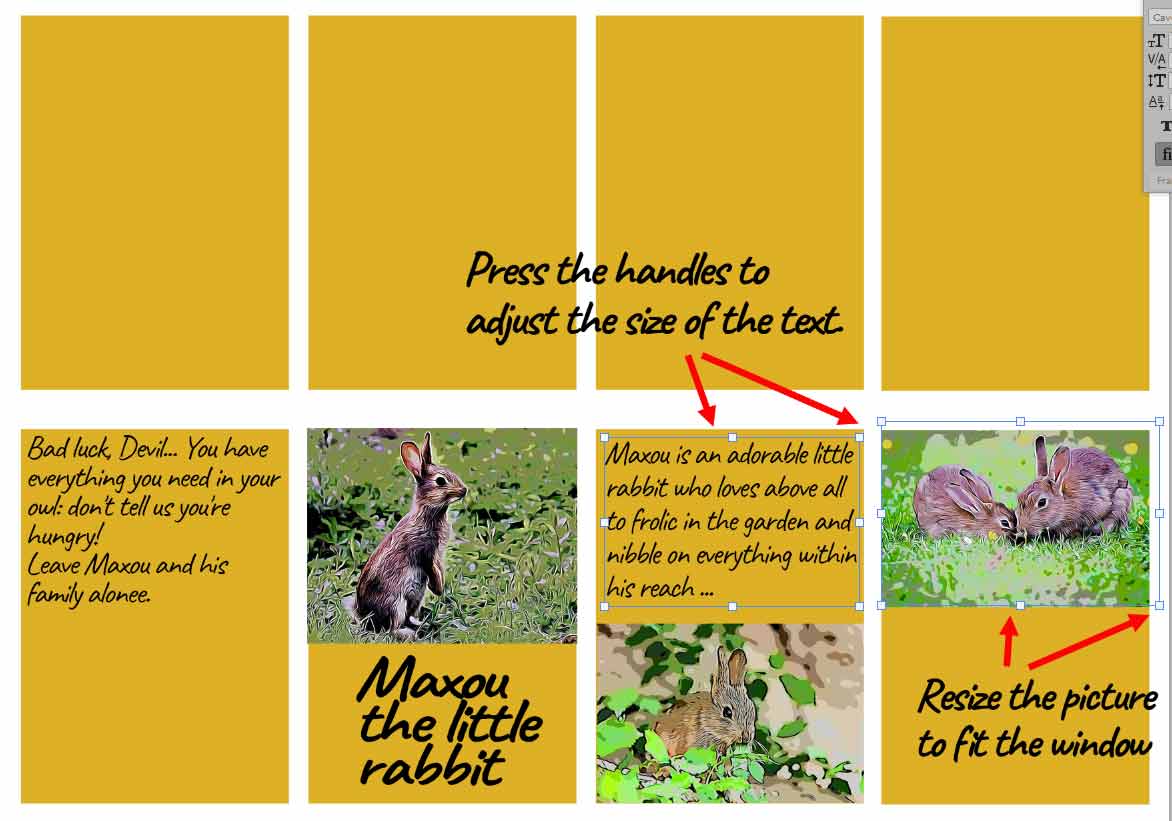
Drag and drop your photos, resize them and put them in place... Complete with the texts ! If the text overflows, you can change its size by playing on the handles while pressing SHIFT.
This method is probably a little faster than the previous one... but offers a little less flexibility. A big advantage for it is that the photos are easy to resize...
 Word text zone method.
If you are a teacher and you plan to create several mini books, here is a last creation method, a little more elaborate than the previous ones, but which will allow you to go fast, very fast!
You are going to create a template with your word processor (MicrosoftWord, OpenOffice...) a page in A4 landscape format in which you are going to create 8 "text zones" measuring 7x10.
These text zones will then be set up and linked to each other so that the surplus of text spilled in zone 1 can "flow" naturally into the other zones... This will facilitate the inevitable text or layout revisions. Look at the Tutorial made on this subject...
And if you want to try a model I have prepared one for you with MicrosoftWord where the zones are placed and linked in advance. All you have to do now is pour the text into it !!! You can download this template here . It is ready to use !
Otherwise, if you want to know the technique used to create the template, have a look at this tutorial page: creating a mini-book template.
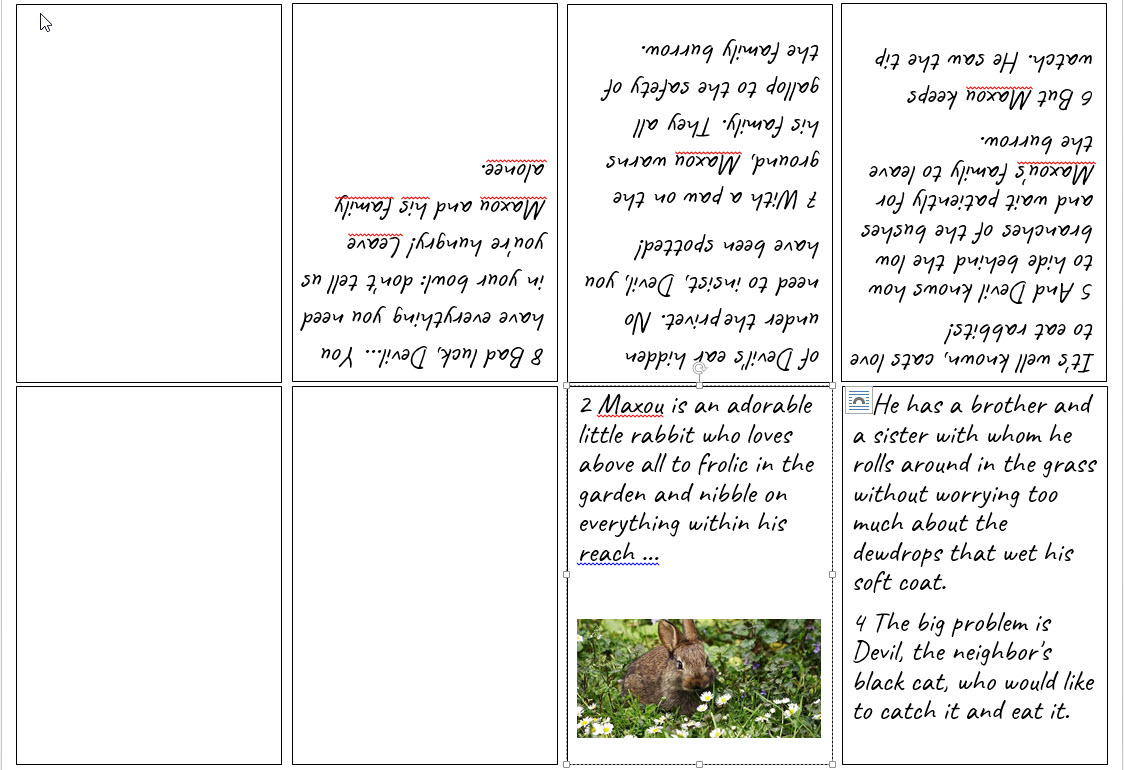
In the WORD template you downloaded, select "TEXT" and paste the text of your mini-book... The text will automatically flow into the pages. You will then add the illustrations on demand.
In each area, you can pour text or images . As the pages are linked together, the excess text flows onto the next page... You will be able to play with the size of the characters to fill your whole mini-book... You will also have to adjust with paragraph endings to save space...
When your editing looks correct, save and print. Fold and cut to test your mini-book... There will surely be some touch-ups to do!
Colonne2