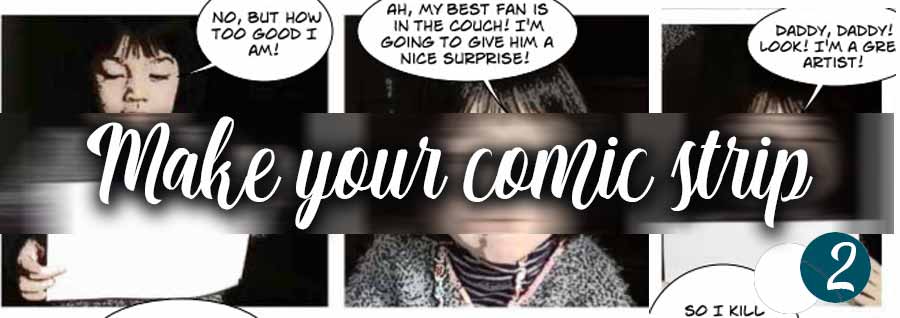
MAKE YOUR COMIC STRIP
FROM PHOTOS (2)
Part 2 : COMIC PAGE LAYOUT
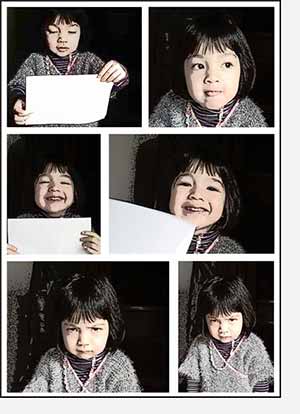 As a first step we must not complicate... I chose a simple layout... namely : 6 images on a 21x29;7 page (A4) in 3 rows of 2 vignettes. Later, with a little practice and more photos, you can easily increase this number...
You'll also notice that the panels have changed ... they are now with light colors ... The technique to create them is explained HERE.
So ... if you're ready, we start!
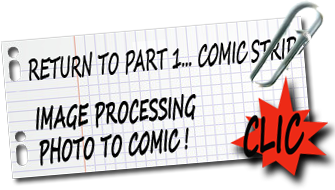
If you want before to see the page 1 : IMAGE PROCESSING, click on the picture above .
 Prepare page
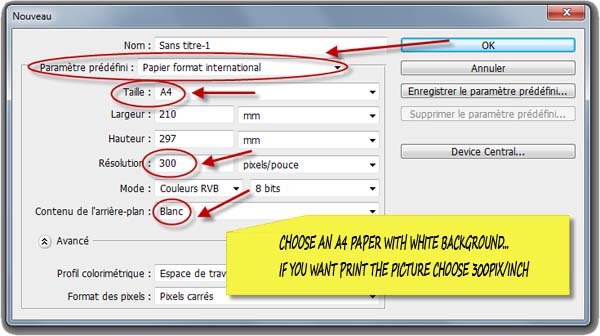
Open Photoshop and create a new page in A4 format by running : File> New and then by filling as indicated the dialog box that opens.
You will now prepare the page to receive photos ... A quick calculation : there are three rows of thumbnails ... separated by margins of about 5 or 7 mm wide ... Your vignette panels will be therefore approximately 9cm high ...
In a real comic strip, the height of the panels can vary from one line to another ... but we said we should not too complicate!
Bring up the rules if they are not visible by pressing Ctrl+R or View> Rulers ...
With the mouse, click the horizontal ruler then, without releasing the click, drag down : a line (blue) is following you. Release the line at 5 or 7mm from the top of the page...
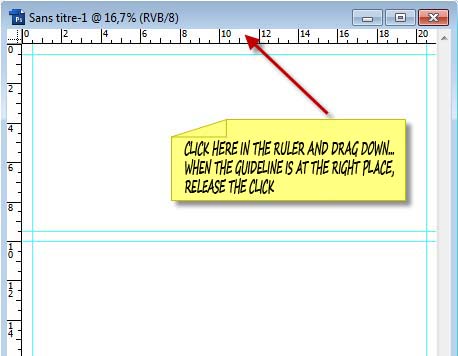
drag down and turn up all the lines defining the margins ... To facilitate the work of aligning the frames, run View>SnapTo> Guides.
 Lay out of the first vignette
Now open your first sketch ... and slide it on your page ... a new layer appears: name it vignette1 in the layer panel.
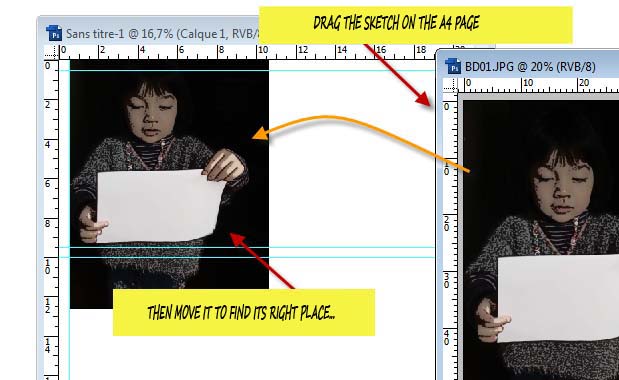
With the move tool, drag the sketch and move it on the comic page to find the right place ... You can resize it by doing Ctrl+T and then move the handles that appear (do not forget to hold the shift key to maintain proportions).
When you're satisfied, you will crop the image by eliminating what is beyond the guides. With the marquee tool, determine the good frame, it is facilitated by the "magnetism" of guides ...
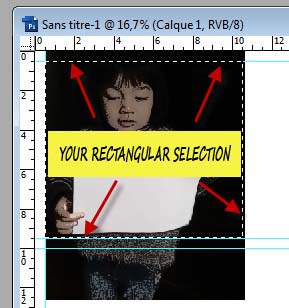
Then do Select>Inverse (or press Ctrl+Shift+I) Finish by pressing the Delete key ... Your first vignette is at its right place...
 How to resize a sketch...
Often we have to resize a sketch by expanding it... and it is not always easy to align the panels. The following process has the advantage of not being too complex (the photoshop purists will howl now !).
Open your second panel and, with the move tool, drag it onto the cartoon page . A new layer appears ... name it vignette2 .
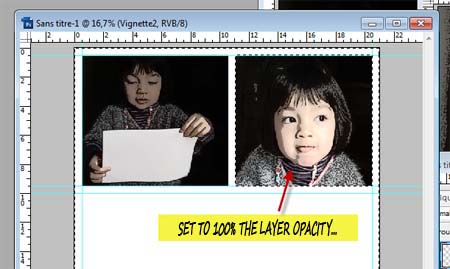
In order to better manipulate this image, give it an opacity of 40% (I put 36% in fact ... but it does not change anything) ... Thus, you can re-size it while maintaining a good view of the page because it is transparent.

Reveal the resizing handles by pressing Ctrl+T and don't forget to hold down the Shift key to resize the image to your liking.

When it suits you, confirm by pressing Enter, then take again the rectangular selection tool : select the part of the sketch you want to keep (your choice is facilitated by the magnetic markers). Then do Select>Inverse and then press the delete key. Your image surplus disappears.
Last phase ... Give back to the layer a 100% opacity ... Go to the layer window to do this.
Do now Select>Deselect and you are ready to place other images!
 Finishing the comic strip !
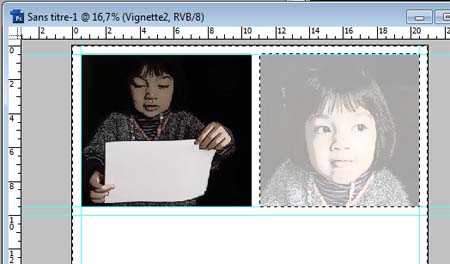
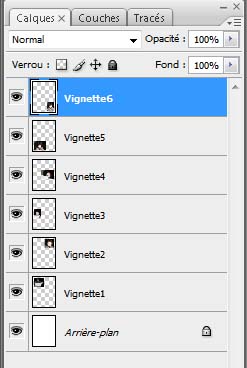
Open up the remaining images, and varying the panels, put them on your comic page. Each time a new image is placed a new layer appears .
When you're done, you have six layers superimposed and a white background.
Start by saving your work in .psd (photoshop format) that will allow you eventually touch-ups. Then merge your layers (command : Layers>Merge Visible) or Shift + Ctrl + E.
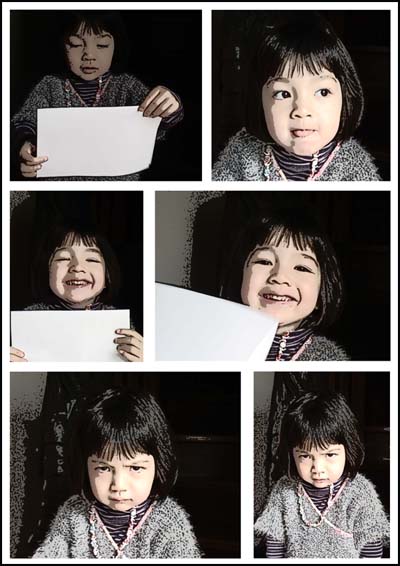
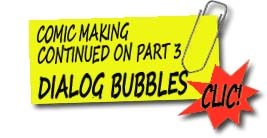
Then save this file format. ... Jpeg. This jpeg image will be used for bubbles and dialogs ... click to see the dialogues and Bubbles page!
Learn makingcomics!
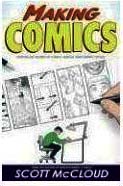
Making Comics:
Storytelling Secrets
of Comics,
Manga and Graphic
Novels
Making Comics, like its predecessors, is also an eye-opening trip behind the scenes of art-making, fascinating for anyone reading comics as well as those making them .
Drawing Words
and Writing Pictures:
Making Comics:
Manga, Graphic Novels,
and Beyond
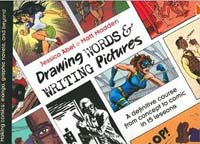
Learn to create your own comics with Drawing Words and Writing Pictures, a richly illustrated collection of 15 in-depth lessons that cover everything from crafting your story to lettering and laying out panels.
Cartoonizing is easy! : From the first pencil stroke to completion [Paperback]
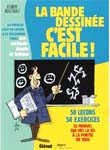
This comprehensive book includes 50 lessons and 50 exercises and put the comic strip making to everyone!
In french language... but easy to understand