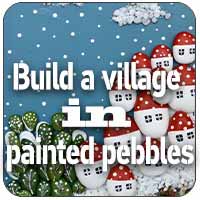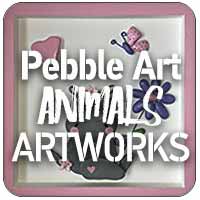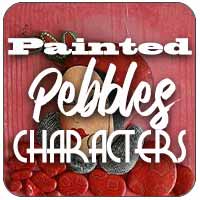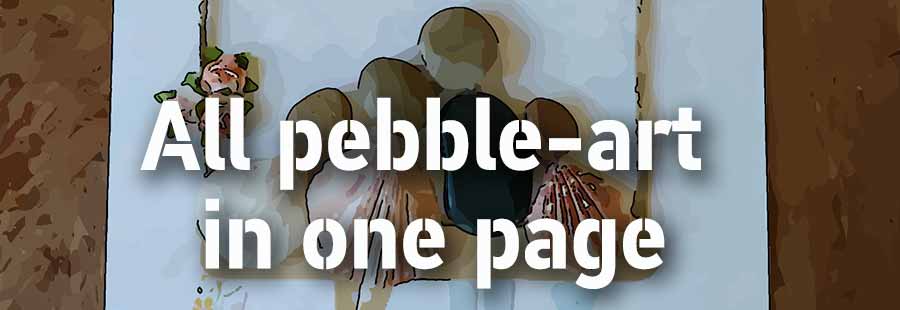
All the pebble-art in one page...
What you need to know about pebble-arts
The "Pebble-Art"... what is it?
It is quite simply the art of making and then framing small scenes or landscapes made with pebbles, pieces of glass, natural elements...

It's a wonderful activity with immense decorative power that will involve the whole family... from the collection of materials to the final hanging of the painting!
 The material for pebble boards
First, the family will have to be mobilized to collect very small pebbles worn by the sea. No question of bringing back complete rocks, just small splinters polished by the surf.
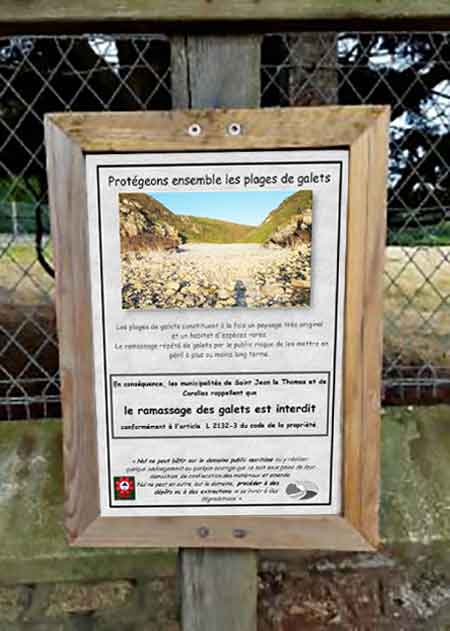
On this subject, a warning: it is forbidden to pick up and take with you pebbles ... It's not right on a prohibition which risks to see you thrown in jail if you transgress !!!
Favour small flat pebbles with an elongated shape (if you want to simulate human forms) or very rounded. Collect also the shells splinters of all colors ... Do not forget the small pieces of frosted glass, of all colors... There are places on the beach where there are more than elsewhere : you have to find these places !
Constitute a war treasure in which you can draw later on according to your imagination...
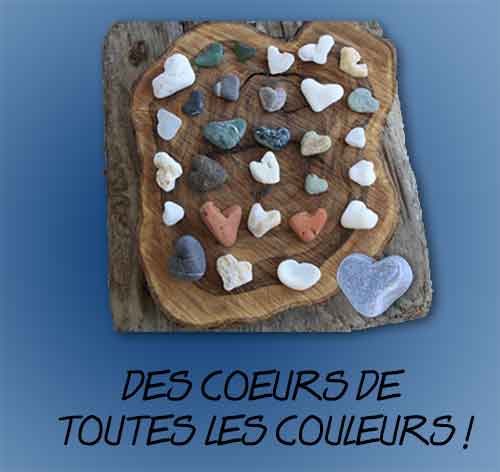
You will have the chance to fall perhaps on natural shapes in heart for example... Do not pass without seeing them!
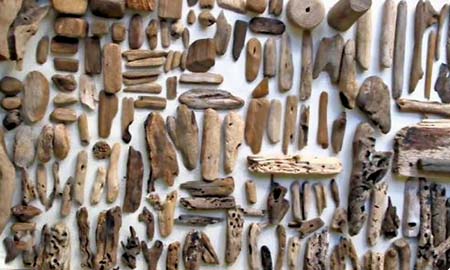
Don't forget also the driftwood: tree branches or even pieces of planks with shapes tormented by the sea! All this will be useful later!
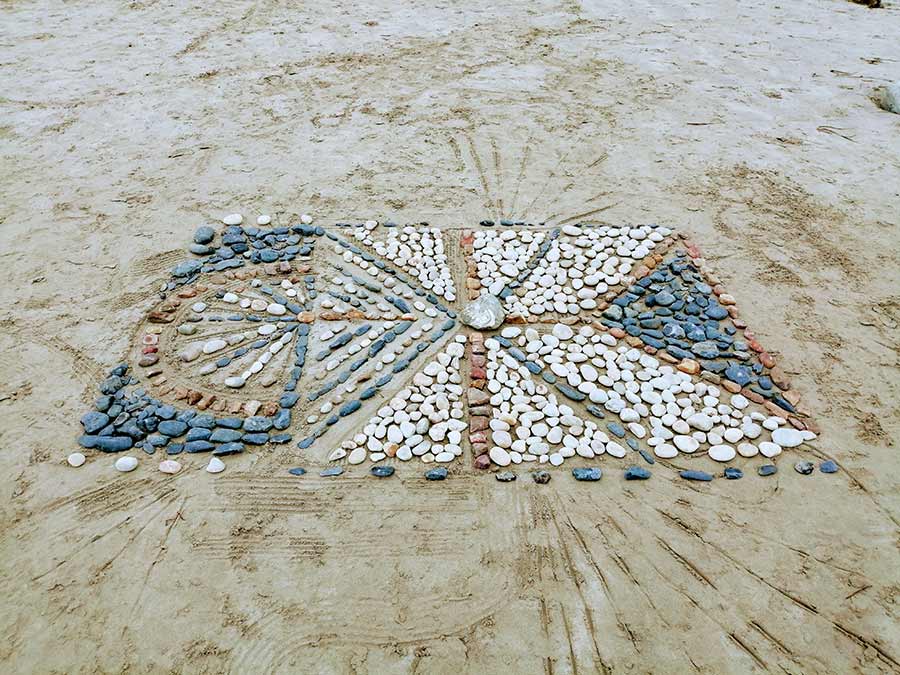
Already, you can, directly on the sand of the beach, train yourself to arrange your pebbles in an artistic way ... This picture was taken in Brittany, in the peninsula of Crozon where the pebbles have very varied colors...
 Material for the creation of the pebble board.
It will be necessary to fix the pebbles between them or on a support (bottom cardboard, piece of floating board or other). For this, a strong glue is necessary. You have 3 options:
- the tube of strong glue: style UHU, SCOTCH
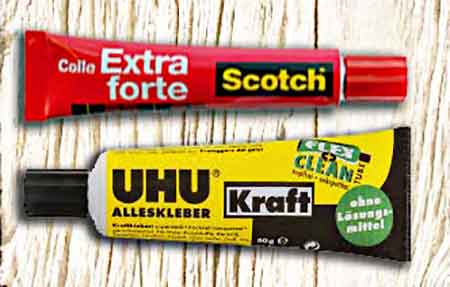
Do not use glue like "super glue" which, when drying, has no thickness: your glue must be thick to give some support to the irregular pebbles you are gluing .
- the tube of translucent silicone glue (sink seal style). It's better than glue in tube... a silicone dot glues perfectly and it's movable...
When it comes to brands, you'll be spoilt for choice ... RUBSON, CYANOLIT or BOSTIK...
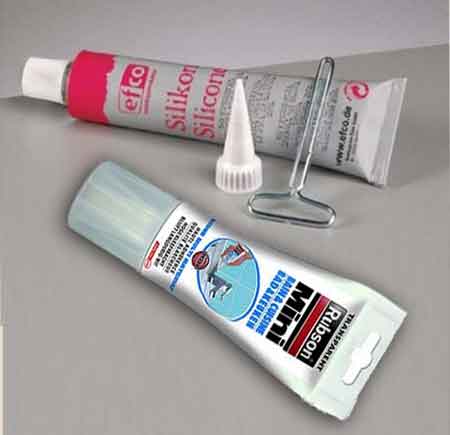
Sutout, choose a tube with a conical applicator for more precision.
- the glue gun... it's the ideal and most practical. The advantage is that gluing is hyper-resistant and practically instantaneous. Don't buy it only for these pebbled boards: it will find its frequent use in the home for fixing, repairing, joining...
De nombreux modèles, depuis le basique BLUSMART(moins de 10€) jusqu'au très précis BOSH (à 30€) en passant par le très suffisant ZACRO... Ce n'est pas le choix qui manque !
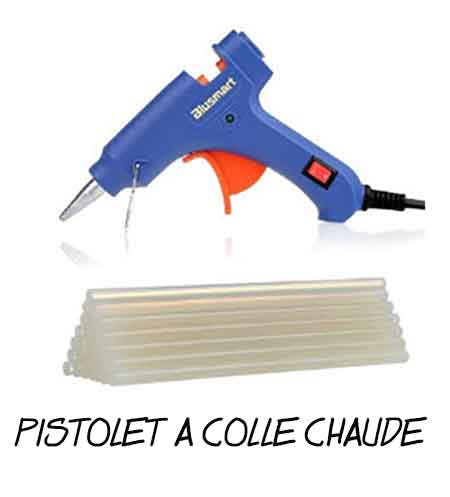
The operation of the glue gun is simple: plug in...insert a glue stick from the back...the trigger is used to push the glue into the heating part: the melted glue comes out of the nozzle and is ready for use IMMEDIATELY. As it cools, it solidifies and adheres strongly to almost all materials.
 The search for subjects, scenes
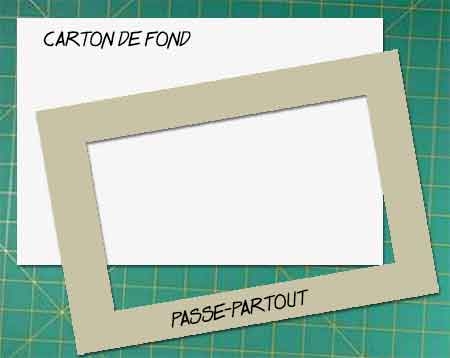
It is better if you already own the frame that will contain your work... This will give you the dimensions of your creation space. I advise you to cut out a passe-partout of the same size as your background cardboard. You will work on the passe-partout and backboard.
On a white sheet of paper, you will arrange your pebbles while looking for shapes... It's easier to start with characters and imitate what has already been done. The creation will then come with the habit!
With 4 well chosen mini pebbles you create an expressive character: ...legs, trunk, head and arms... This is where the flat and elongated pebbles are precious.
Compose on the background cardboard and the passe-partout... move your pebbles... From time to time, take a picture with your cell phone, then move it again and again... and again...
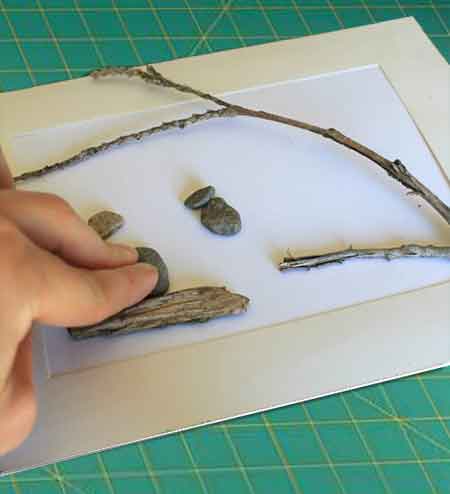
You will thus create scenes: seaside, mountain scenery... And when your subject suits you, you will move on to collage.
 Collages
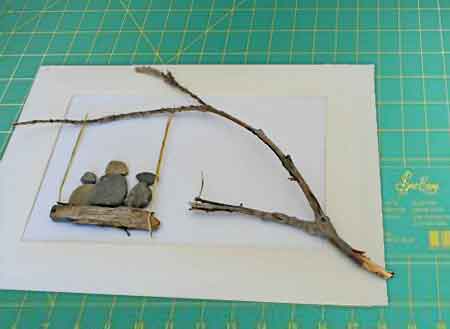
Choose your background cardboard... It can be white or grey (more class!) and fix your pebbles by centering the subject.
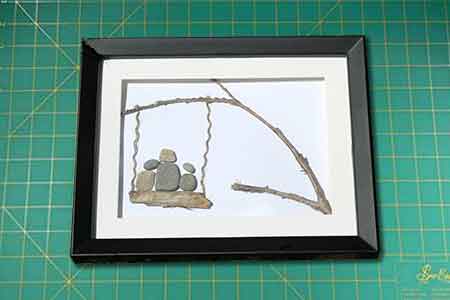
All that's left to do is to "frame" the subject... I chose a cheap black frame, from GIFI and already equipped with a clear mat: I would have preferred a black one but it looks good anyway...
You must obviously think about putting extensions inside the frame to prevent the characters from being pressed against the glass of the frame. A significant recess is more elegant!
Advice and achievements.
To give even more relief to your composition, do not hesitate to "get out of the mat" which will animate your scene and give it rhythm!
Look at this example in which the branch overflows from the passe-partout, which gives this impression of depth accentuated by the detached frame... To simulate the leaf of the tree, we glued small pieces of rolled glass picked up on the beach! Note also the use of 2 mats, one of which is deliberately off-center !
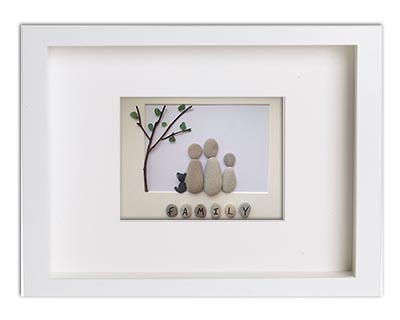
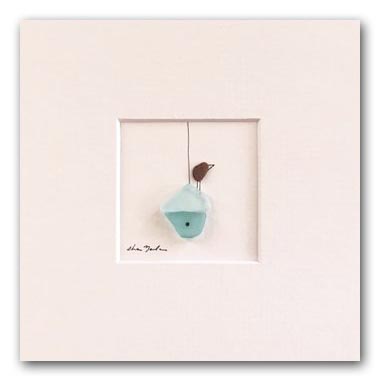
Also try a sober minimalist painting, stripped down, finally very elegant:
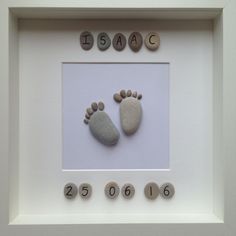
For a birth ... small feet of babies who are on their way to life ...
It's up to you to play with your personal creations !!!