Decorate stairwells with picture frames
CREATING A STAIRWAYS PHOTO GALLERY : TUTORIAL
Hang your frames going up stairs!
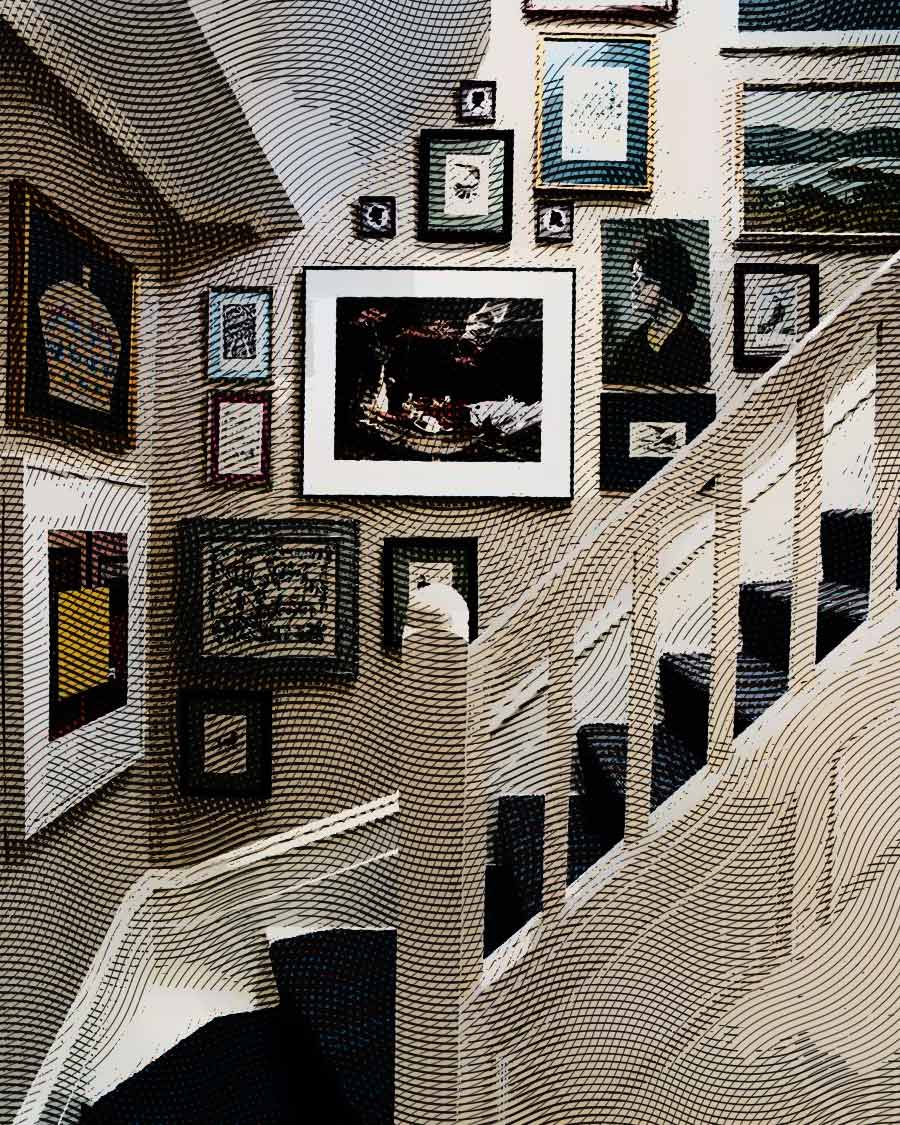
In movies or in decorating magazines, we often see stairwells decorated with picture frames in a very attractive layout.
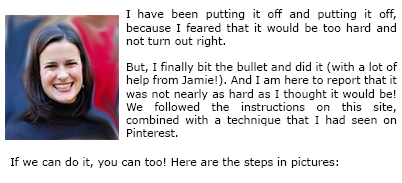
But when it comes to decorating our own homes, we are afraid because we think that it will be too hard or not turn out right. Where do I start ? How do I select and distribute the frames ? How high do I place them?
These are all questions that we would like to answer for you.
It is the purpose of this page to give you a simple method that you can easily adapt to your individual needs to give your home the decorative effect you desire.
This page complements the stairways arrangement part of this site.
Note: Special thanks to Jamie and Tara DEW who kindly shared with us the photos of this tutorial.
![]() Tutorial hanging frames upstairs
Tutorial hanging frames upstairs
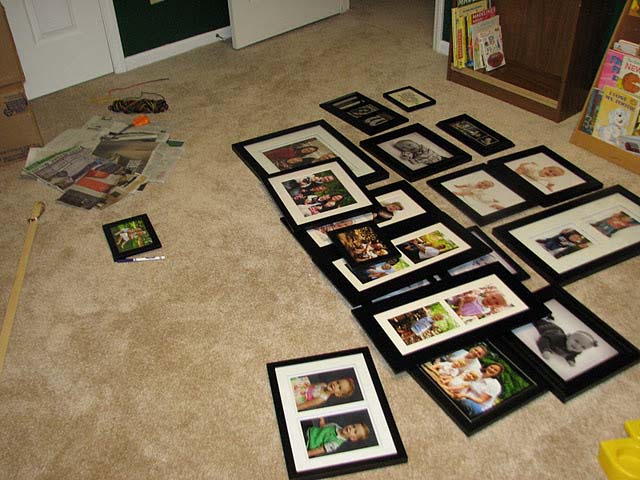
 Select your frames
Start by choosing your frames. You want UNITY, so choose frames with the same shape and color. But do not forget DIVERSITY by varying the size of the frames and possibly even include an intruder frame that's not the same color or shape. This will give rhythm to your layout.
You can find all sets of frames in different formats : I think particularly of the series RIBBA from IKEA stores which offers a large variety of size and shapes ...
You can find all different sets of frames in a variety of stores (IKEA, Home Depot, Kohls, Target) at very attractive prices.
You can even make them yourself if you are a handywoman...
After you have chosen your frames, sort them : put the biggest frames/most "important" on one side and the smallest/least "important" on the other.
 Materializing the baseline
To obtain a visual harmony, it is necessary to view the baseline before trying to hang the frames
To do this, measure 1.65 m from the first step of the stairs and then do the same extent from the last, put pins and stretch a thin wire (thread, kitchen string ...) to "materialize " this baseline.
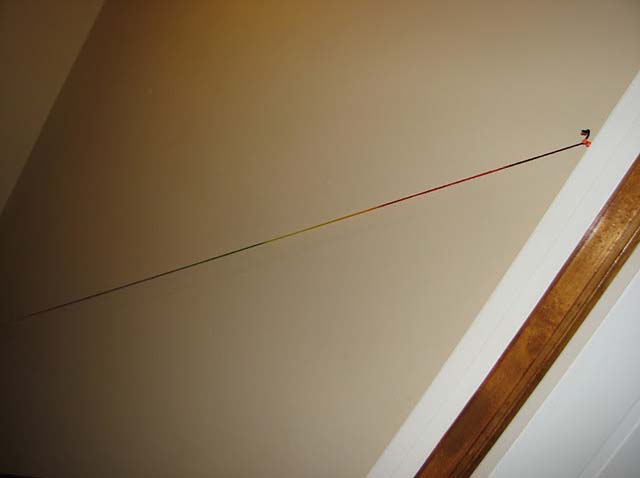
It is on this line that will be centered your most important frames.... If the staircase has a handrail, this baseline is of course parallel to the handrail.
You can refer to this page for further explanation ...
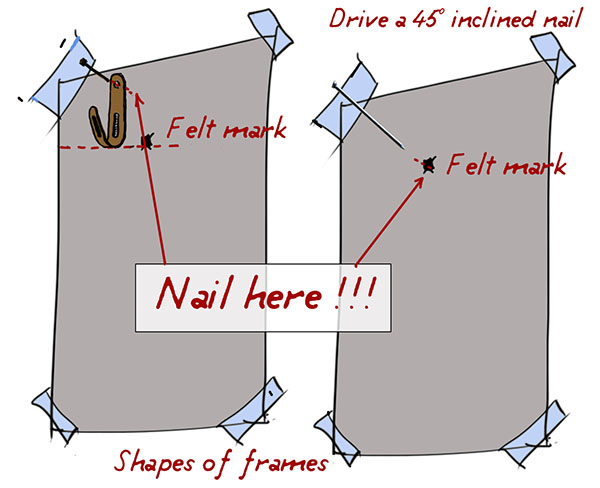
 Cut out the "frame shapes" in newspaper
Trace your frame shape onto newspaper or packing paper.
Don't forget to label each paper piece with which frame it is. Also, make sure to felt mark on the newspaper the hanger that's on the back of the frame.
This will tell you the place where you will nail the frame into the wall.
(Usually, these are lightweight frames for which a single nail, 45 ° drived, is enough for a good wall mounting)
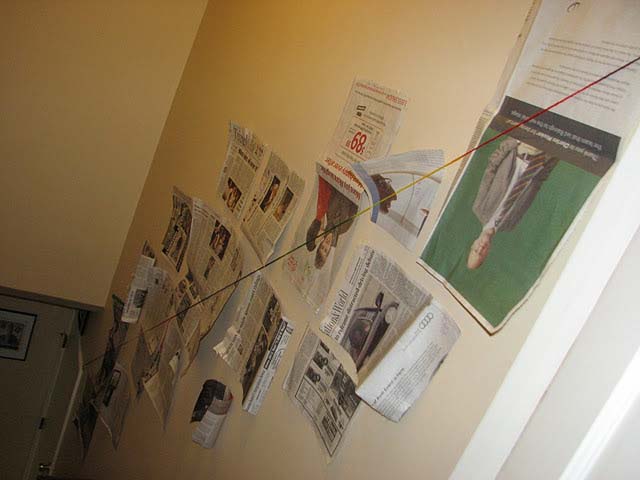
 Tape the shapes on the wall
Start by placing the "most important" paper shapes first.
Tape them to the wall using painter's tape so that they can be easily moved.
Then, fill in with the smaller frames.
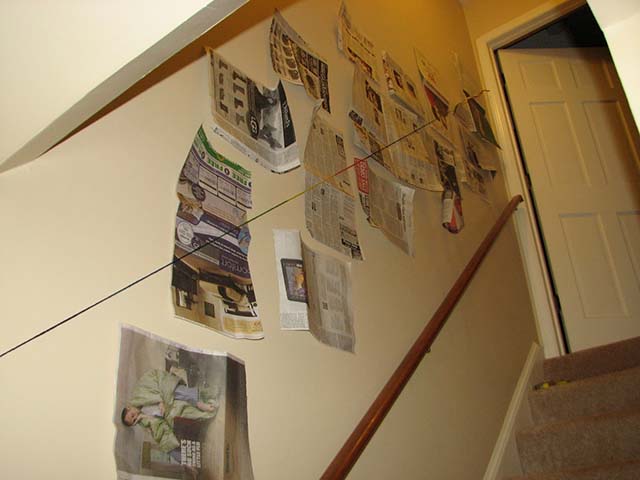
Just keep moving and adjusting your pieces of paper until you are happy with how it looks.
 Start hanging frames
Gradually replace the "shapes" by frames ... until all frames are hung ... Be attentive where to drive the hanging nail...
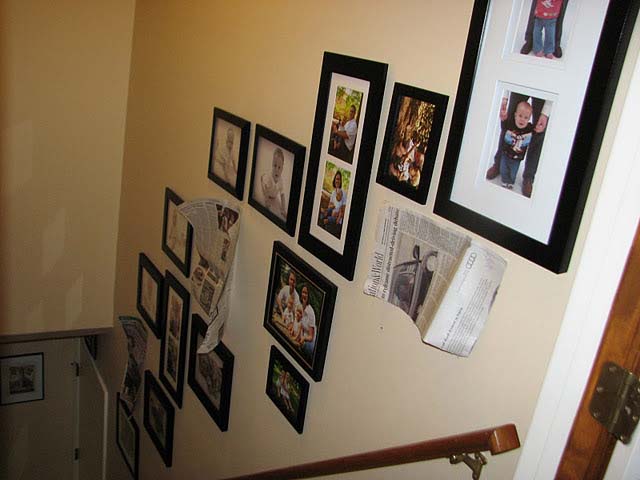
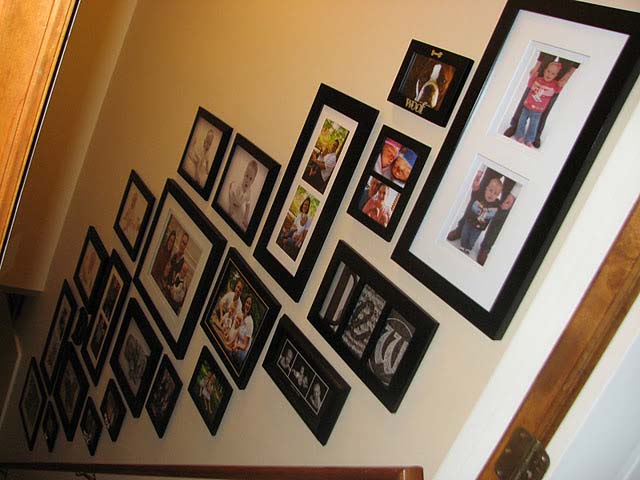
Here is the view from the top of the stairs when finished.
How to Make Your Own
Picture Frames
Ed Reinhardt, Hal Roger
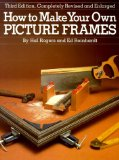
This book covers all aspects of frame construction, painting, mats, glass-cutting and usage. A great book to trigger your own ideas to create custom frames.
Making pictures
frames in wood
Manly Bannister
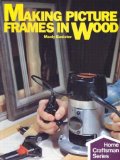
Create all kinds of picture frames from simple wood mouldings to elaborate carved types.
Frame It!
by Tonia Davenport

Framing isn't something one has to leave to the professional.
With Frame It! readers will learn how to use ready-made frames and inexpensive framing materials to create frames perfect for their favorite photo, piece of artwork, canvases or souvenir.