
Frame a painting
how to make a Floater Frame (1)
Why a floater frame ?
The Floater frame (also called american case in France) particularly highlights the modern arts made canvases or on hard and thick panels.
Adopted by all the art galleries and even by the great museums it gives the impression that the art "floats" without attachments in its frame ...
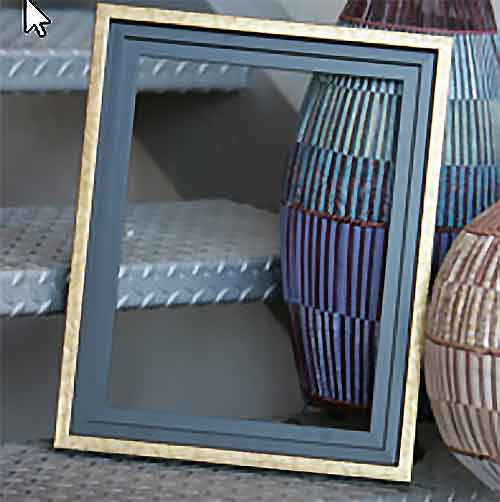
It is very well suited for canvases frames but does not lend itself to the framing of "cardboard packs" , which require a rebate frame moulding.
At the limit for paintings on canvas board by fixing them with serious double face.
The manufacturing principle of this first box is extremely simple and uses only a reduced material ...
 The equipment to make a floater frame
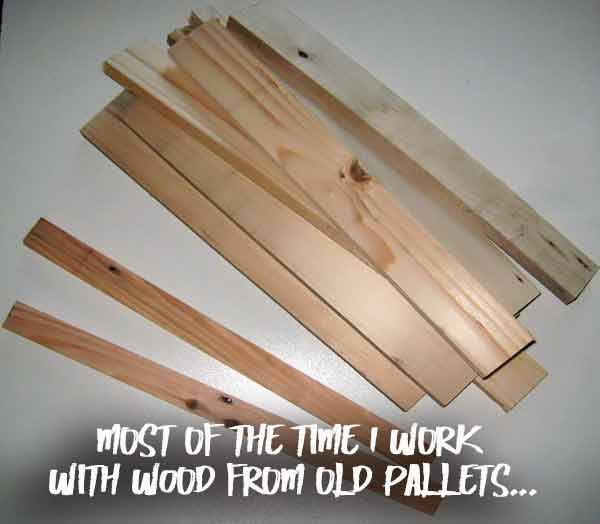
Wood strips
You need Wood strips with rectangular section 1.5"x0.5" : you will find them in your local hardware shop or do-it-yourself shop.
if you are handyman, you can use wood offcuts or wood from handing pallets... If you have power tools, you can start with boards you length cut to obtain wood strips...
Dimensions given are not critical and you can adapt them according to the wood strips you will find in your store.
Tools
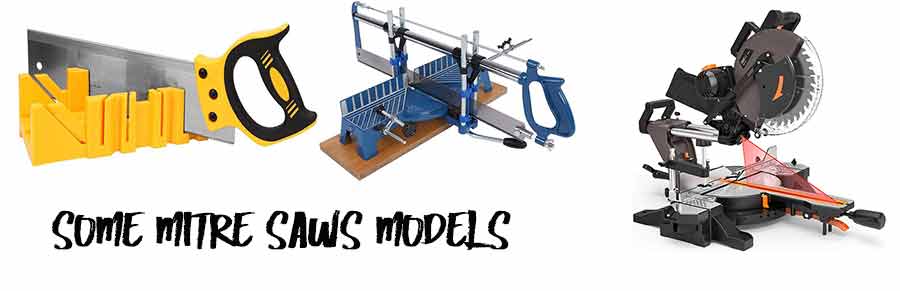
A framer saw
To easy cut your mouldings, you need a framer mitre saw...
You have the choice between several models... The basic mitre box, the framer saw or electric mitre saw... from $15 to... no limit ! Have a look HERE...
You need a good wood glue... Don't bargain about glue : choose the better you can find !!! In Europ, I love PATTEX glue but don't know if it's possible to find it in USA ??? As usual, look at AMAZON website to get an idea.
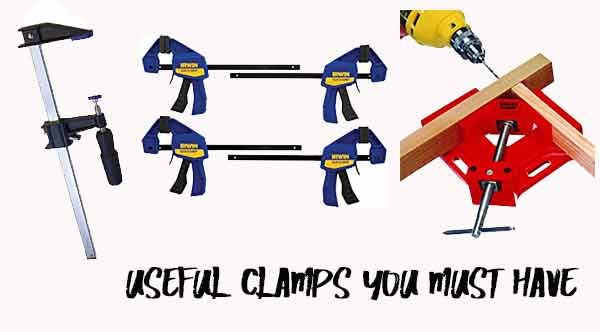
Some wood clamps ! When you glue woods : better is the tightening, better wil be the binding... Don't forget to clamp your wood strips very carefully !


 The painting to frame
This is a small oil painting (1) 7"x5.5" made on a isorel hardboard .

 Slats assembly
The slats are bonded perpendicularly to one another. I give dimensions in cm... but it's not a problem !
Glue the edge of the first cleat with Pattex wood glue or similar and apply it on the second one following the edge (see the bonding diagram).
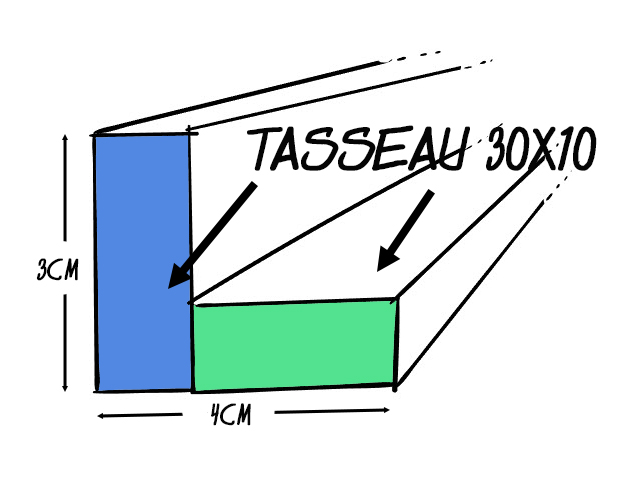
Fix temporarily with some half-pressed nails that will hold during drying or tighten with clamps.
You must obtain a molding in the shape of the diagram.
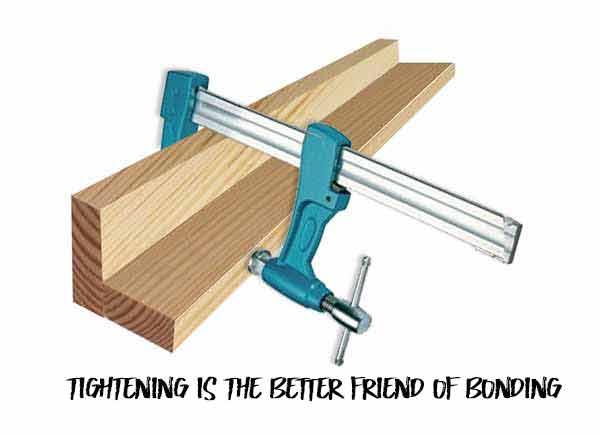
It's the tightening that makes the collage! But do not put too much glue. This one must not overflow on each side of the collage!
Repeat with other slats so that you have enough moulding for your frame.
When the glue is dry, sand with a belt sander or a fine sandpaper to eliminate any defects.
* To calculate your molding lengths, you measure the perimeter of your canvas and you add 10 times the width of your molding ... For example, for a 6F (41x33) and 4cm molding, you will need:
2x (41 + 33) + 10x4 = 148 + 40 = 188cm of molding ...
 Cutting the sides
The opening of your finished frame should be slightly smaller than the table to be framed so that it can be placed on the bottom of the box.
Cut the first side of your frame with the framer saw by first cutting a 45 ° angle.
The small edge of each element constituting the box will be 2cm less than the size of the table that corresponds to it.
For example, if your table measures 18.5 x 14 cm, then the small edges of the sides will measure 12 cm for the two shorter and 16.5 cm for the other two.
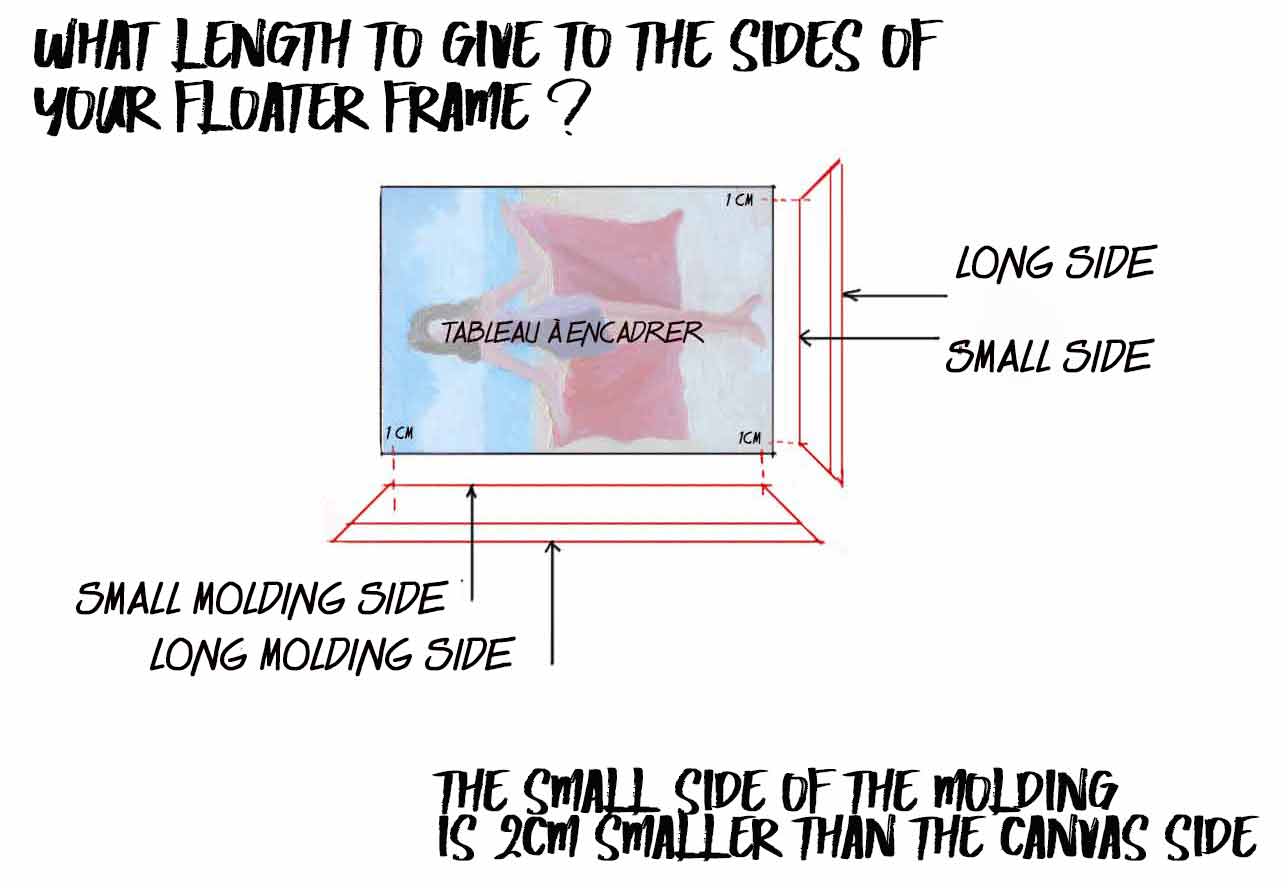
Thus, your canvas can be placed at the bottom of the box, covering it 1cm in all directions.
Cut the second angle at 45 °. Use this first side of the frame as a template to cut the second side. Overlay the molding and trace with a very fine pencil.
Better yet, work with the stop ... it's more precise!
By acting with care you will have two sides having exactly the same length and you will avoid insoluble problems during assembly.
Continue in the same way to get the other two sides of the frame.

 FRAME JOINING
When 4 sides have been cut, glue the tabs with the polyurethane Pattex, and assemble the box by keeping it flat.
You can then put presses or heavy objects to maintain your collage during drying time.
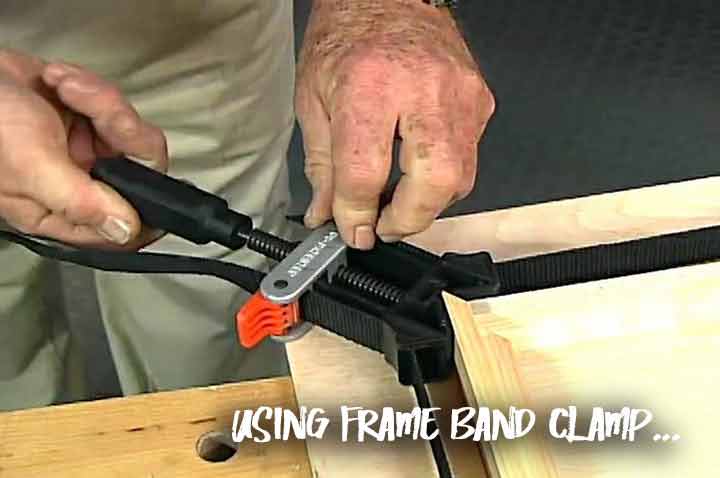
Obviously, it's better if you have band clamp, very cheap, needless to deprive!
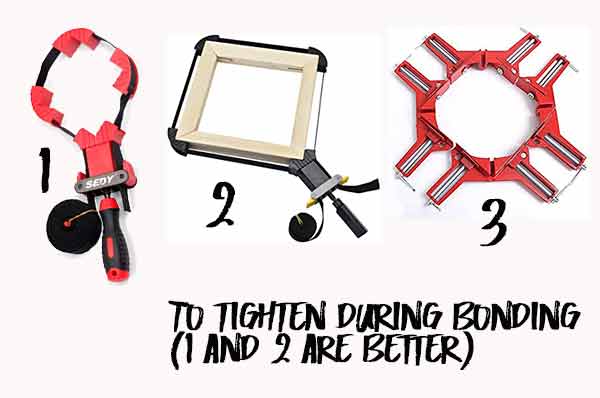
(see Picture Press )
You can also improvise a tightening with 2 clamps arranged in a cross. It is then necessary to tighten gradually and alternately each clamp while checking that no offset at the corners appears ... but it is not easy!
Do not be worried ... the Pattex glue, once dry, will maintain your assembly very well. These modern glues have amazing resistance!
If you do not trust agout joining, you can ensure it, after drying, with some staples nailed to the back with a stapler wall (or better ... but it is the luxury, with the tool LOGAN assembling frames that pose V-Nails or watch this tutorial page How to assemble a frame with V-NAILS .)
 Sanding and painting
Let the glue dry a day, then sand lightly to remove any wood defects. If this happens, mask the defects with the plaster and sand once it is dry.
Choose a paint color that is reminiscent of one of the colors used in the painting (in general, not the dominant color but one of the secondary colors ). It must also be in harmony with the colors of the place where the painting will be placed. A white "broken" pearl or a black satin agree most of the time.
One-sided satin acrylic paints with high coverage should be preferred, which have the advantage of drying quickly and not spreading solvent odors throughout the house.
Spend one or two coats of paint with very light sanding between coats.
 Mounting
If your painting is a canvas on frame: present it in front and fix it by the back with small screws that cross at the same time frame and canvas stretchers.
If your board (like the one shown here) is a hardboard (isorel or plywood), you can put it in place and hold it with small strips of double-sided tape around its periphery. Some adhesives are excellent and one piece on each length is enough ...

Next: making an Floater Frame2