What equipment to practice Pebble Art?
Everything is already at your place !!
The necessary equipment is really limited... And is certainly already in your drawers. So this list is only given for your information. I have put links that lead you directly to the AMAZON site that I have chosen for its numerous references but also for its seriousness, its quality of service and its great guarantee.
 Adhesives for gluing pebbles
It will be necessary to fix the pebbles between them or on a support (bottom cardboard, piece of floating board or other). For this, a strong glue is necessary. You have 3 options:
The tube of strong glue : style GORILLA, SCOTCH
Do not use "super glue" type glue which, as it dries, has no thickness: your glue must be thick enough to give a good base to the irregularly shaped pebbles you are fixing .
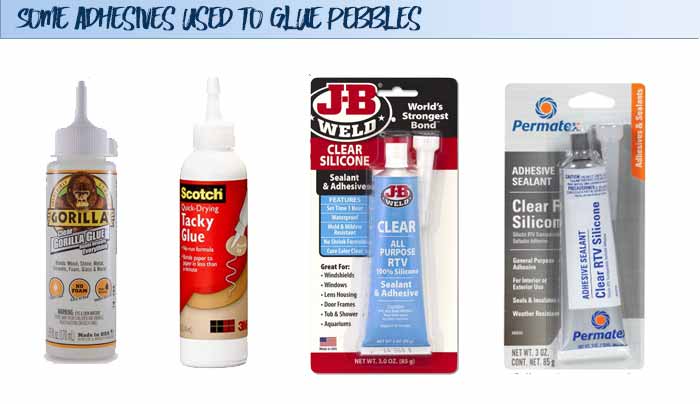
A tube of translucent silicone glue (sink seal style)
It is even better than the tube glue... a silicone dot sticks perfectly and the fixation remains adjustable for a few moments by displacement... Question brands, you'll be spoilt for choice ... Permatex, JBWeld or RVT4500...Above all, choose a tube with a conical applicator for more precision.
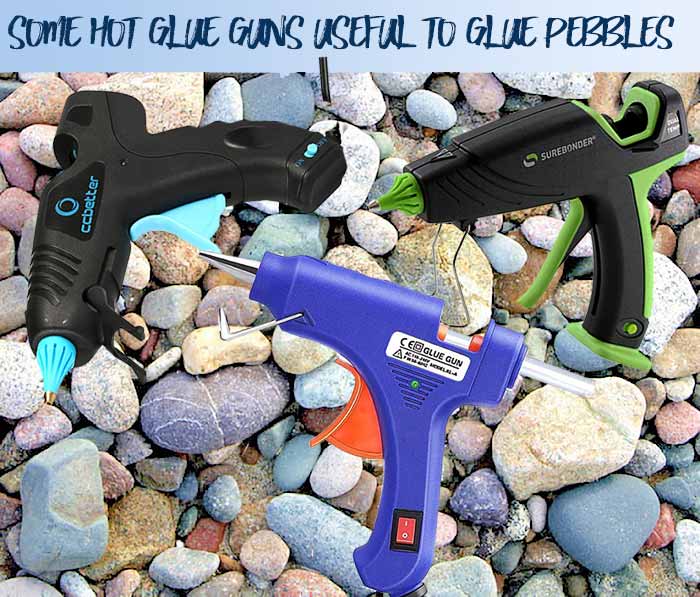
 the glue gun...
It is the ideal and most practical. The advantage is that the glueing made by hot glue gun is hyper-resistant and practically instantaneous.
Don't buy it only for these pebbled paintings: it will find frequent use in the home for fixing, repairing, jointing ...
Many models, from the basic CCBetter (less than 10$) to the very precise BOSH (at 30€) and the very sufficient TopInd... There is no lack of choice !
 Frames and background papers
A basic frame, painted or not, with its bottom and protective glass is often sufficient. Pebble paintings have a certain thickness, so don't choose a frame that is too flat. To prevent the pebbles from touching the protective glass, you will have to install extensions (wedges) inside the frame, which will increase the depth effect and, therefore, the decorative effect. The ideal is a "shadow-box!
Especially at the beginning, be content with "small frames" ... A "useful" part of 13x18 seems sufficient for small subjects... You can search on IKEA.com for their RIBBA series frames. The RIBBA series offers the advantage of great depth and is ready to be used.
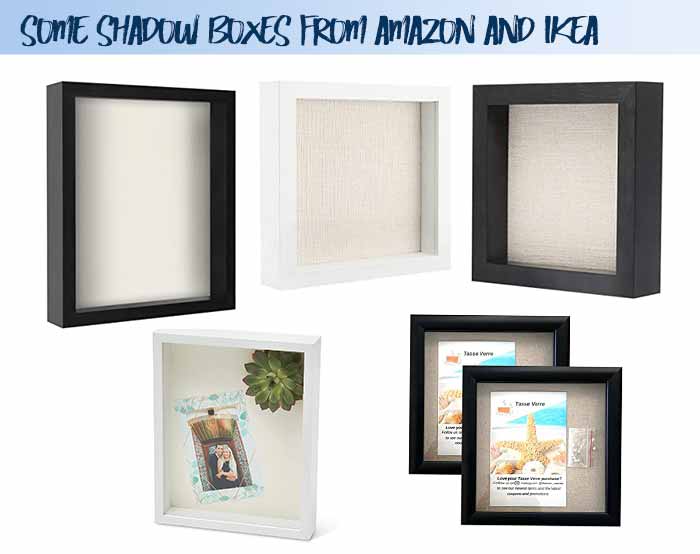
Many frames also at AMAZON, more varied in shape and price but presented in a somewhat confusing way, it is difficult to find your way through all these pages...
As for the structured paper, it must have a certain rigidity to support the mass of the pebbles without any problem (even if they are small, it goes very fast!). Instead of paper, hard cardboard cut out of packaging or better, featherboard that is both rigid and light enough, it can be cut very easily with a cutter blade.
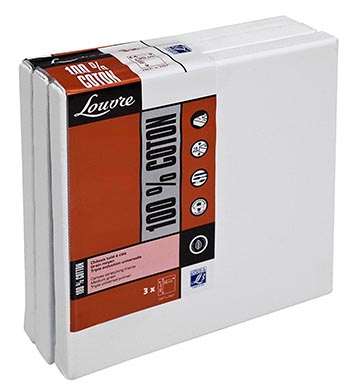
Another alternative: painter's frames... i.e. cotton canvas stretched over a wooden frame. This set of 12 20x20 frames is sold for less than 20$ !!!
You will find what you are looking for in all framing stores: GLASS FLASH, FRAME and DECO, CULTURA, GRAFIC... look for it in your city! And if you don't have a specialized store, take a look at AMAZON which has a beautiful collection of featherboard... especially the very elegant black cardboard !
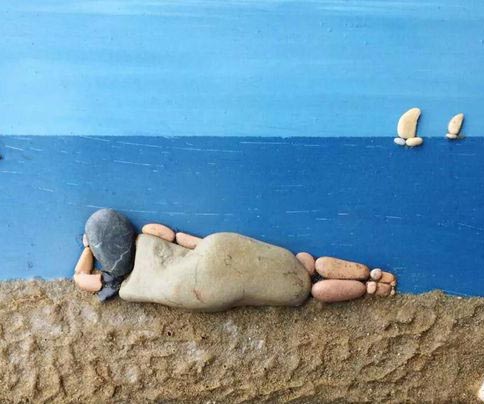
You can also work on a piece of isorel or plywood: the rigidity of these supports will allow you to attach larger and heavier rollers. Then use tile adhesive (a kind of ready-made cement) as an adhesive. In this case you will be able to "structure" your background by creating reliefs, by painting it as in the example below.
To all this add the "small basic equipment": scissors, felt-tip pens, ruler ... that you already have!
I recommend the "Bic Marking Pocket" felt pen which is very suitable: tip big enough without being too big.
Good achievements!
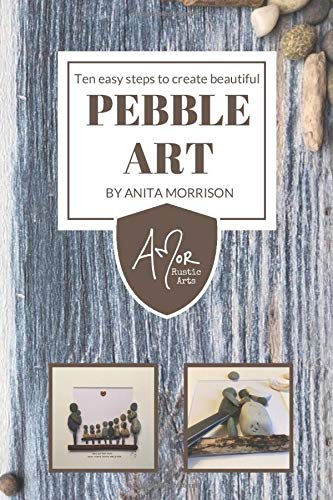
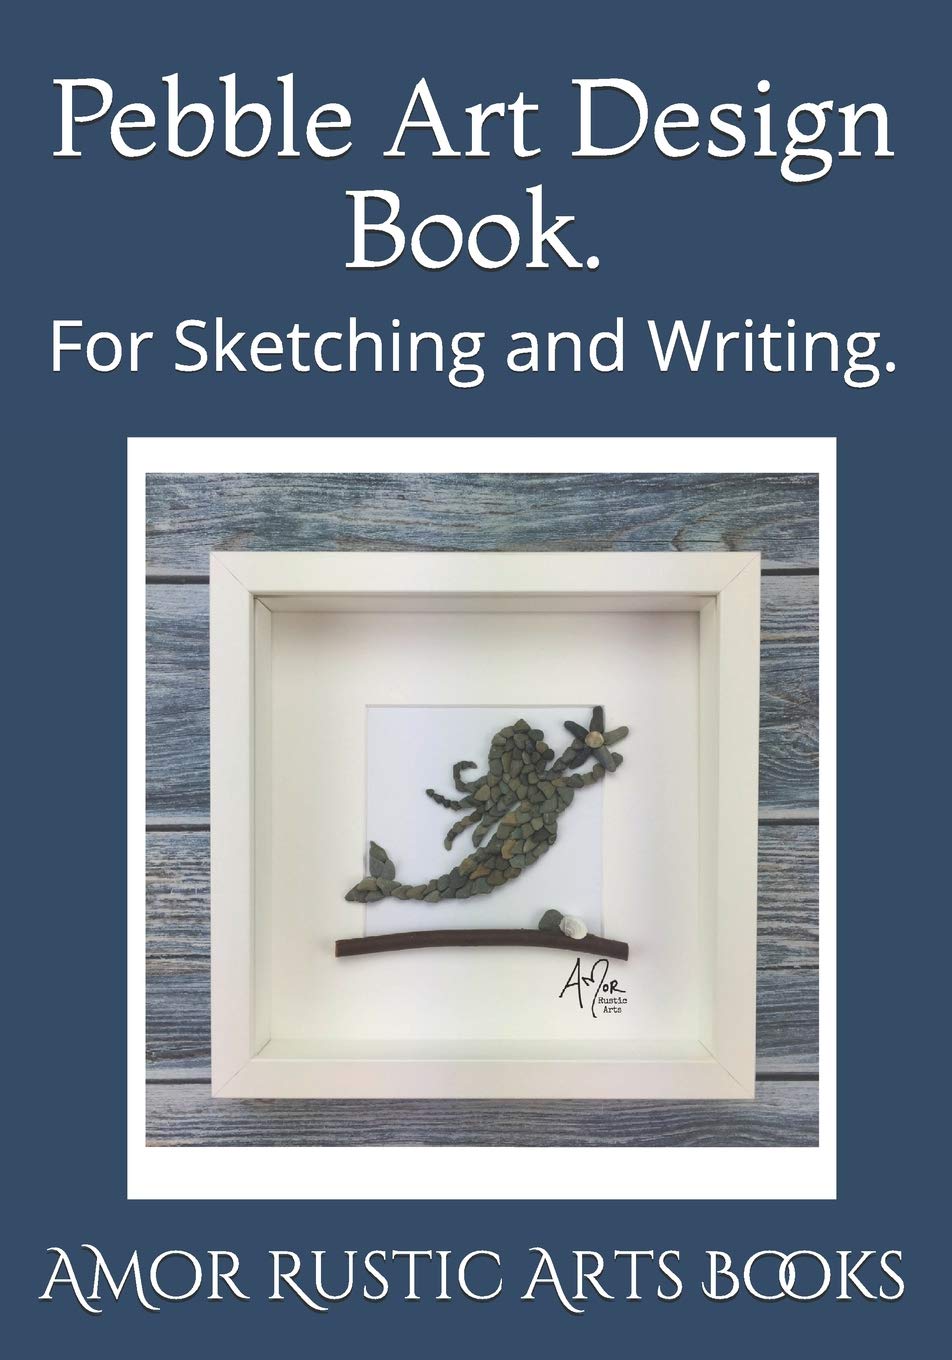
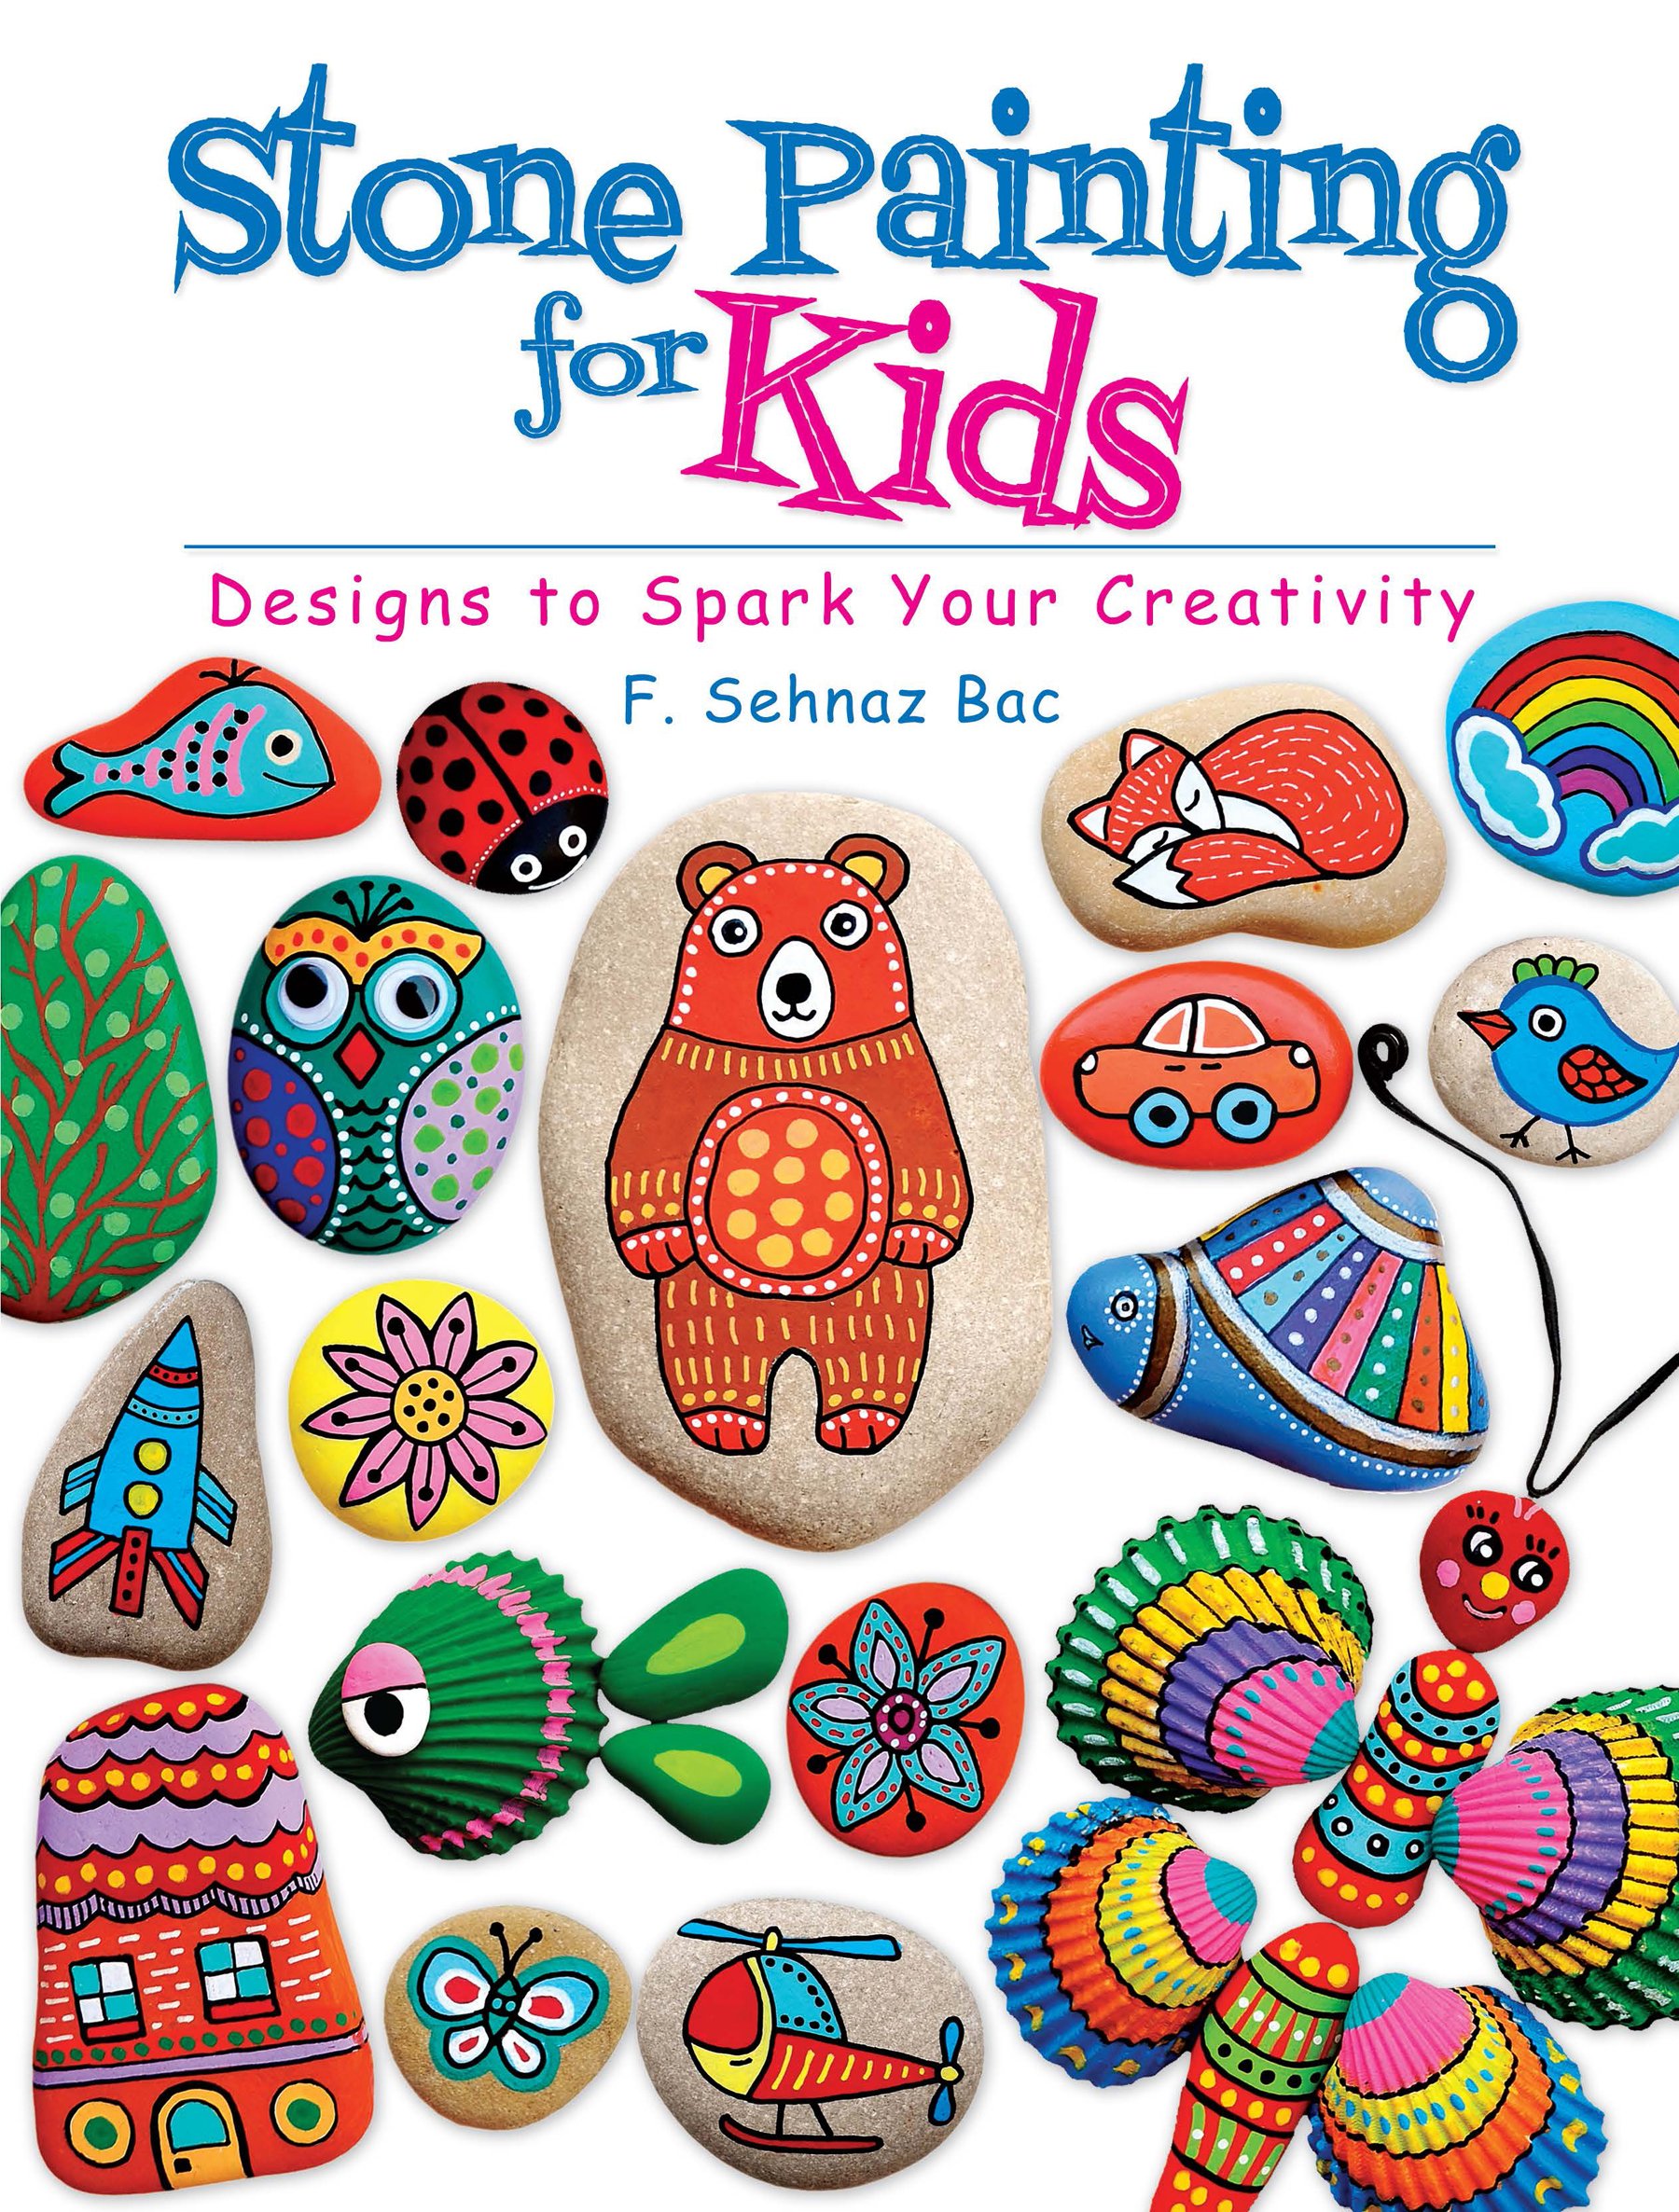
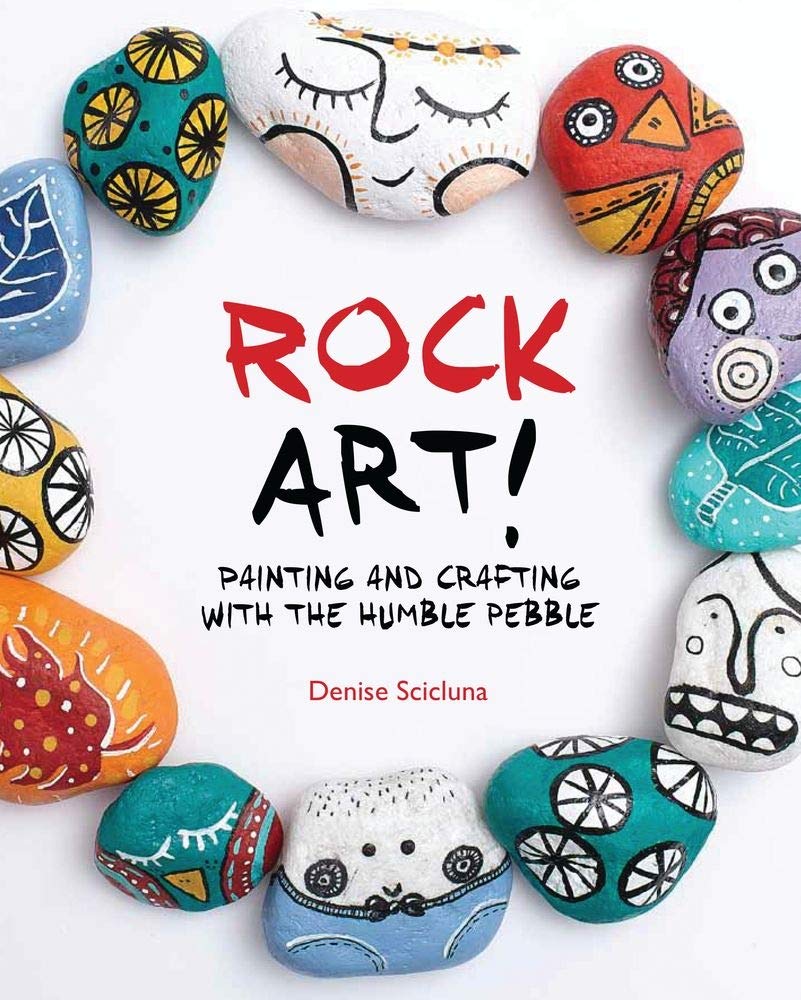
Some books on the creation of decorated pebbles