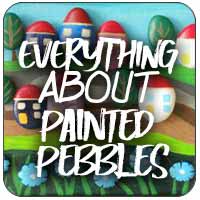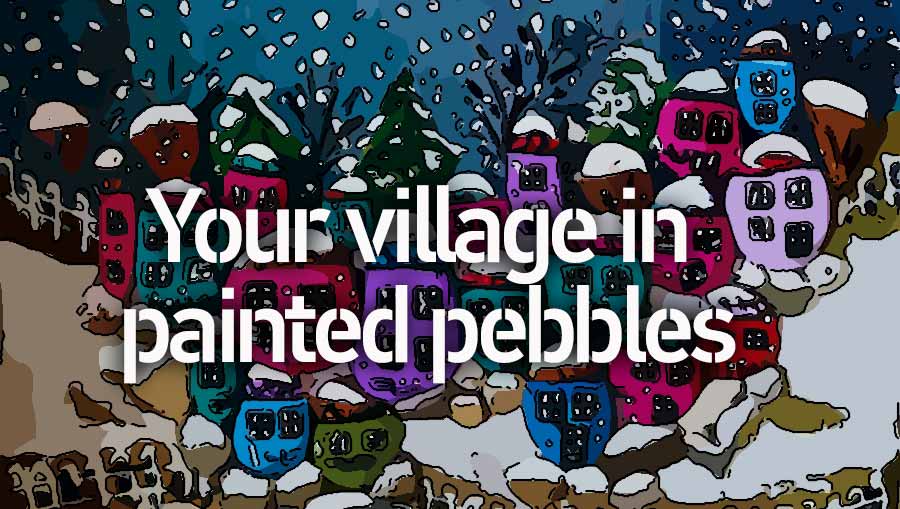
Painted pebble villages
Create a whole world in "painted rocks".
Looking for a new home decoration?
An innovative activity for your children?
Or simply a pleasant way to pass the time by being creative?
Working with painted pebbles is all this: a virtually infinite source of resources and achievements from not much: stones, a little paint and glue and a whole world opens up to you!!
Chance sometimes gives stones and pebbles found in nature strange shapes... but most of the time you will use pebbles or stones quite ordinary: it is to paint them that will make original creations... You start to create a village ???
 Necessary equipment
Pebbles (of course)!
You will find them on the seaside or in the bed of mountain streams... or more simply at your local dealer of laterals for the creation of gardens.... I leave you a link that will lead you to the LeroyMerlin website... they are not the only ones selling pebbles... it's just to give you a clue !
For these pebble villages, privilege the rather flat and small pebbles : their accumulation gives works of weight !!
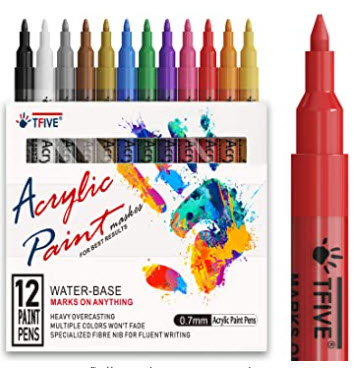
For painting, choose satin acrylic markers:
- the easiest way is to use cheap acrylic markers available everywhere. If you don't find one near you, here is an Amazon link for different models. Plus spécialement cet ensemble de markers offre un rapport qualité-prix intéressant.
Among the proposed sets, I recommend these very shiny "metallic" colors at a good value for money.
Also this very economical color scheme if you have a tight budget! These are metallic colors WOTEC acrylic markers capable of painting on all surfaces: stone, glass... Ideal for pebbles! But they come from China ... so with a little delay ...
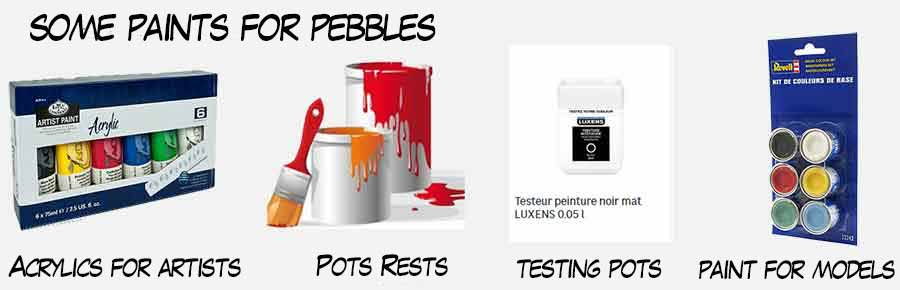
- it can be painting for artists (in "study" quality much less expensive)
- or paint for interior walls, pot remnants for example, or test doses (called "test pot") that can be found in all large DIY stores ... Choose the satin quality...
- There is also leftover paint for models, in small 15 ml pots... see here
As for the brushes, you certainly have what it takes at home... plan flexible flat brushes as well as round brushes of different sizes.... If you run out of brushes... don't go out of your way to buy them anywhere: you'll get a complete set for the price of a single brush in some hobby stores...
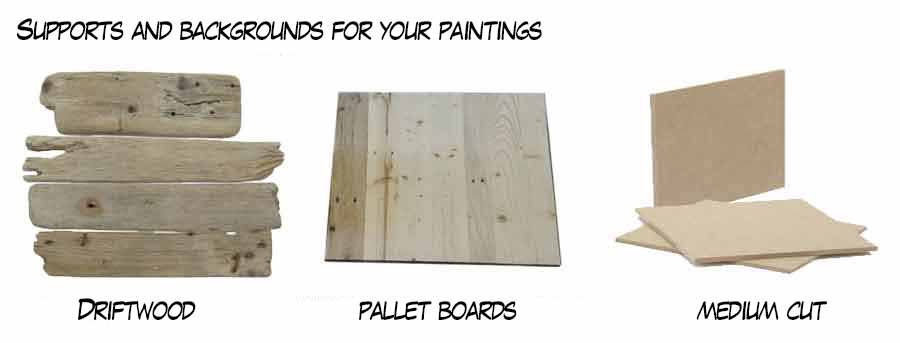
Choose your support according to the weight it will have to support... And when it comes to painted pebbles, the bill goes up very quickly! It is therefore better to plan solid !
The most common is the driftwood board! If you are lucky enough to find some during your walks by the sea, pick them up. At home, you will rinse them with plenty of water to desalinate them and remove the sand particles... then you will let them dry in the sun.
You can of course use plywood plates or even "medium" that you can buy all cut in a large DIY store...
Some people build their own rustic supports with assembled pallet pieces...
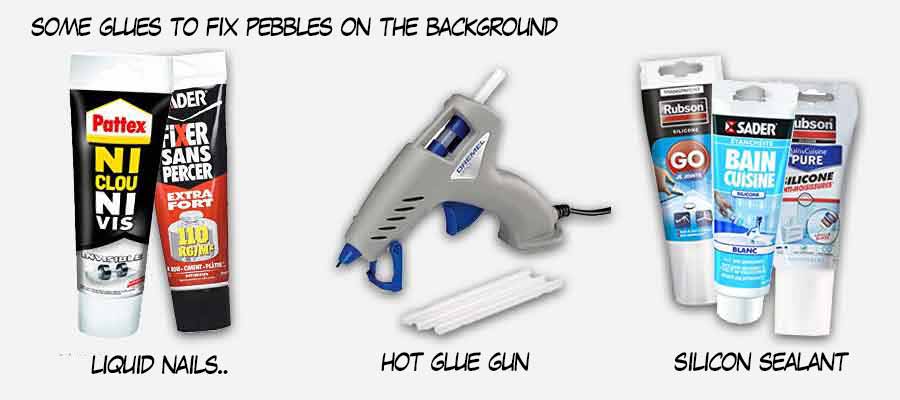
If you want an ephemeral work... any cellulose glue will do... Buy a tube of UHU or SCOTCH in a large area and use it to temporarily fix your painted pebbles on the support. This will not last long: paint rollers have this annoying habit of escaping when they are not well contained... So avoid it !
Some tube glues "liquid nails" or "Fix without drilling" are perfectly suitable. With a big dot of glue, apply the pebble and press. It dries in a few tens of minutes...
Hot glue applied with a special glue gun: it is absolutely not expensive since you can find electric guns for about 10€... Here it is already more serious: the glue once cooled holds your painted pebbles perfectly on the support. This type of glue is perfectly suitable for this type of work and will be reused in the house on many occasions!
Some use "silicone sealant" which adheres perfectly and always remains flexible: this can prevent some untimely detachment in case of shock ... It is also known as "sanitary silicone sealant" or "kitchen sealant". It exists in practical 150ml tubes that can be used by hand or in large 250ml tubes for which an applicator gun is required.
You need space to display your equipment and supplies...
Don't forget to protect your media with old newspapers, it's always useful! Have clear water, clean cloths and paper towels at your side to quickly clean your brushes... and wipe off glue stains before they become irreparable...
If you work with children, protect the clothes with old blouses or with a big black bag to which you will have cut the corners as sleeves!


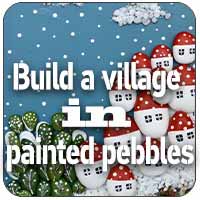
 The mini-tutorial : "Village in painted pebbles"...
A short drawing is better than a long speech... so here is the mini tutorial village in painted pebbles. The realization is simple, voluntarily... it's just for a demo ! Once you know the peincipe, the rest follows naturally !
Here the support is a slice of tree trunk with its bark that was quickly painted with acrylic ... We then added painted pebbles to symbolize the trees, a yellow sun and small clouds...
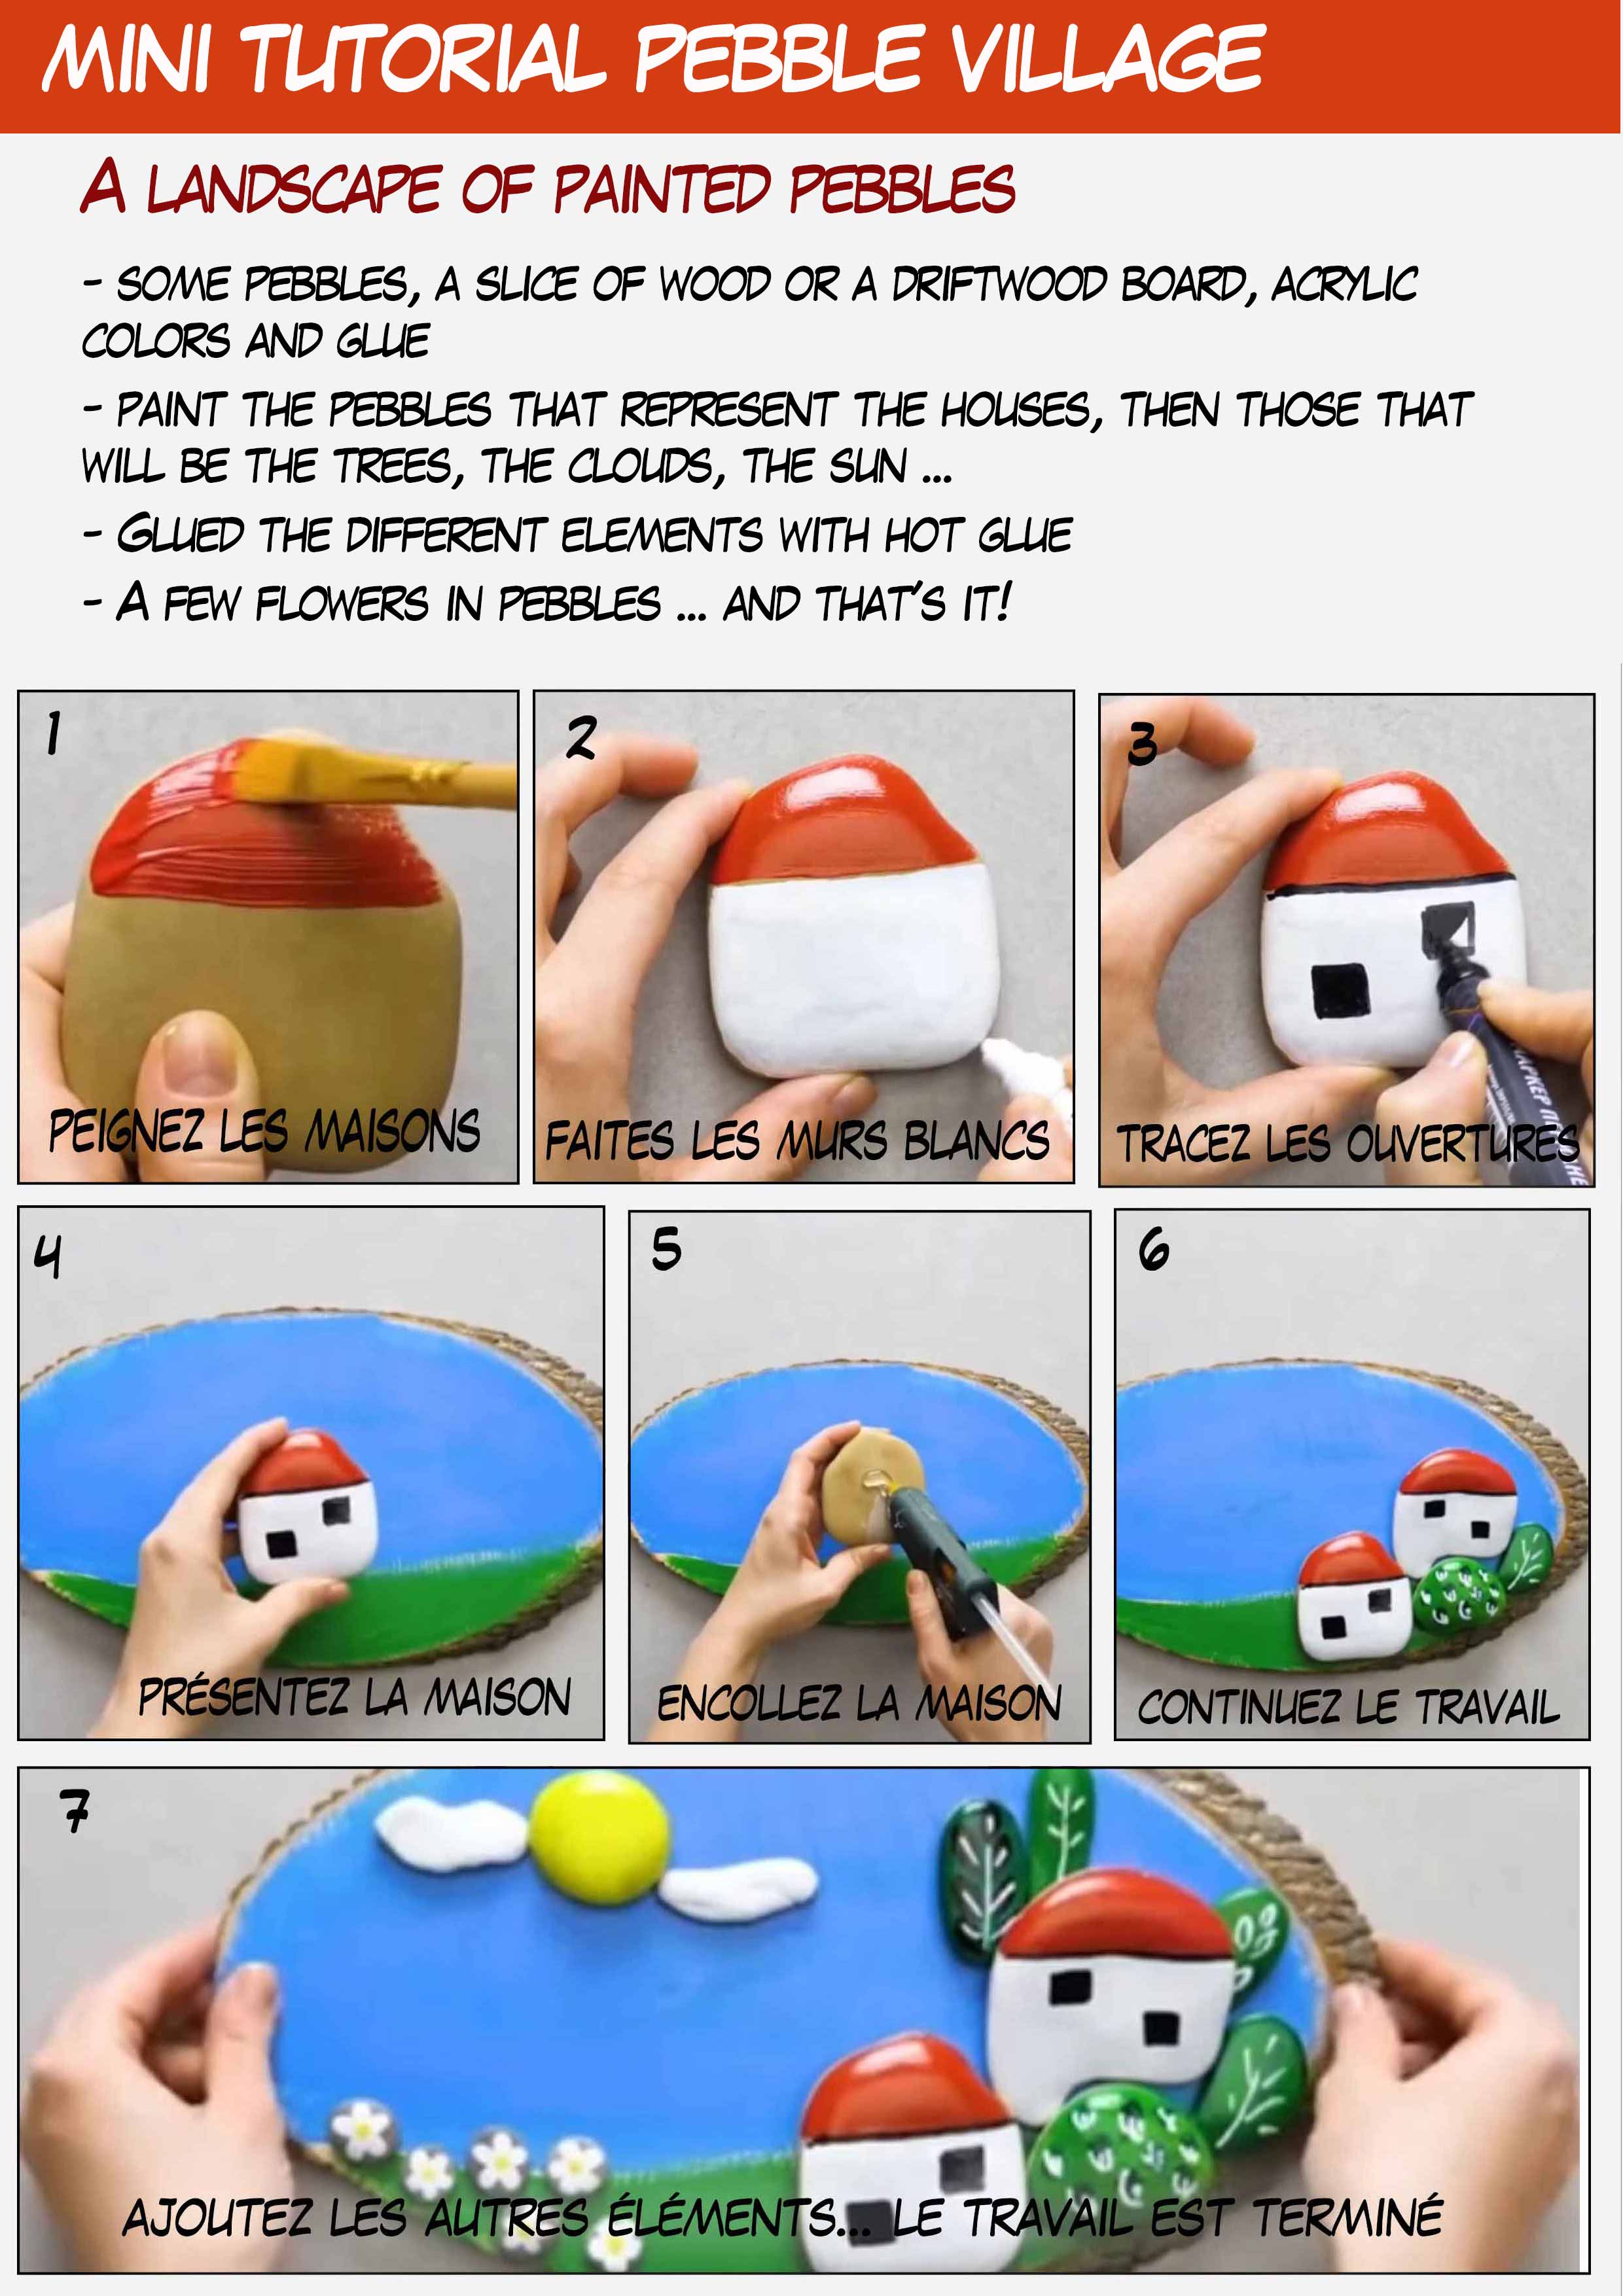
Click on the image to download the tuto: Village-Palets-Tuto.pdf
 Original creations...
To give you ideas of realization, here are some images gleaned on the net and which will give you examples of what can be done...
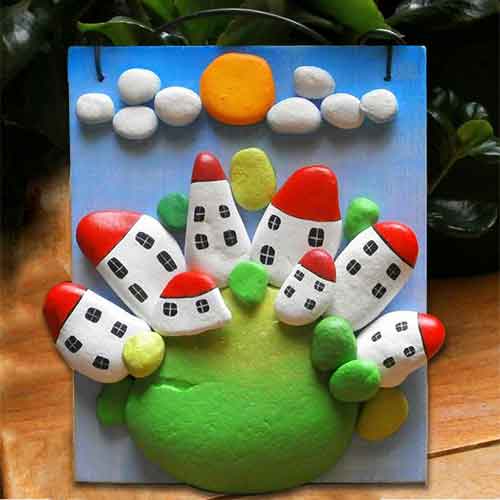
A large pebble that symbolizes the planet and small identical houses all around. Flashy colors that our little ones love !!!
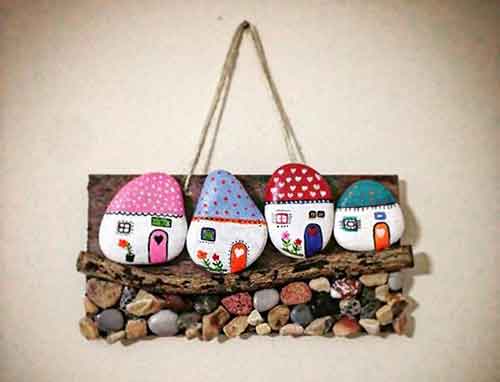
And this other one, hardly more elaborate... but very effective in its naivety!
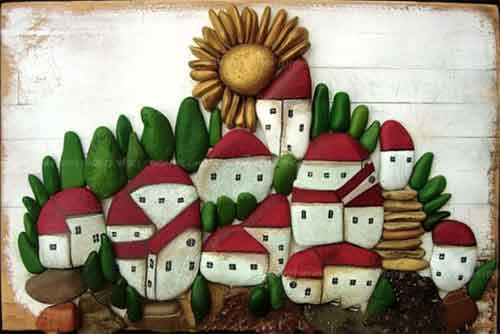
De véritables artistes : ici Bufelini Michela sur un support "destroy" et un soleil en pierres dorées !
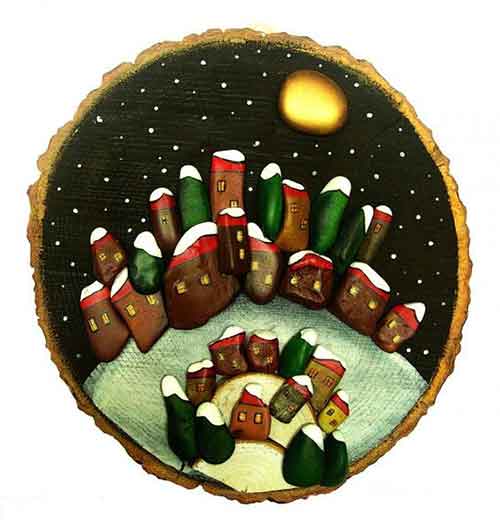
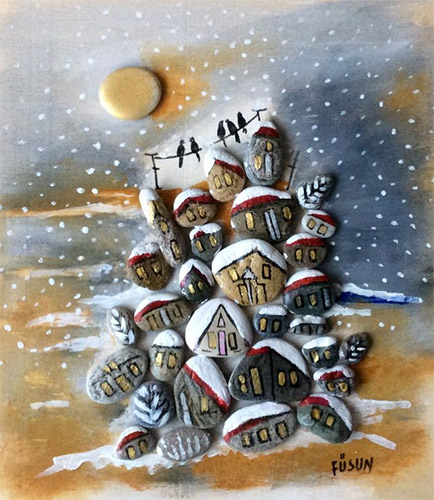
And always from the same author: this very evocative village landscape under the snow at night!
It's up to you now !!!