
Build a mini easel
2 simple models you can make yourself.
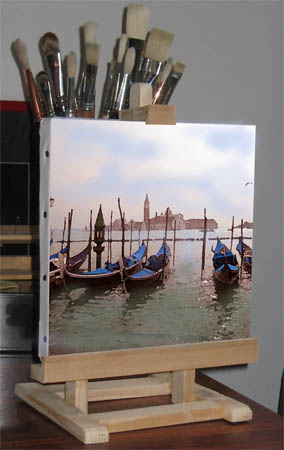
You can sometimes find these mini easels in specialist shops and they are very practical for displaying small frames, 30x30 scrapbook pages or even small painted canvases.
I propose you to make them yourself in a very simple way. You can even choose between two models!
The advantage is that you will be able to make them "to your measurements" and you will choose their finish according to your convenience... this for a very low cost price...
 MODEL n°1 : BASIC TREPIED
 List of supplies :
. 2m of 20x10 cleats.
. A "metal" screw 30x5 (3cm long and 5mm diameter) with its nut.
. Two 30x5 wood screws.
. Wood glue.
. A framing saw.
 Production of easel n°1
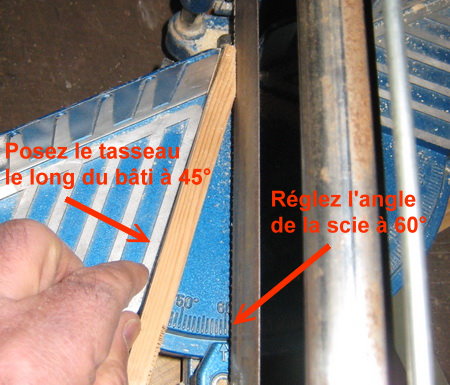
In the 20x10 strip start by cutting 3 lengths of 35cm: these will be the feet of the easel. In order to facilitate the assembly, cut the end of two of these uprights (the side legs) at an angle.
To do this, use the framing saw... Adjust the blade to the 60° scale, place the batten against the frame on the left and saw so as to obtain a "whistle" cut... This will give you the correct angle for your installation.
Repeat the same procedure for the second lateral foot.
On your work surface, approach the three feet, keeping them in place. With a drill and a 5mm drill bit, drill the 3 feet simultaneously.
Before inserting the retaining screw, lightly "countersink" the outer holes with a slightly larger drill (8mm): it is simply a matter of aesthetics (so that the screw and its nut are slightly "recessed" and therefore not very visible when the tripod is finished).
Also give a good swipe of sandpaper and round off the ends of the feet. Then fix them with the 3cm metal screw, tightening the nut sufficiently to ensure a smooth rubbing action.
 The support for the arts
Now cut two 30 cm lengths from the remaining strip. Spread a little bit of glue on one of the edges of one strip and apply the other one on top to form the "angle".
Tighten to ensure that the glue sets properly (clamps or small spikes)... When the glue is dry, you will fix this angle bracket with two screws that pass through the uprights: Make sure that the assembly is horizontal!
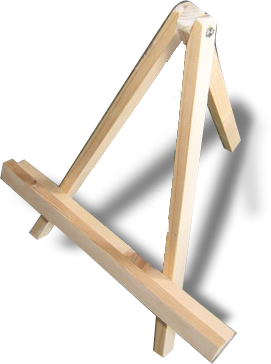
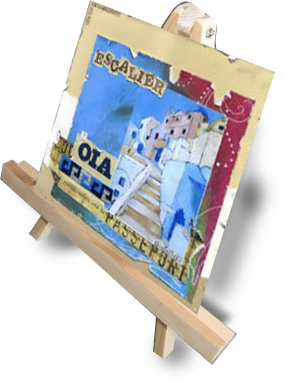
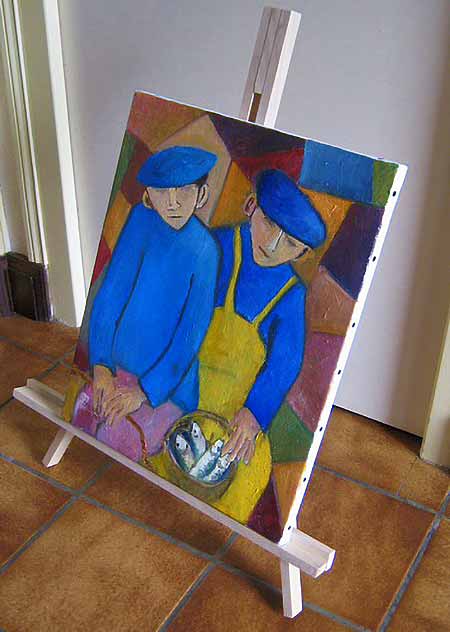
The easel is now finished: you can leave it as it is... or you can varnish it or even stain and wax it. And without delay, exhibit your work!
 MODELE 2 : TREPIED EXPO GRAND FORMAT
Here is a second model of easel, much bigger and which will give you full satisfaction for frames up to 50cm high.
And, like the previous one, it is entirely built from 20x10 cleats that you can easily find in your DIY stores.
It is built entirely "flat", which makes it even easier to assemble!
For reasons of robustness, the elements are glued and nailed!
Supplies List :
. 4m of 20x10 cleats.
. A wood screw of 30x5 (3cm long and 5mm diameter)
. Little spikes called "man-heads."
. Wood glue.
. A framing saw with its adjustable stop.
La glissière haute
From the 20x10 strip, cut two lengths of 40cm (uprights of the top rail), one length of 36cm (back foot) and one length of 5cm (spacer).
Sandwich the foot between the two uprights on their edges, overlapping them by 12cm.
Drill the 3 pieces simultaneously and make them integral with your wood screw... (if it protrudes, you can always file off the excess). Check that the foot turns freely by rubbing gently.
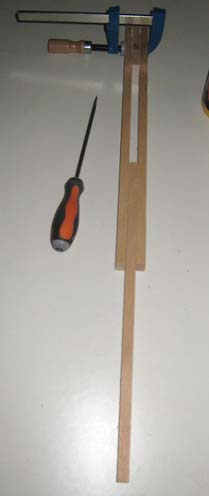
A l'autre extrémité, collez l'entretoise de 5cm et serrez avec le serre-joint. Ceci va donner la rigidité nécessaire à votre glissière haute.
The sleepers
Now, still in the 20x10 strip, cut two cross pieces measuring 18 and 28cm respectively.
Attach them to the high slide by gluing and nailing with small man-headed nails on each of the uprights (be careful to leave the back foot free).
They are placed 10cm apart... as in the picture below :
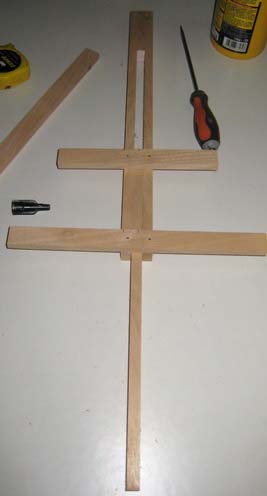
The smaller of the crosspieces is attached at the rear foot joint... the other is attached almost at the lower end of the top rail.
 The feet
Cut off the two front feet by 40cm each. Place them on each side of the assembly. Glue and nail them to the crossbars.
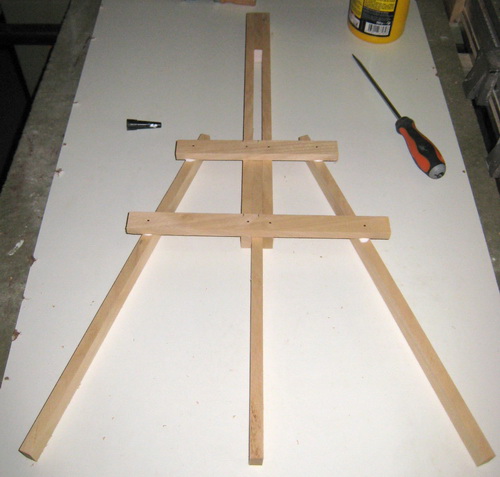
At this level, check the symmetry of each foot in relation to the rear foot.
 The support
Cut out the last two lengths of 45cm... and nail one to the front legs at about 10cm high.
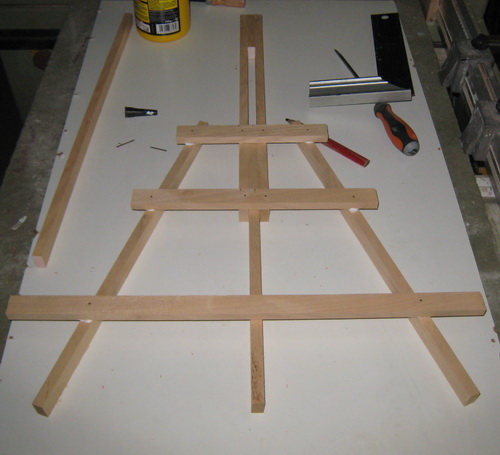
Now glue the edge of the second length and place it perpendicularly on the first so as to create an angle.
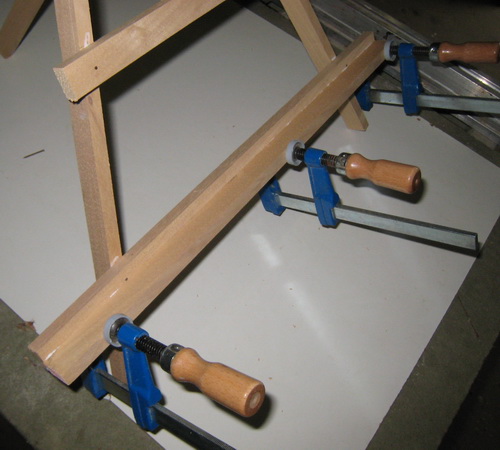
Place a few clamps so that the glue sets well and let it dry.
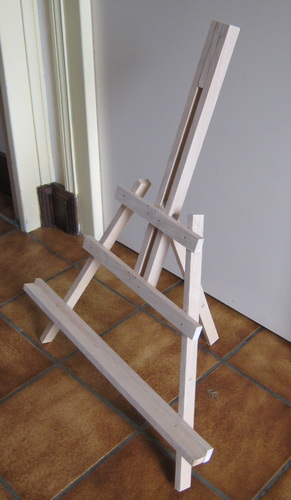
Your tripod easel is finished... and ready to display your finished frames:
Next page...
Continue to :
MINI PAINTER'S EASEL