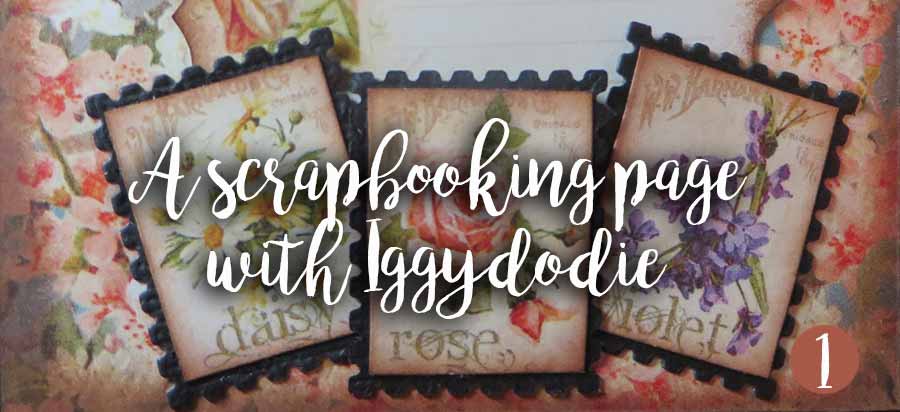
SCRAPBOOKING WITH IGGYDODIE
A PAGE STEP BY STEP
The author

![]()
> Since how long do you scrap ?
I scrappe since now more than 5 years.
> What prefer to be done out of Scrap?
How I prefer out of scrap is to make mini albums, or rather to conceive new structures never yet seen, to work out prototypes, I adore that! > Which are your preferred colors?
My preferred colors are it pink and the chestnut, but for a project suggested in workshop it is not always easy to use pink, then I restrict a little, on the other hand I use chestnut almost each time! > What brings scrap to you?
At the beginning scrap, enabled me to occupy my day without me to feel inactive, brought the impression to me to carry out something of my been unemployed days. And it became a means of expression, to make pass from the messages to the people whom one loves.
That brings a feeling of escape to me, not to think more but of what is on the photograph, reviving a voyage… And today that brings to me also much of personal satisfaction, while having made scrapbooking my community activity principal, that brings freedom to me to be able to combine work and passion, with a certain freedom.
Vistez the blog of IGGYDDODIE:

Bibliography
The book Scrapbooking d' Elodie TOUZET (Iggydodie):
Through many support, many matters, through objects of simplest with most strange, Find the step by step detailed ones in color photos, to realize in your turn of the “scrappés objects” original:
 Hardware requirement
- 1 photo black and white or color marrying with your papers of size 15x20 cm approximately.
- 1 paper bazzill 30x30 cm for the bottom of page (here in kraft)
- 3 printed papers 30X30 cm to be recut in let us tons of pink/beige Parma
- 1 maroon printed paper (false plain)
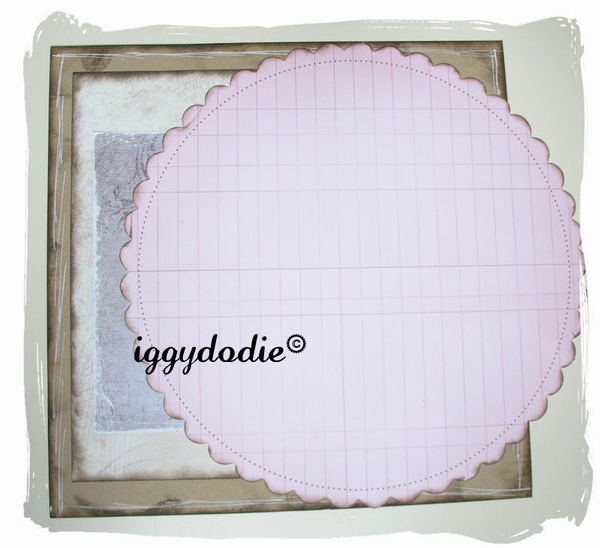
- 1 paper 30X30 round cm scalloped (here Making Memories but it can be made with the hand with a small gauge butters or of the mark bazzill or not be festooned whole)
- 2 pages of book
- 1 large tag (approximately 8x16cm)
- 1 large white fabric flower
- cordeline (paper yarn with a wire inside)
- ribbons matched with papers (at least 3 of various widths)
- chipboards out of rough paperboard letters for the title
- decorative chipboards out of rough paperboard (here + bird Maya road connects)
- >paper flowers (approximately 3)
- buttons, brads, and small metal embellishments (grip, pin, anchor, circles for tag maker)
- a metal grip (in option) to suspend the page
- the basic material + adhesive usual for paper, fabric, and the embellishments and of the strong glue. a it but glue gun if possible is not obligatory
- black ink and decorative plugs
- ink chestnut for encrer and a piece of foam (cut' N dry for example) if possible of ink and the powder distress several colors (but of others can make the deal)
- a water spray
- a heat gun
- round drilling machines several sizes (or then U system of cut of rounds) and drilling machines reasons (here the butterfly) sandpaper withthick grain
- a white pen for photograph, standard POSCA for example
- cutting pliers.
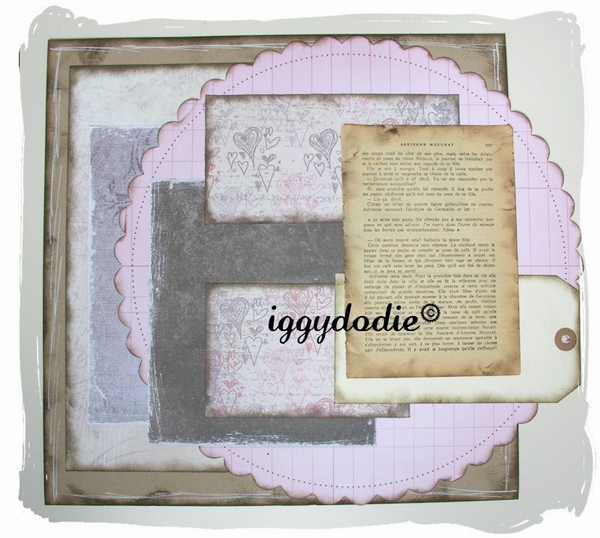
 Prepare your page layout!
Will enclose all the turn of your basic cardstock (here bazzill kraft) with a piece of foam and ink chestnut preferably (here distress ink “Walnut Stain”) to dirty your paper.
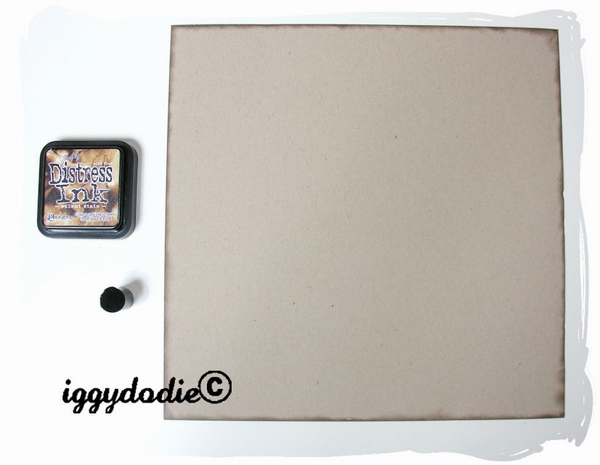
To accentuate inking, and to give a dirtier effect, pass by again by place with your inking directly, to leave more important, more marked and more irregular traces

With a white POSCA or similar pen, trace with hand raise small irregular features on the 4 sides of the cardstock, like simulating stripes in paper.

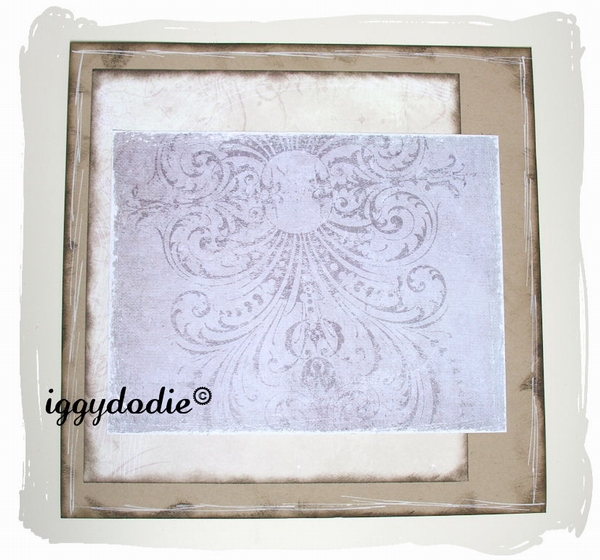
Cut out in one of printed papers a rectangle of 26x23cm. Will enclose the edges if it is clear or sandpaper them to bleach them if your paper is dark (here it is ink, if you must sandpaper, do not hesitate to rub extremely until the edges quite white, are damaged, with the limit of the tear).
Vertically stick it on your cardstock to 1,5cm of the left edge of the cardstock and to 2cm top.
For measurements we will always make use of basic paper (cardstock) to position.
When you cut a paper, think of keeping the codes bars on papers, that can make pretty embellishments!
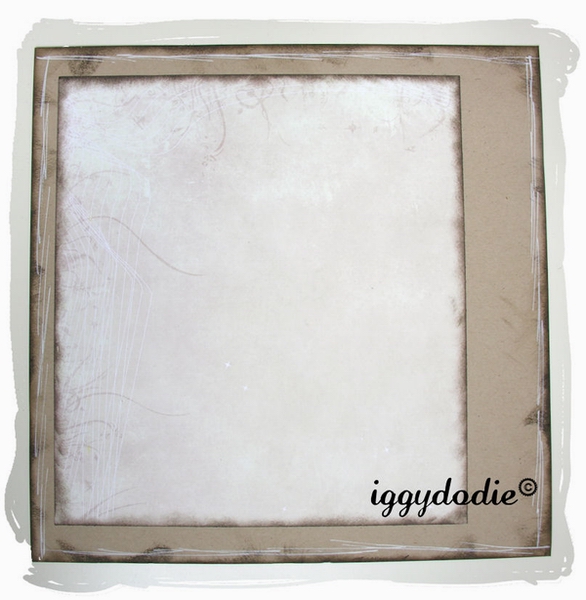
Cut out in one the 2nd printed paper, a rectangle of 19x25cm, will enclose or sandpaper the edges as for preceding paper. (here mauve paper). Stick it over the first paper to 6cm top and 3cm of the left edge.
The important thing in the page layouts “charged” is always to let appear each paper would be only a little bit, never not to create of vacuum between 2 papers, and to superimpose them in “staircase”, to have a harmonious result.
This page not being intended to be put in an album but suspended or posed on a rest, you can allow yourselves to leave the framework, limits of the page, to put much relief, to give more dimension to your project. The paper superpositions rigidify the page what is more to expose it.
The paper superpositions rigidify the page what is more to expose it.
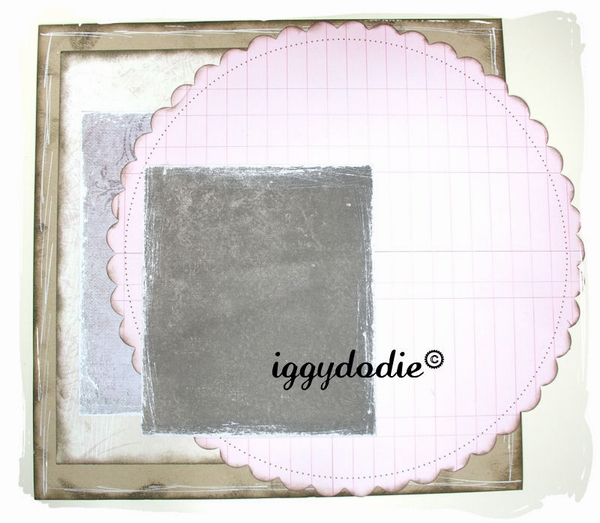
Cut out in the 2nd printed paper (here a maroon plain forgery) a rectangle of 14x17cm, as for the others, will enclose or sandpaper. Vertically stick to 4 cm bottom and 7cm of the left.
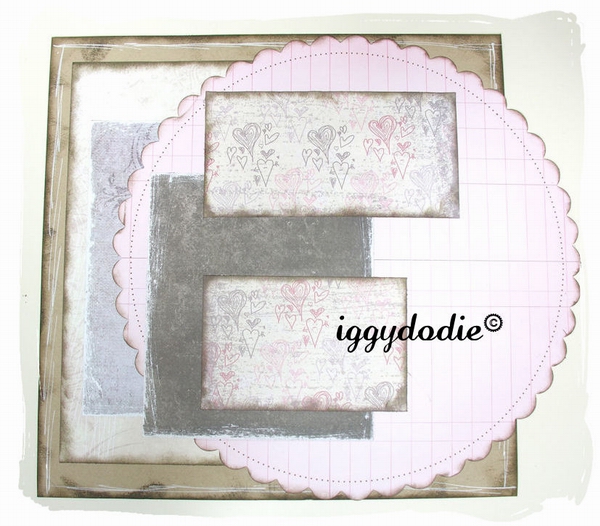
Take your last printed paper. You can use a paper fall, and avoid starting a new page. Simulate a rectangle (or almost) with 2 paper bands, the vacuum between the 2 will be filled by the photograph, and there will be the illusion which paper is complete under the photograph. It is practical to re-use its falls or to avoid having too much volume in a mini album for example.
Here cut out 2 bands of 16x7cm approximately, sandpaper them or will enclose them, and stick to 10,5 cm left, the first to 4 cm top; and the second with 5,5cm of bottom, 2 with the horizontal one.
Take your tag, will enclose it, and stick to horizontal to 6,5cm bottom and by making it exceed page layout on the right. The ribbon will be tied and stuck afterwards, when we make the embellishments of the page.
Take then your page of book, ensure you that it is sufficiently large to exceed photograph, but not too large either (you can shorten it by removing the white margins for example). Will enclose in the edges and stick completely against the flat rim of the cardstock and with 6,5cm top.
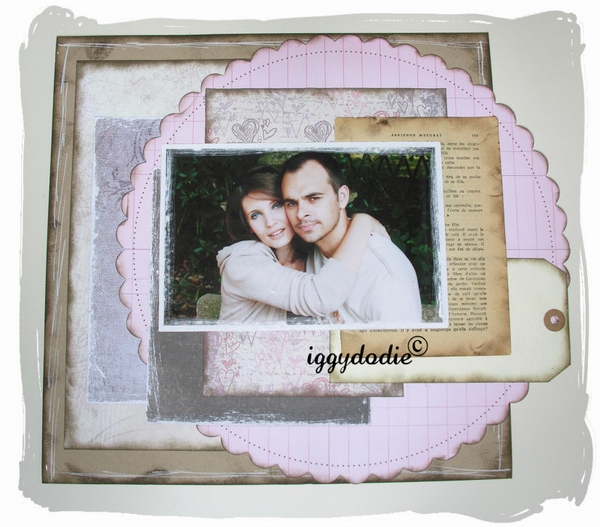
 Prepare and age your photograph!
With the thick sandpaper, sandpaper the edges to stripe them, age them.
Caution: made a test while rubbing initially gently in an angle of the photograph, to see the force which you must give to sandpapering. Because according to your photograph and in the way in which developed it to you (photo laboratory, printing house…) and from the quality of paper, the force to be given will vary.
With photographs developed in laboratory there is no problem.
Sandpaper by making great gestures all along each edge of your photograph. Do not be afraid to damage your photograph!

Stick your photograph to 8cm top and 8,5cm of the left, by leaving the edges not pasted to be able to slip then there of the embellishments below, the photograph being used as reference mark.
Outstanding Mini Albums:(Paperback) Jessica Acs (Author)
Mini albums have become a popular medium for scrapbookers - they are small enough to complete in a timely manner but big enough to tell a story.
Features 50 albums with step-by-step instructions for over 30 projects - perfect for scrapbookers of all levels...
Make It in Minutes Roxi Phillips (Author)
these mini-books are perfect for celebrating everything from holiday memories to childhood events

So many styles, so many reasons to make them! Whether they’re accordion folded, stitched together, ribbon-tied, or paper-punched and bound with binder rings...