MULTIPLE PHOTO FRAME
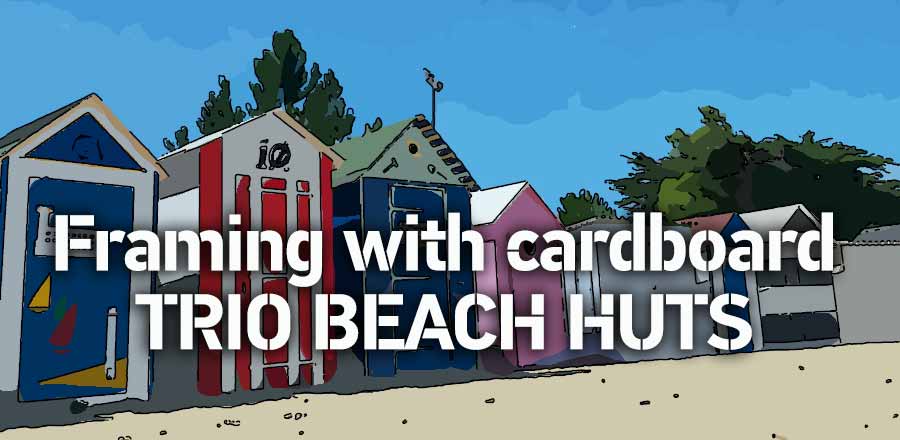
BEACH HUTS TRIO
It is this pretty triptych which I propose to you to manufacture in this card... Very little greedy in supplies, it is perfect to sell your cardboard and fancy paper scraps.
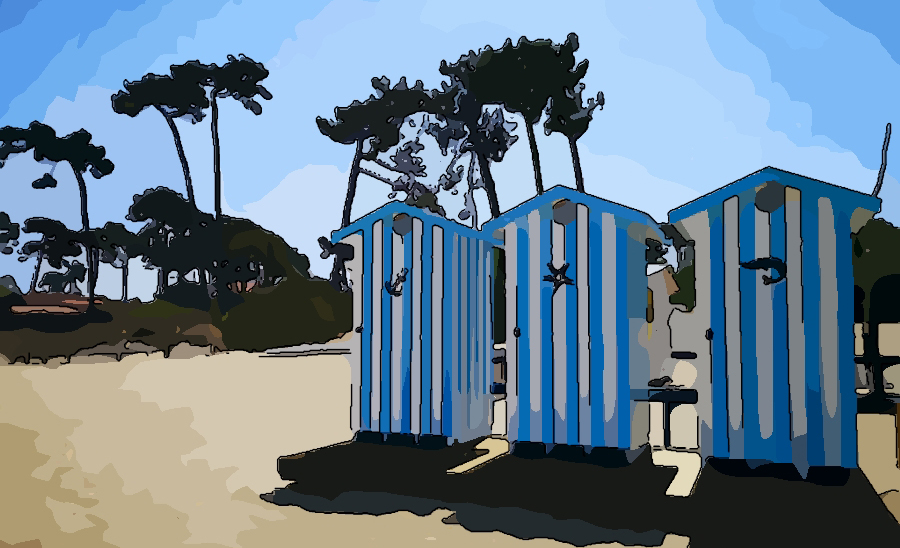
It suggests 3 cabins placed on the edge of a beach in Normandy!
It is also a very appreciated gift: Christmas is coming, think of the joy of giving (and receiving) a present that you will have made yourself!
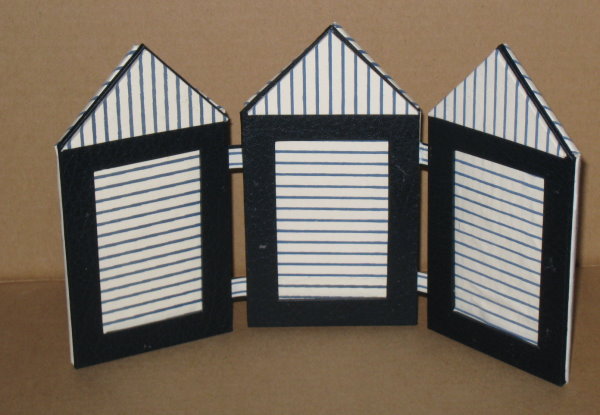
You will be able to slip 3 photographs there… the opening have as a dimension 2.6"x3.8"… it will thus be necessary for you to cut out your photos in a larger format (10x15 for example) before put them inside.
 Hardware requirement
- offcuts of paperboard of 0.08" (backingBoard) and offcuts of cardboard (for the slide).
- printed Paper scraps matched…
- The usual material of framing (adhesive, cutter, folder…)
 The plan of the parts to be cut out
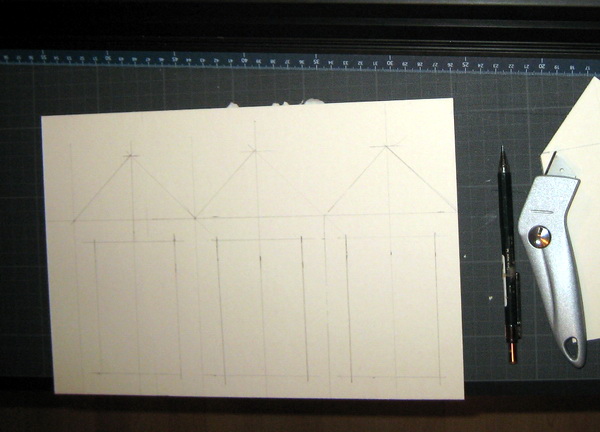
Here the plan with dimensions of your cuttings…
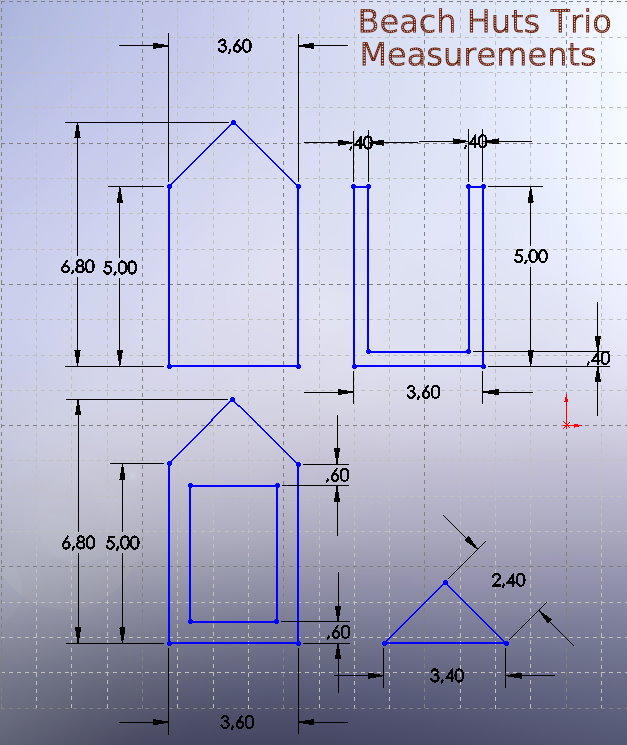
All is made out of paperboard of 2mm other than the slide which is cut in cardboard.
All these parts are to be obtained in triple exemplary . Be quite precise in their tracing and their cutting : the quality of the end result depends on it.
If you do not have framing paperboard sheets, you can use paperboard from old calendars… and paperboard of cereal boxes, for the lighter… without any problem.
 Cut out elements
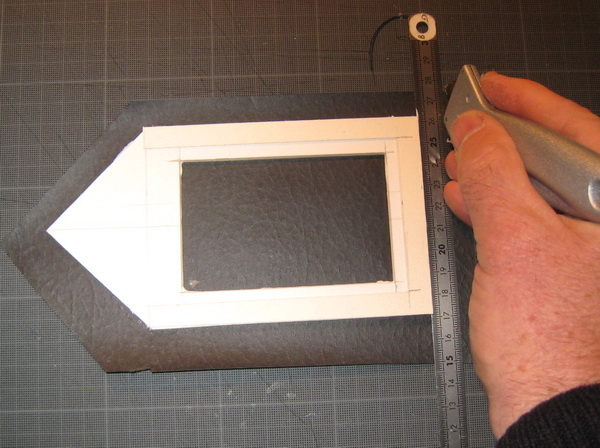
It is absolutely necessary to start with a good squaring! For that, trace on your paperboard a base line. Cut out with the cutter along this line.
Work then with a square by taking support on the edge which you have just cut out. Trace your parts and cut out them with the bent-cutter and the heavy ruler.
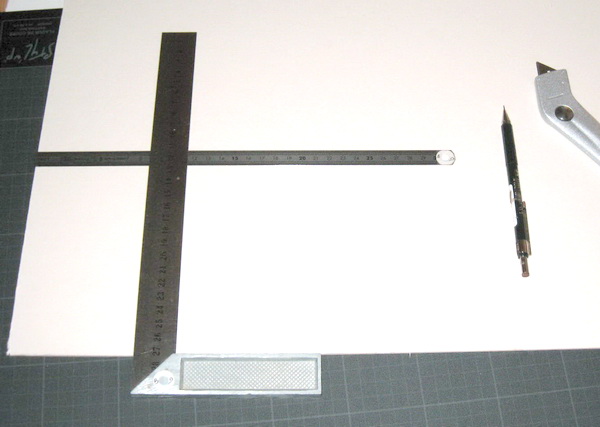
Remember that the thicker the paperboard is and the less it is necessary to support to cut it : the error of all the beginners is to want to cut in only one passage… then they force, the blade deviates and the result is disappointing…
Thus support moderately, have to put up against the stainless edge of your ruler, Pass by again several times… and all will work finel.
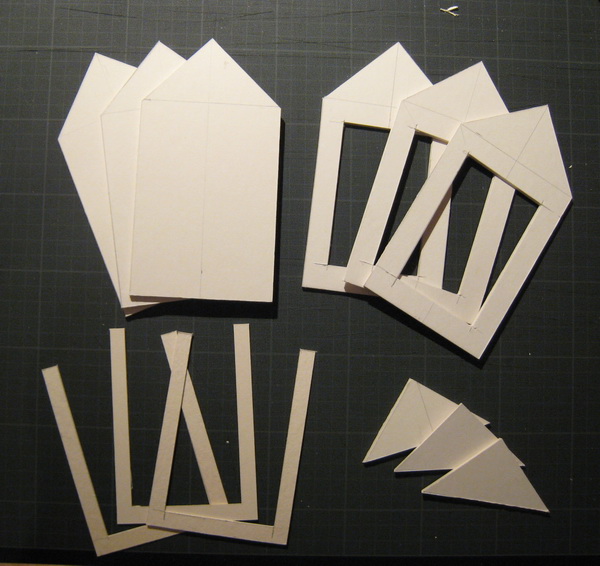
When all the elements are cut, gather them front of you for a last checking before their preparing.
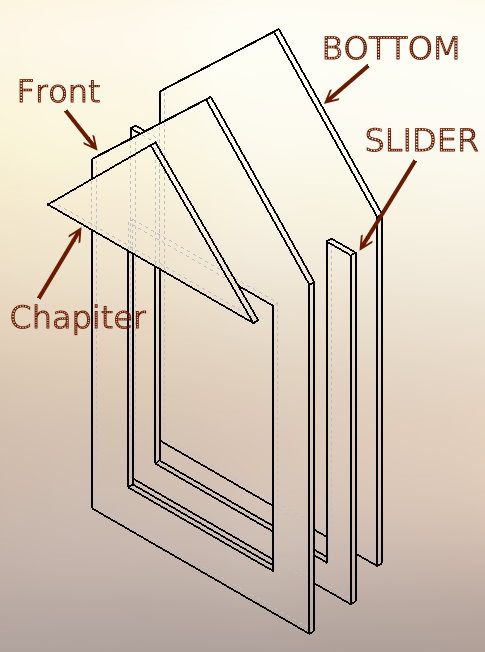
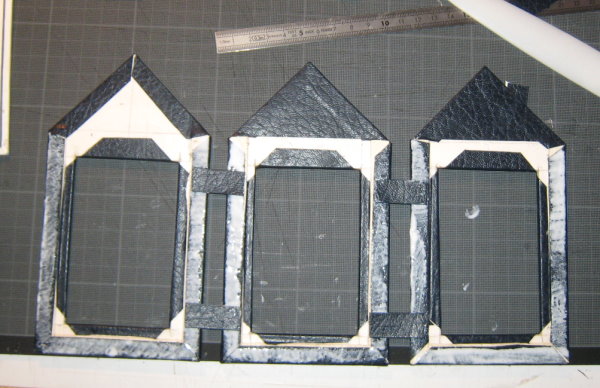
It is time to stick the slide to the back of the front face… Repeat for the two other elements.
So possibly you had “burs” of badly cut paperboard, you can, at this stage, sandpaper them with a fine sandpaper.
You can now stick the slides on the front face (see the assembly diagram) rather than on the bottom… It is not essential but it will be prettier with the preparing.
Let dry and start to cut out your papers to cover the different members of your Beach huts Trio.
 Assembly of the parts
 Preparing of the elements
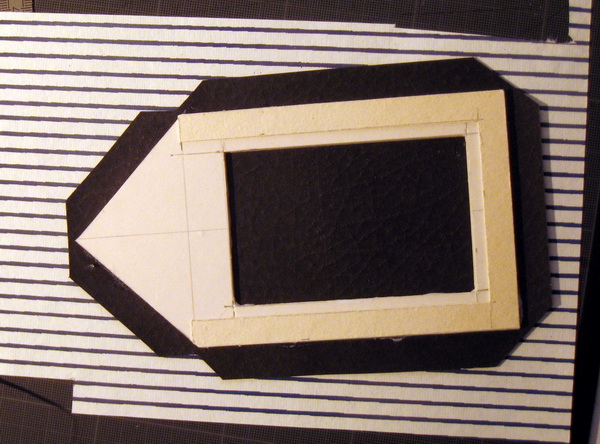
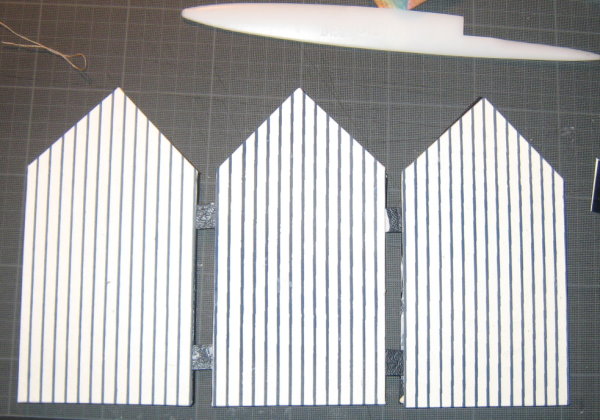
To vary a little, I chose to cover this triptych a “leather imitation ” navy blue paper matched with a blank paper with blue stripes … The colors are more sober than those of the example photographed at the end of this page !
![]() Start with paste the front and pose on it leather paper while applying well (drive out the possible bubbles with a clean rag).
Start with paste the front and pose on it leather paper while applying well (drive out the possible bubbles with a clean rag).
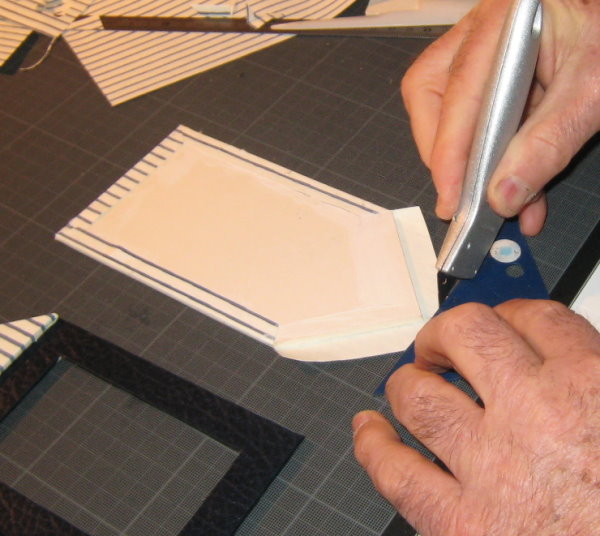
Use the reglet cut out the surplus of paper. The reglet gives you of the same flap width.
![]() Now indent the flaps which you are going to fold up on the hidden side. Do not cut the angles to the short-nap cloth of the corners… envisage a surplus from 1 to 2 mm so that you can't see the paperboard in the corners.
Now indent the flaps which you are going to fold up on the hidden side. Do not cut the angles to the short-nap cloth of the corners… envisage a surplus from 1 to 2 mm so that you can't see the paperboard in the corners.
![]() Open the interior of the window then, fold up… Attention not to block the slide spacer while folding up!
Open the interior of the window then, fold up… Attention not to block the slide spacer while folding up!
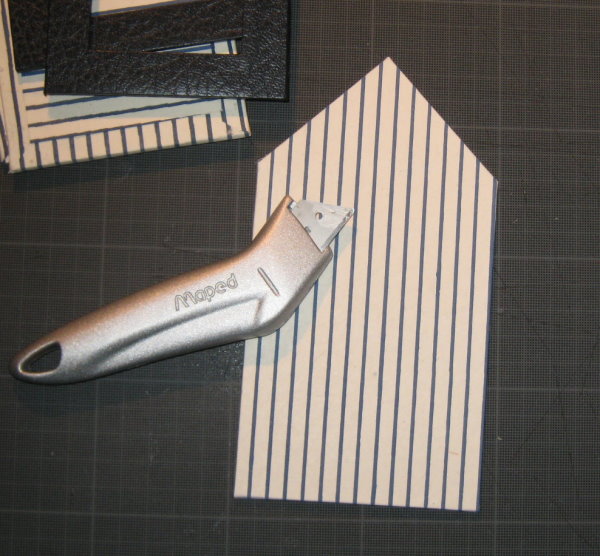
Cover a triangle with stripes paper and stick it on the front face. You obtain the pediment of your first cabin:
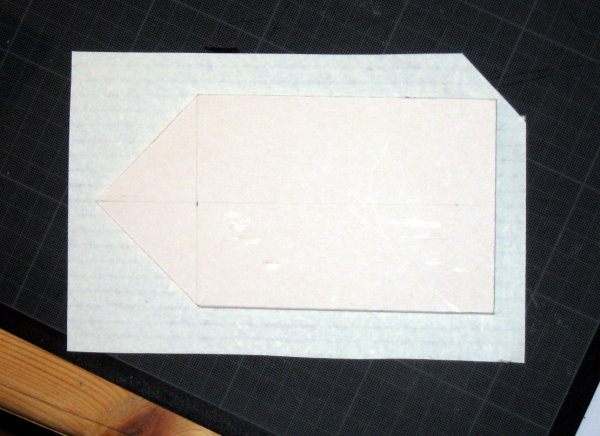
![]() Pass now to the covering of the backing part… Paste the paperboard and pose it on stripes paper , smooth out the bubbles with a rag and press. Cut out around, with the reglet like a gauge, while reserving paper for flaps…
Pass now to the covering of the backing part… Paste the paperboard and pose it on stripes paper , smooth out the bubbles with a rag and press. Cut out around, with the reglet like a gauge, while reserving paper for flaps…
![]() Indent the flaps now…
Indent the flaps now…
![]() Paste the sides and flap on…
Paste the sides and flap on…
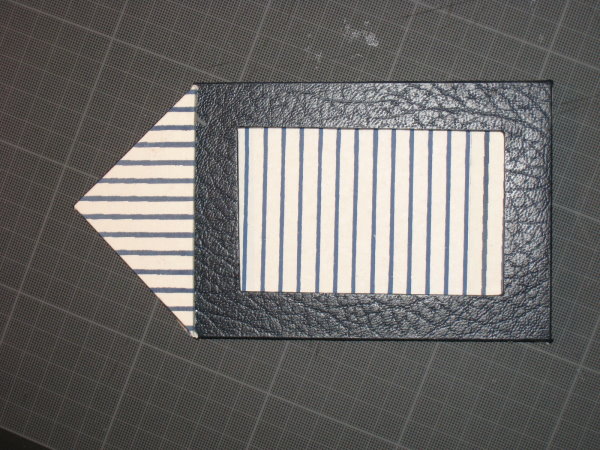
![]() Turn over the back and stick a piece of paper with the horizontal stripes this time to furnish the part which will be seen through the framework…
Turn over the back and stick a piece of paper with the horizontal stripes this time to furnish the part which will be seen through the framework…
You have now to repeat the operation for the two other cabins!
 Assembly and articulation
You've now finished the 3 cabins. Lay out them front you and dry fit for an ultimate checking…

Pose each frame on its bottom… attention within the putting of the bottom in the right way… you must see within the framework the horizontal stripes!
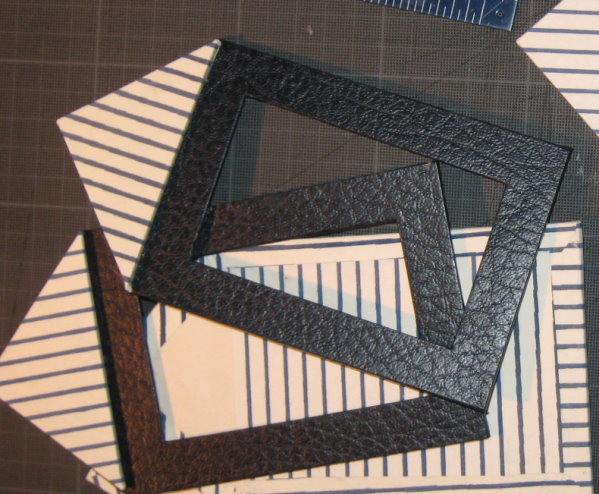
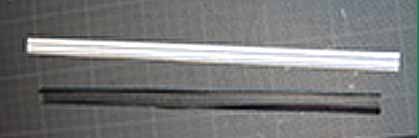
It is almost finished! Courage! You have now to build the hinges. They are out of leather paper (which is more resistant than ordinary printed paper) which will be covered with a band stripe paper .
Cut out a band of 1.2"width in leather paper and another of 0.6" in paper with stripes. Fold up and stick on it even the leather paper band then recover with paper with stripes.
In this assembly, cut out 4 pieces of 1.2" length. They are your 4 hinges… Stick them on the front face… and paste with dimensions front face:
Attention so that these hinges do not block the slides… When all work fine, pose the bottoms and strongly press:
Let dry during one hour… OUF! It IS FINISHED! Cheer, you finished it!
Slip your photos inside... and put it on the dresser!

 Colors alternatives…
You can play ad infinitum with printed papers … and give a look less strict to your triptych-cabin.
Here another realization…
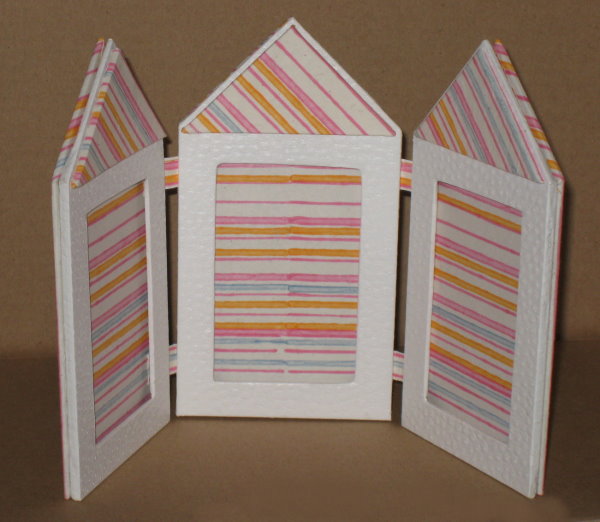
Choose your colors and… launch you!
Basic picture framing
Amy Cooper
This detailed guide covers the essentials the beginner needs to get started with matting, mounting, and framing everything from works of art to personal mementoes.
It contains practical techniques and expert tips on choosing the proper matboard and frame; measuring and cutting single, double, or triple mats; safely mounting your materials; building frames; attaching hanging hardware; and placing the frame for display.
How to Make Your Own
Picture Frames
Ed Reinhardt, Hal Roger
This book covers all aspects of frame construction, painting, mats, glass-cutting and usage. A great book to trigger your own ideas to create custom frames.
Making pictures
frames in wood
Manly Bannister
Create all kinds of picture frames from simple wood mouldings to elaborate carved types.
Frame It!
by Tonia Davenport

Framing isn't something one has to leave to the professional.
With Frame It! readers will learn how to use ready-made frames and inexpensive framing materials to create frames perfect for their favorite photo, piece of artwork, canvases or souvenir.