TUTORIAL MAKING MINI BOOKS
 Word text box method
You are going to create in your word processor (MicrosoftWord, OpenOfficeune...) a page in A4 landscape format in which you generate 8 "text zones" measuring 7cmx10cm.
These text zones will then be set up and linked to each other so that the surplus of text spilled in zone 1 can "flow" naturally into the other zones... This will facilitate the inevitable text or layout revisions and adjustments. Look at the Tutorial made on this subject...
And if you want to try a model I have prepared one for you with MicrosoftWord where the zones are placed and linked in advance. All you have to do now is pour the text into it !!! You can download this template here . It is ready to use !
Otherwise, if you want to know the technique used to create the template, take a look at this tutorial page: creating a mini-book template.
 How to create a Word template for Windows
It's really not difficult, just a little technical...
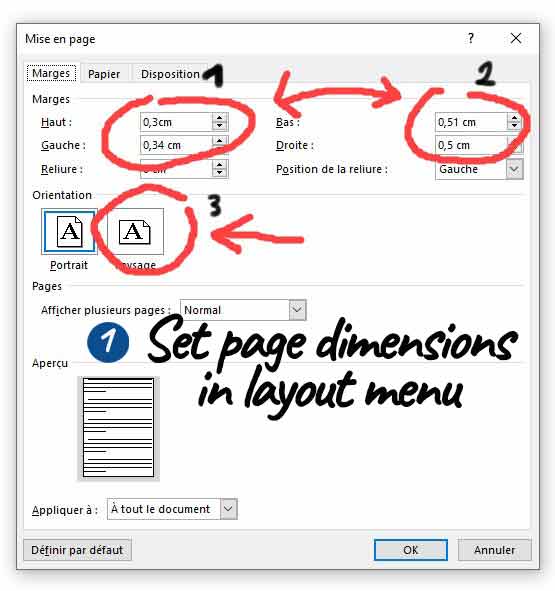
Start by opening WORD and create an A4 page (21x29.7) in landscape format... You will reduce all the margins to 0 and Word will determine the minimum margins to keep according to your printer...
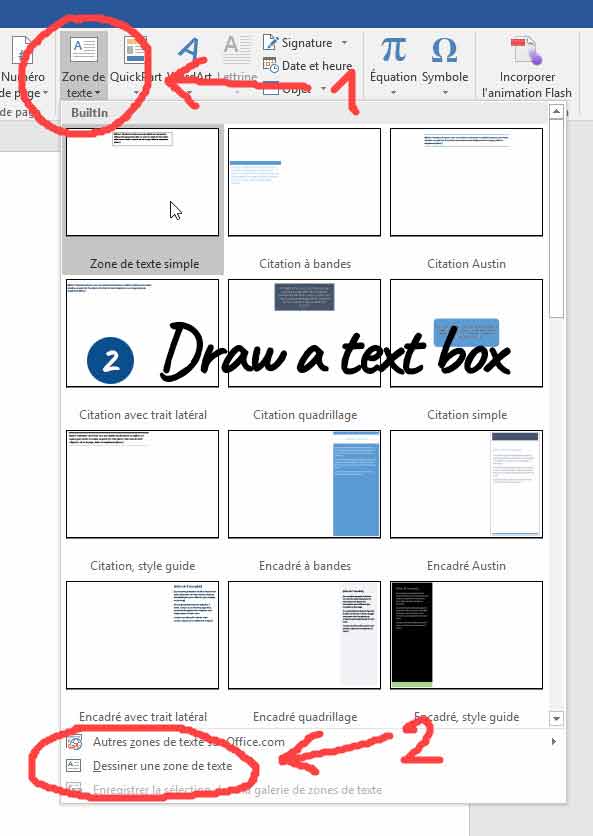
In the insertion menu click on text zone and check the box draw a text zone. The cursor will turn into a cross: draw a text area (no matter its size at this stage).
Then give this zone the dimensions height 10 cm and width 7 cm. These dimensions are calculated so that as little space as possible is lost.
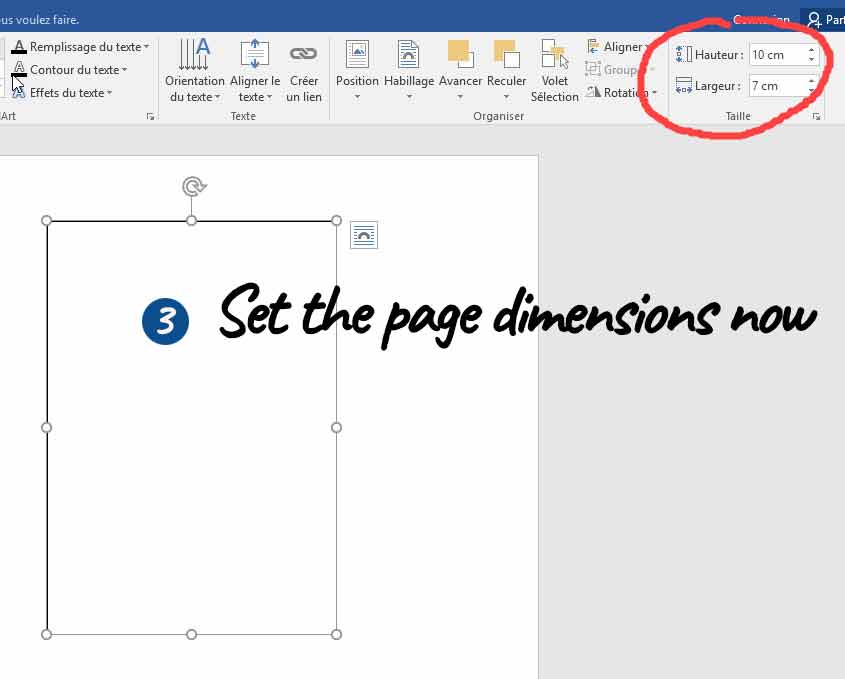
The text zone is selected (handles visible).
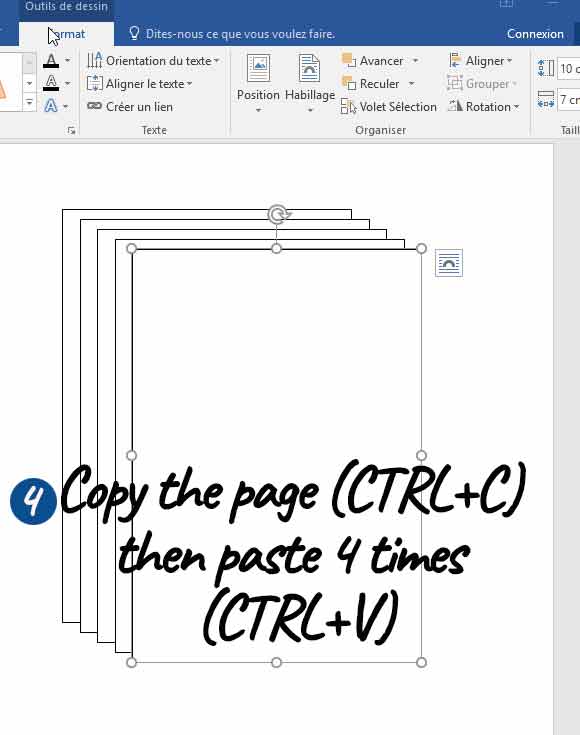
Copy this zone by CTRL+C then CTRL+V 4 times to create 4 new zones identical to the previous one.
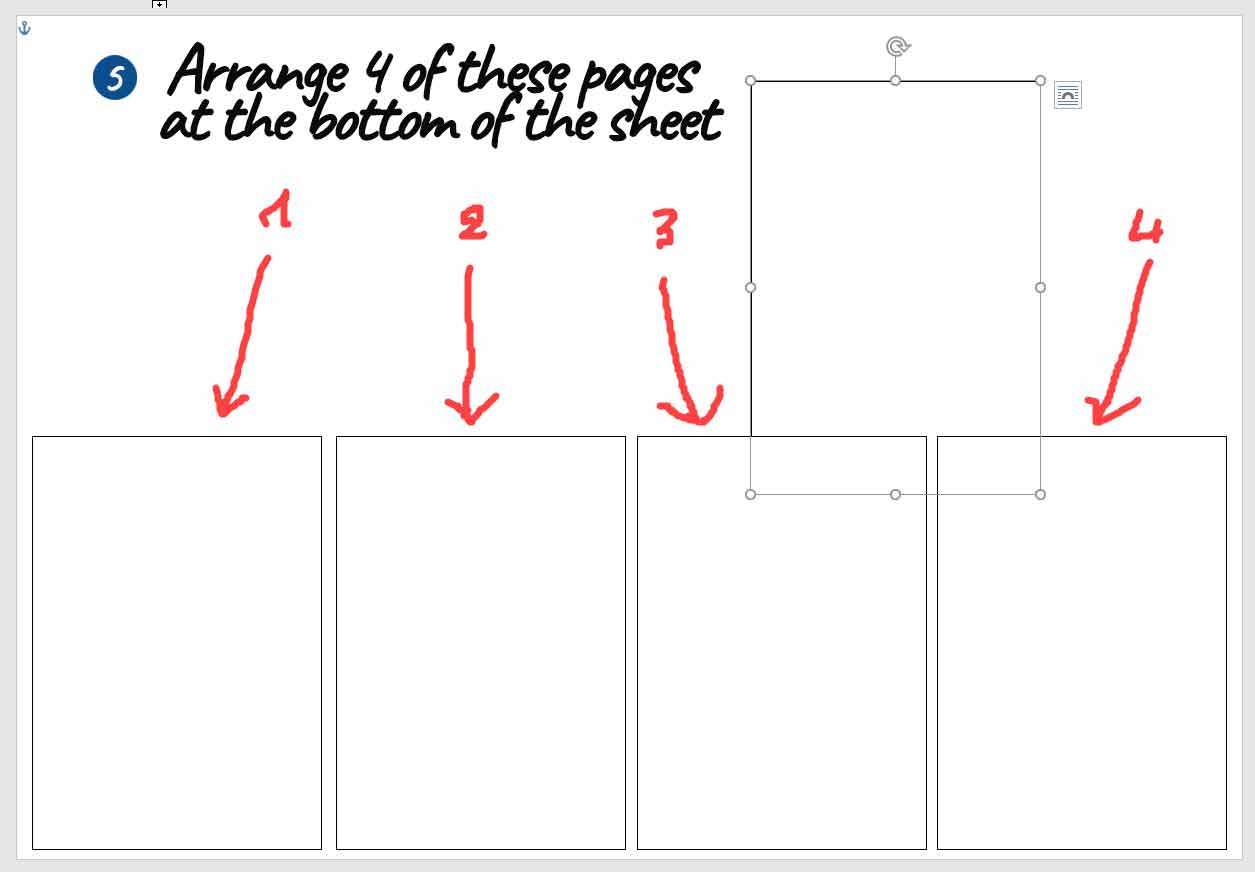
Move with the mouse 4 of these zones... to form the bottom row.
One zone remains unused.
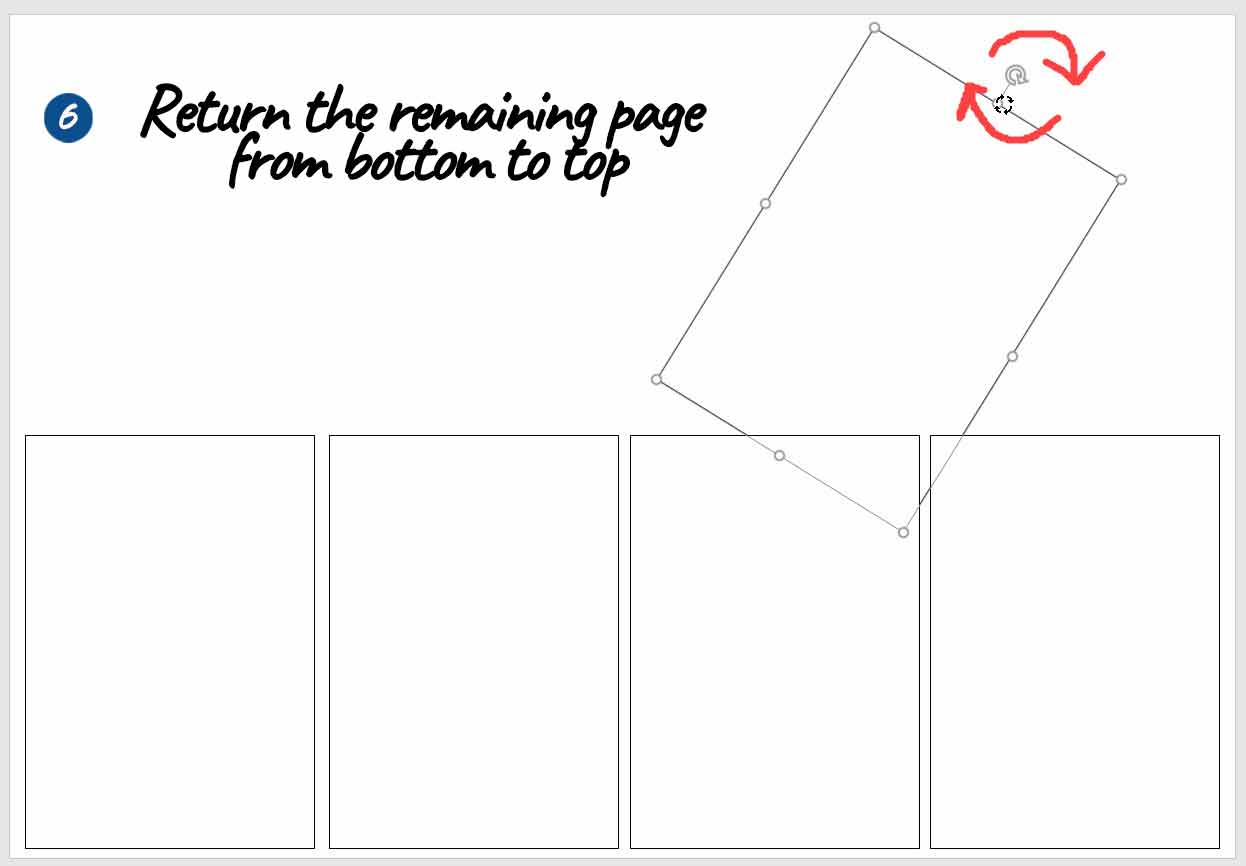
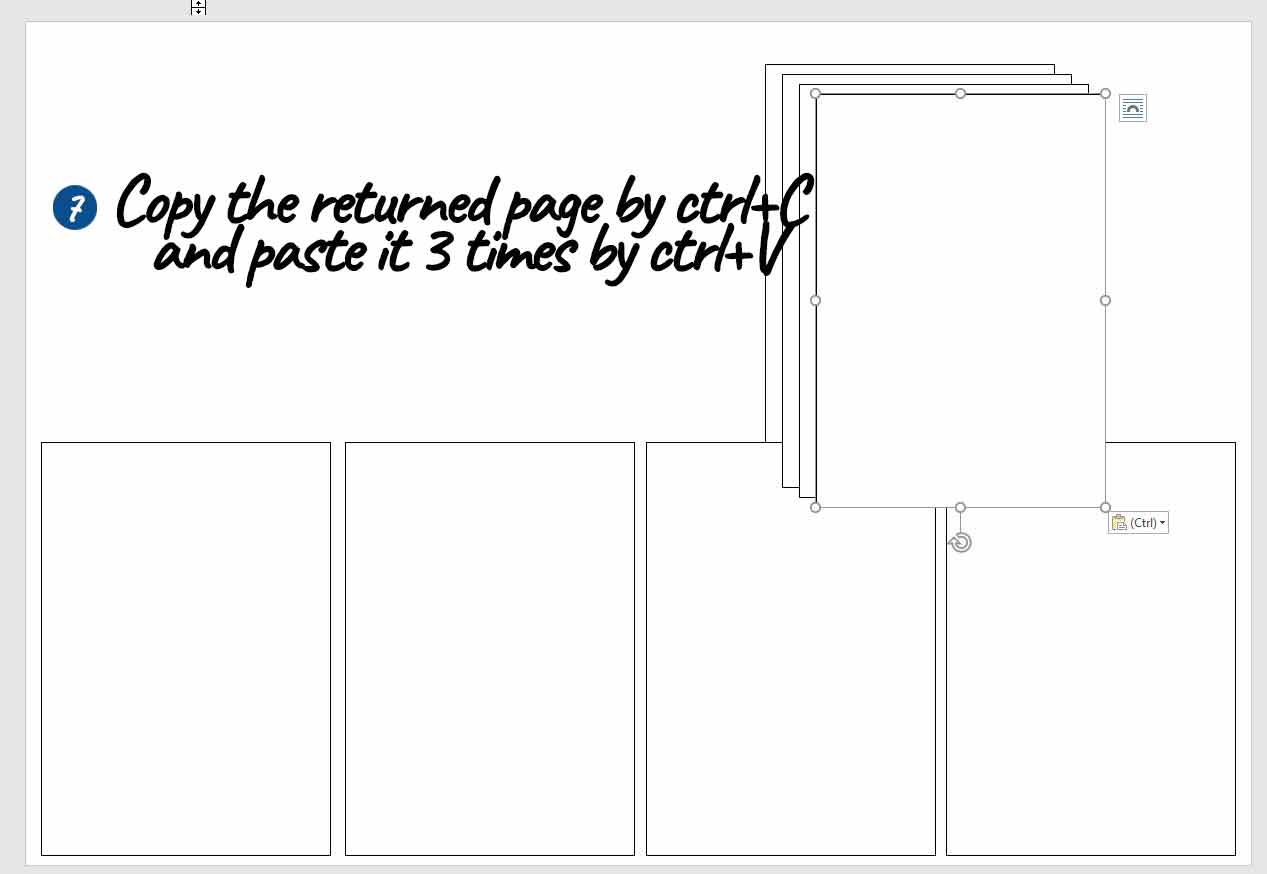
Use the upper handle to rotate the remaining area by 180°.
Then copy this area by CTRL+C and paste it 3 times by CTRL+V
Set up these 4 zones on the top row. Align them with the bottom row.

It's time to set up the "text-overflow"... If a text is too big to fit in one zone, it will automatically overflow into the next zone.
To do this, page 1 must be linked to page 2, page 2 must be linked to page 3...
With page 1 selected, go to the drawing tools menu and click on "create a link". The cursor changes to "water pot".
Then click in page 2... which links it with page 1...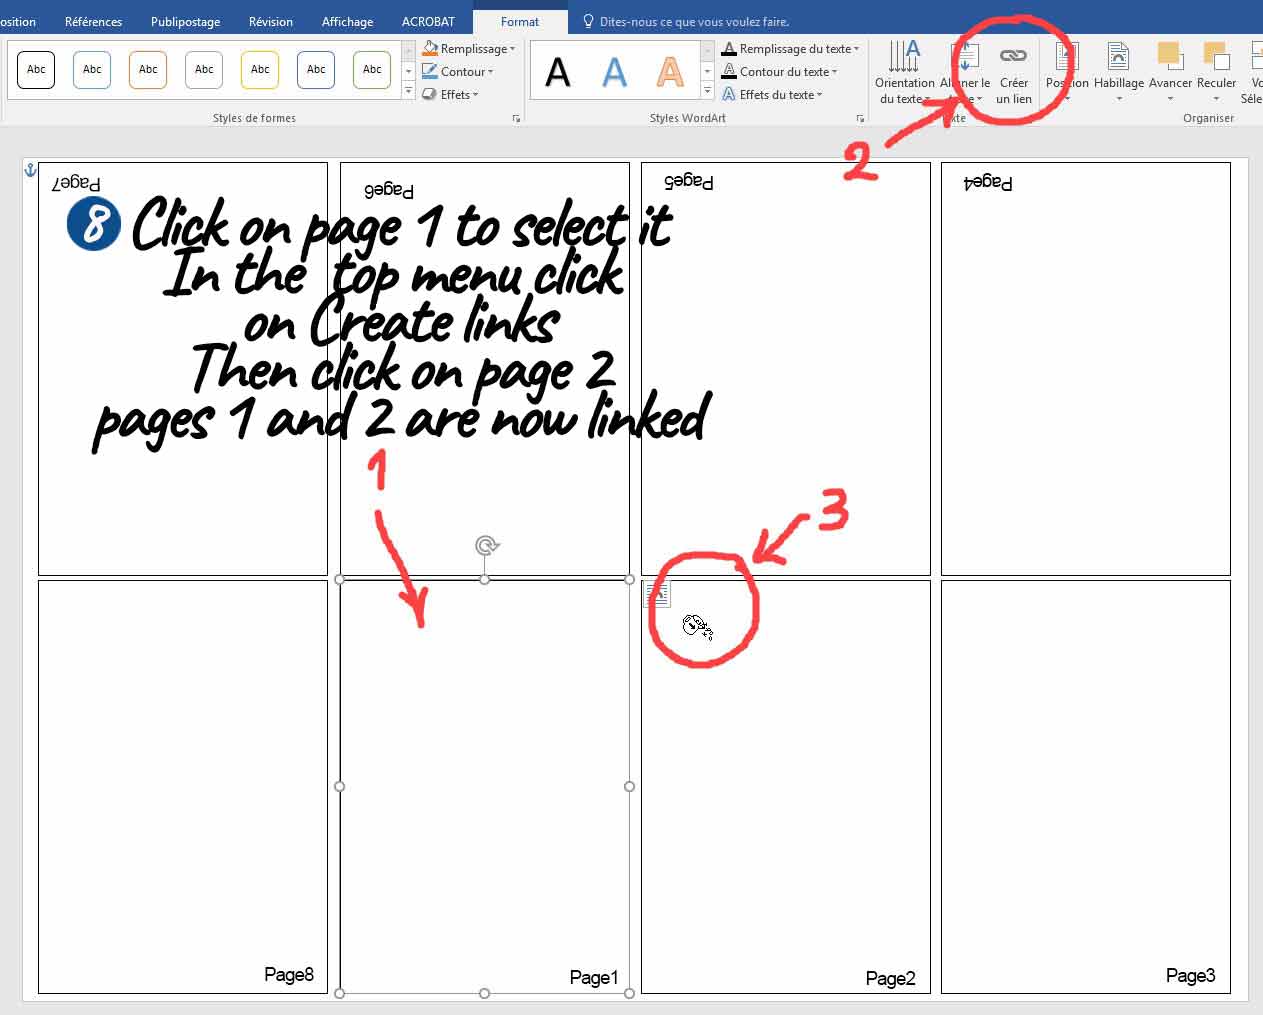
Now select page 2 and repeat the operation: create a link then click on page 3...
Repeat until page 8!
Your template is ready: save it as a template (.dotx extension).
 Using the template
Prepare the texts
Launch Word or Notepad and prepare the texts of your story :
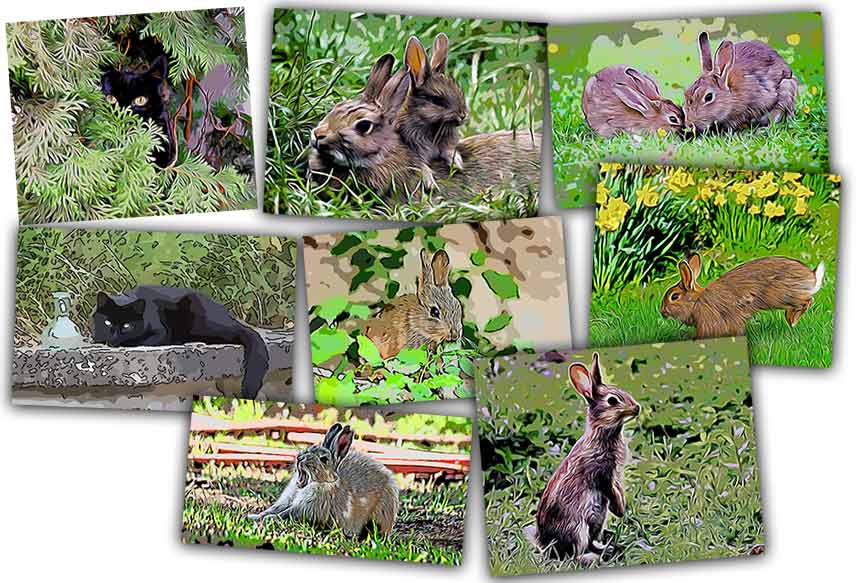
Also prepare your illustrations, photos or drawings in jpeg format (or other) in a separate folder that you will put on the desktop for example ...
Place your cursor at the beginning of the text and select and copy the whole text.
Put the text in place.
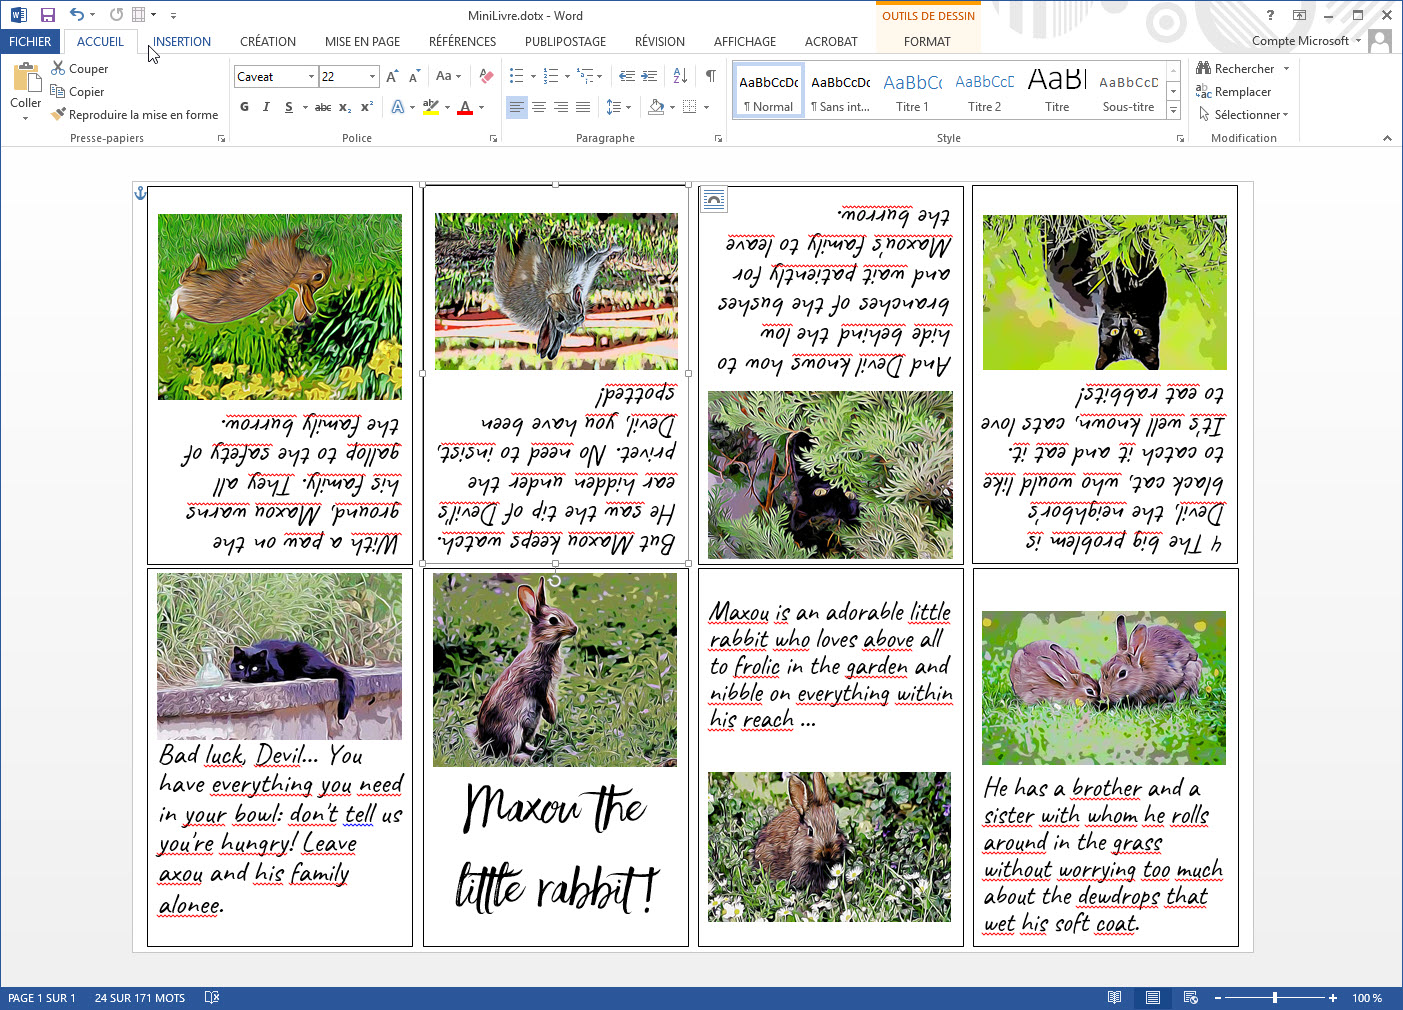
Now open your template: MiniBook.dotx .We will not put any text on the cover page 1 .
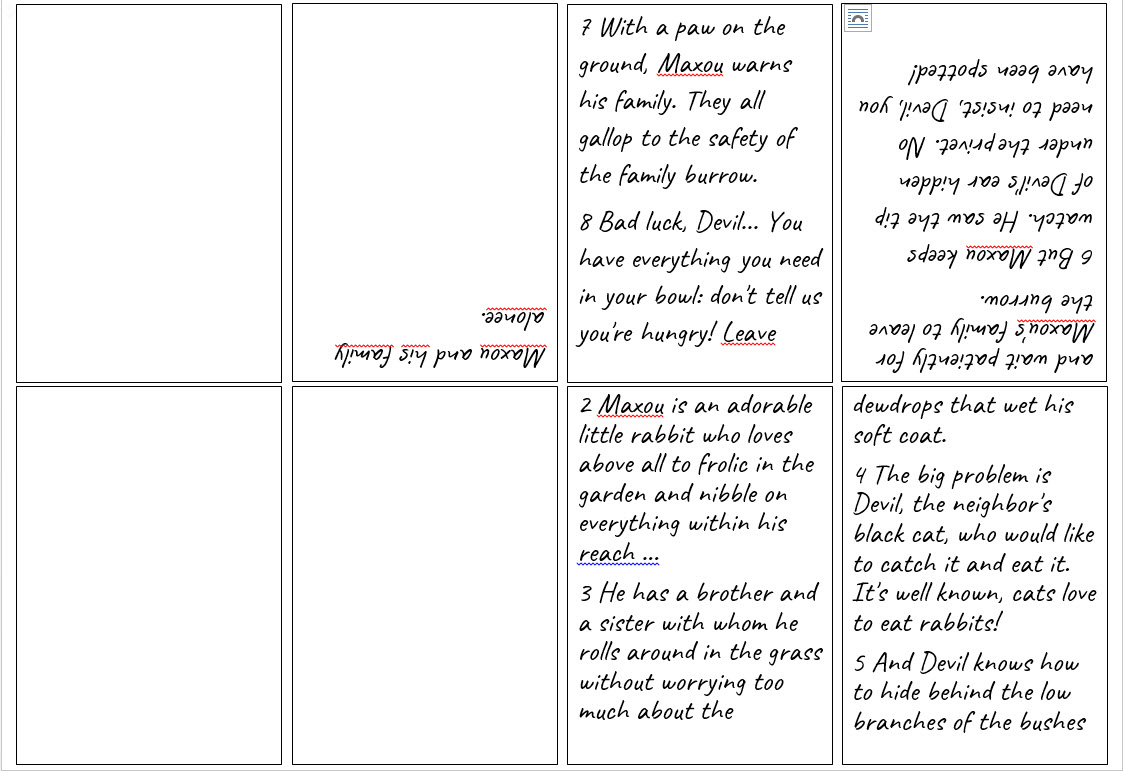
So click on page 2 and paste the text you copied above. At this point you can choose your font and paragraph alignment, justification or not .
The text overflows into the following text boxes...
Put the illustrations in place.
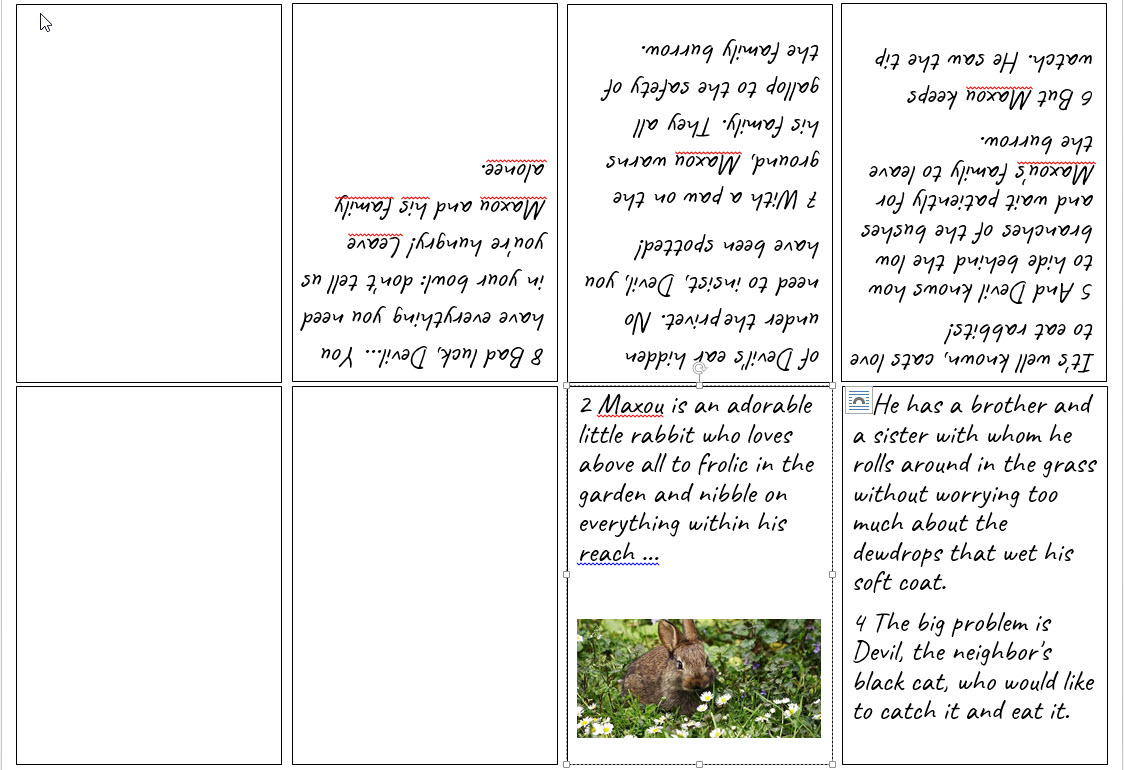
It's time to move on to the illustrations. You will simply drag and drop them into place within the text... There will certainly be some adjustments to be made... Note that the images adapt themselves to the width of the text area... And, when you place an image, the text is pushed to the following pages...
From time to time, save your work. Nothing is more annoying than losing the last changes that have just been made!
Finish the layout.
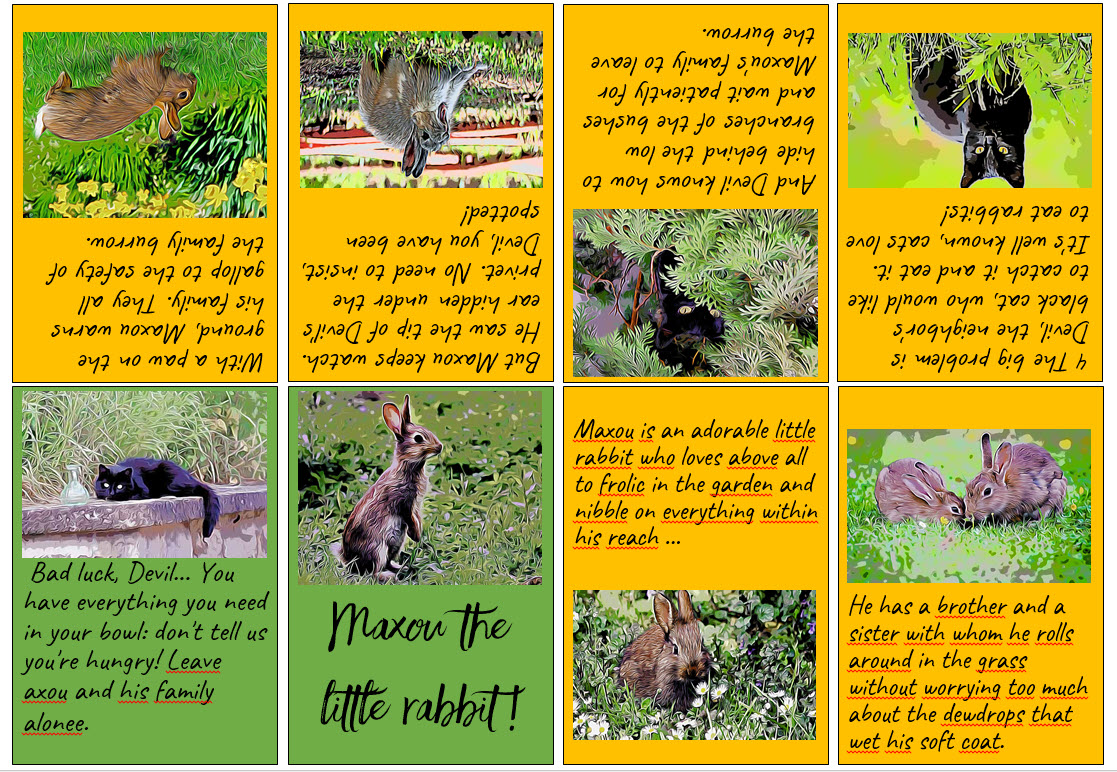
From page to page, install your illustrations, air out your composition with empty paragraphs... Set up the cover page... Your mini-book is finished!
All you have to do now is print it and mount it for testing... and correction: many errors, especially typos, are only really visible when you proofread it on paper!