Build yourself a classic frame
DIY made easy!
On page "window frame (2)" you have matted a pencil portrait... and I proposed you to continue by building yourself a wood frame ...
This new page is about DIY this frame with a conventional moulding... for a total cost under 10$ ! And that frame, if you do it with a little care, will have nothing to envy to ready-made frames that you could pay 5 times more!
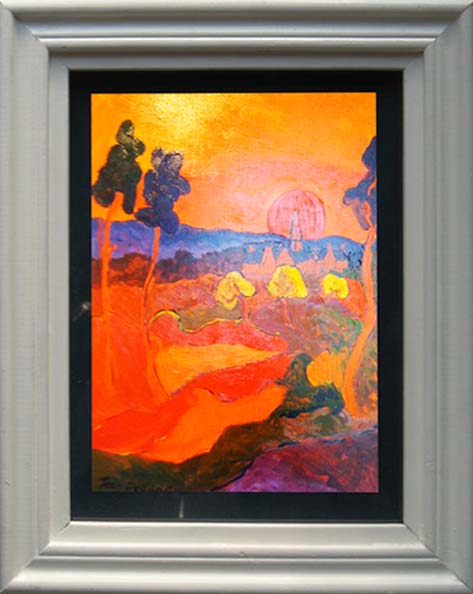
We are going to frame a picture with mat that measures: 24x32 cm
 Equipment
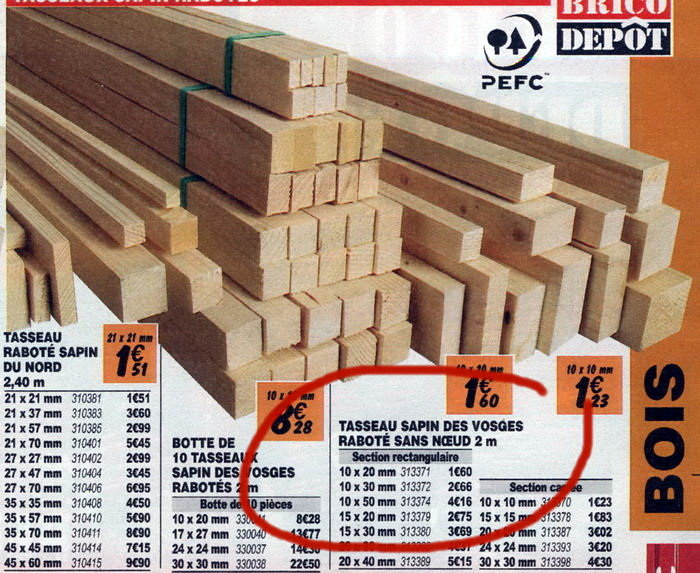
A rectangular lumber 10x50 in 2m
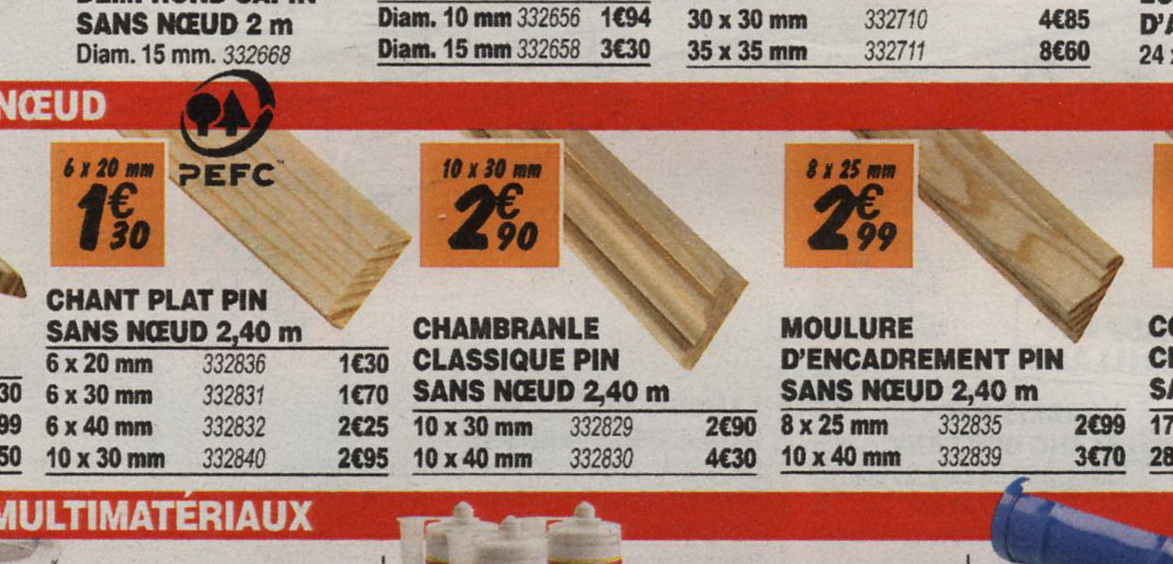
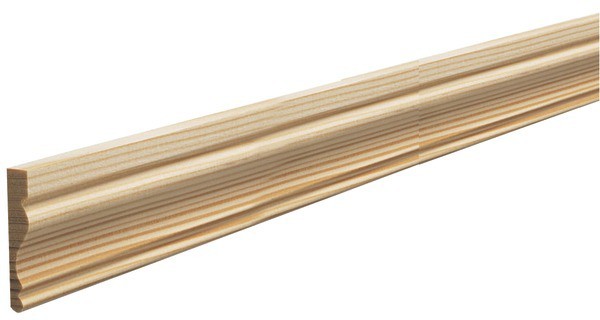
A length of classic doorframe 10x40 pine in 2.40 m (4.30 €)
The usual small tools : miter saw, quick adjust band clamp , wood fast glue , small nails, paint ...
 Making of the "classical" moulding
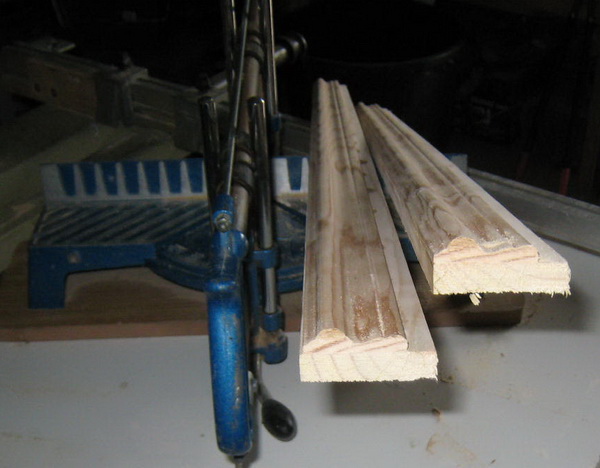
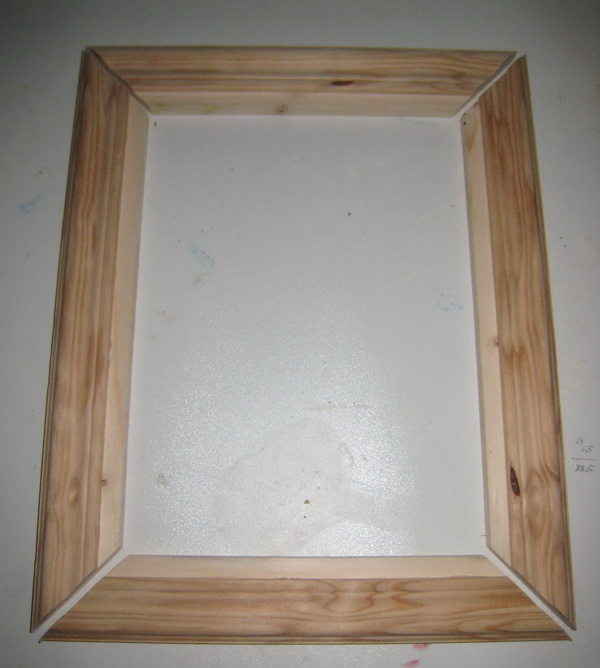
Cut 2m of doorframe moulding and glue its back. Put it on the rectangular wood strip and made carefully match their outer edges.
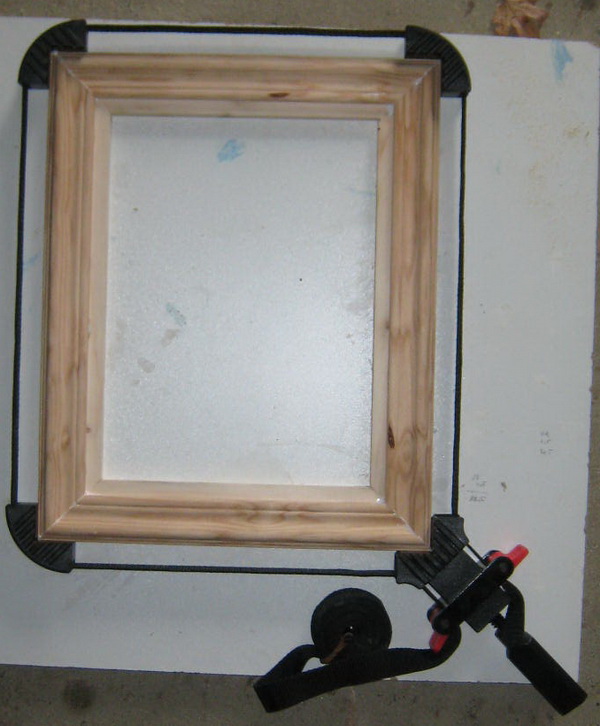
Tighten your assembly with some clamps so that the glue drying takes place in good conditions.
After half an hour, you can remove your clamps if your glue is fast! Leave nonetheless still dry 2 hours before cutting the moulding with the picture framer saw.
 How to cut of the frame elements
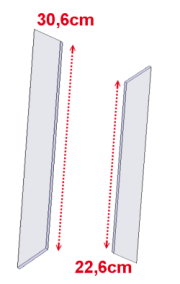
The "package" to frame measures exactly 24cm on 32 ... The window frame is 0.7 cm smaller in all directions so that it adequately covers the package.
It thus measures: 32 - 2x0.7 = 30.6 cm for the longer side and 24 - 2x0.7 = 22.6 cm for the smaller ... these measures should be taken on the inside of the bars.
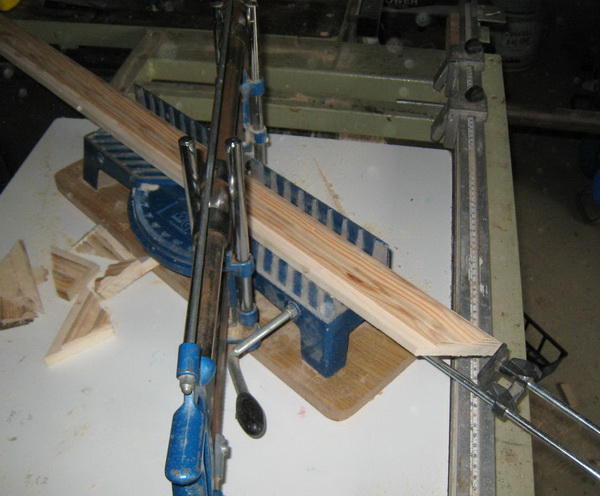
Start with the first cut, the 30.6 cm bar (so as if you made a mistake, you can always resize it to make with it a little bar!).
Cut the first end with 45° angle, carefully measure 30.6 cm and saw the second miter.
If you have a miter saw on metal frame, remember to position the stop block before cutting the first bar... Using the same setting, the second bar will have exactly the same length.
Doing so, cut the 4 elements.
Then make a "dry" fitting
Before gluing the ends together and assemble using the band clamp ...
Leave to dry up within 4 hours. With fine sandpaper, carefully sand the whole frame.
If you wish, you can consolidate your assembly by installing VNAILS at the junctions of the bars.
 Painting and finishing the frame
The mat I choose for this frame is dark blue, I much prefer having a clear frame ... but a violet color might contrast with the mat!
Start by providing a coat of acrylic paint diluted for it penetrates well. This will effectively raise the wood fibers and, after drying, it will be easier to sand.
With some coating, fill in the holes and small wood defects especially at of the gluing of the doorframe moulding on the cleat.
When all this will be fully dry, even a little sanding followed by 2 coats of acrylic matte or satin finish depending on your taste.
If you prefer wax finish... have a look at that page : How to finish your frames...
 To fix the "package" : a false rabbet
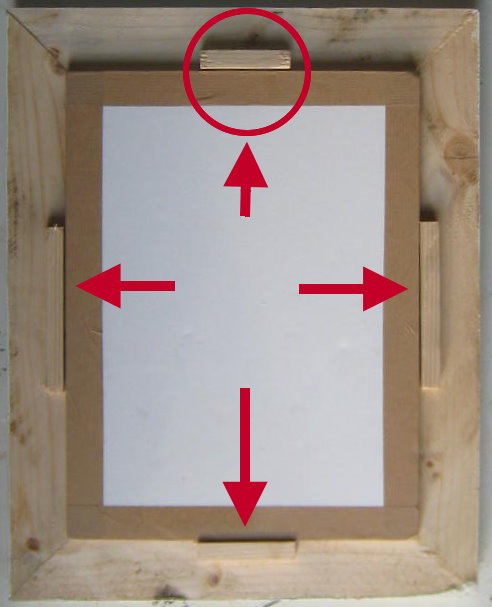
Turn the frame and put it on your work plan. You will put the package on the frame and .
Cut 4 small lengths of 10x10 cleat and paste these lengths on the frame along your package: 4 will be sufficient ... Let dry and screw over them 4 small tabs (or spinners if you have them) so that the package is holded on the frame.
To complete the frame, you must add everything needed for its hanging... On each side, screw 1 eye screw in the upper third of the frame.
Tie a strong string to these screws, leaving him enough "slack" for it to be in the form below:
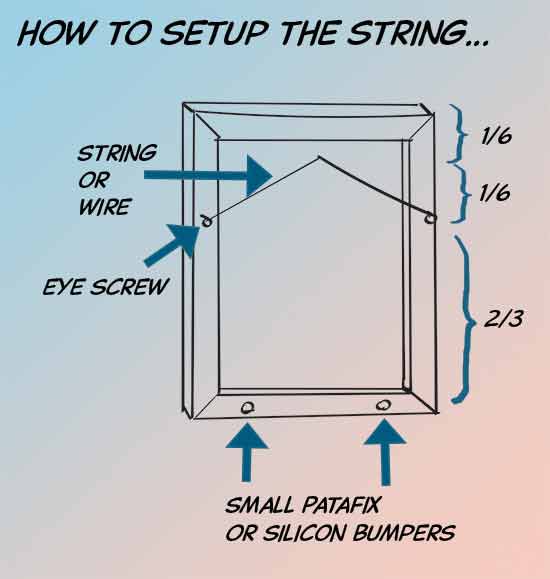
A pin on the wall ... Hang it ! You did it !.
A book I especially recommend :
Mat, Mount and Frame It Yourself
David Logan
Now it’s easier than ever to save time and money doing your own framing at home. This demonstrates how easy it is to mat, mount, and frame art on paper and cloth, as well as three-dimensional objects.
(click for +)
Making Picture Frames in
Wood
Manly Banister
Create all kinds of picture frames from simple wood mouldings to elaborate carved types.
Clear instructions on matting, texturing, finishing. Fully illustrated with photos and diagrams.
It's the Best of the inexpensive books.
How to Make Your Own
Picture Frames
Ed Reinhardt, Hal Rogers
Hal Rogers and Ed Reinhardt are eminently qualified experts on picture-framing-both from the craftsman's standpoint - They have been making their own handsome frames for years - and from the esthetic standpoint-both are accomplished professional artists.
It's the 3rd edition !