
How to hang a picture frame
Setting a picture frame on the wall
Your canvas painting is framed, your art-work is mounted… You have now to hang it on the wall !
How? Once you have chosen the site, the problem depends primarily of the wall : You can't fix a hook on a plasterboard wall in the same way as on a concrete wall.
Is it necessary to drill a hole to fix a wall plug ? How not to leave traces on the wall in preparation for a removal ? How to layout the framed paintings on a wall ? As many questions which we will try to answer.
 Avoid poor quality adhesive hooks…
Let us say immediately that the solutions containing adhesive hooks are to be banished definitively ! Unless having to suspend only a car ignition-key or a postal card!
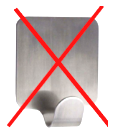
Some adhesives fall apart brutally, without preventing, and generally in the middle of the night, in a great crash ! Others stick so well on the wall… which it is impossible to remove them without tearing off part of the coating or the wall paper, that is contrary with the expected result.
Same concerning the adhesive dots (patafix) which are not adapted to the fixing of heavy objects : reserve their use to fix without danger at the wall… a postcard or a poster, at the maximum !
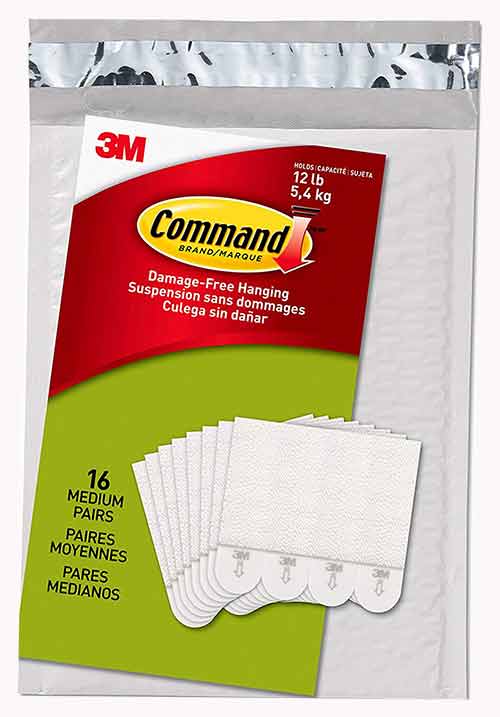
An exception, however! The 3M brand markets an excellent product to hang frames in a sustainable and reversible way. This is the "COMMAND" system.
It's a kind of Velcro that attaches to the wall and supports your photo frames or paintings. Moreover, it removes itself without any damage to the wall. No more traces, no more fragments of plaster! This system is not expensive and re-usable : you can click the picture, there is a link to see their brand products.
 Drill the wall or not ?
Nobody likes to bore in the walls… especially the tenants who wish to recover their guarantee at the conclusion of their lease.

If your framed painting weighs, let us say less 15kg, you will not need to drill the wall to place a wall plug… Whatever the nature of the wall, there exists a simple solution to be implemented (small or double hooks "X" for example).
And when you will leave your apartment, you will stop the holes with a little of ready mixed plaster (Polyfilla), a light sanding and just a little bit of coat… and, if you were careful with drilling, you are able to well dissimulate them.
 Traditional wall: bricks and plaster.
These nails have 4 cm length and 1,5mm thickness.
They are sold out of little packs in do-it-yourself stores under the name of “ black concrete nails ” or "blue steel nails"...
Tap slightly with the hammer until the nail crosses the brick under the plaster. There you can hang a frame whose weight does not exceed 3 kg!
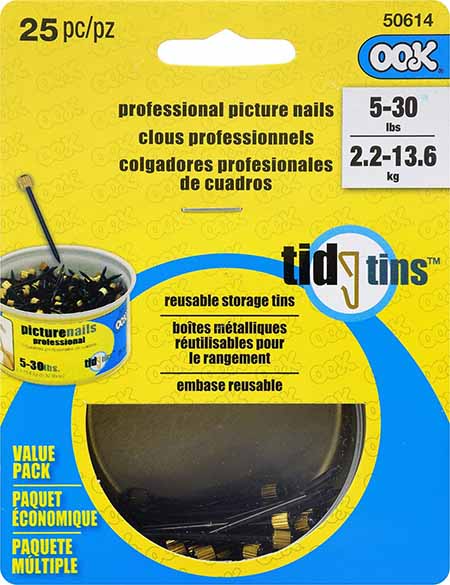
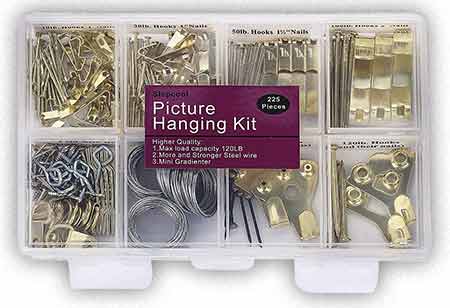
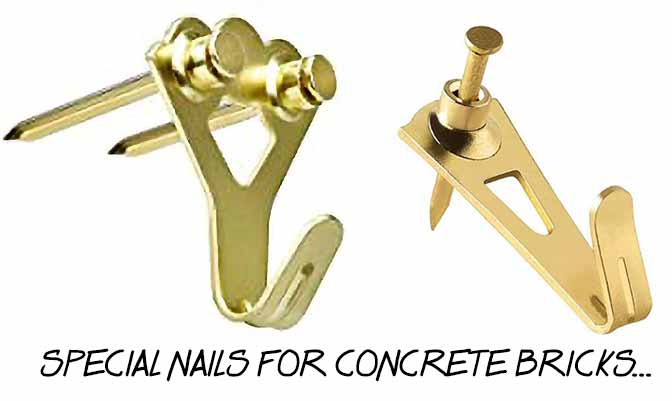
According to the weight of your frame, you will have the choice between models with picture hangers with 1,2 or 3 steel nails. Resistances obtained are interesting since the range of the advised weights goes from 5 to 30 kg!
In this case, think of not damaging the wall, do not forget, before drilling, to cross incise the wallpaper and slightly lift up the 4 points before boring.
Thus, if you have to leave your apartment, you remove the screws, fold back the 4 points, a bit of glue, and practically nothing is seen any more.
With good pluggs, you can suspend in a healthy wall between 30 and 50 kg… Trust resistances which are given on the plugs packing : each manufacturer tested their models!
When necessary, you can put several plugs which are distributed a mass important to suspend.
If you can't find all models in your DIY store, have a look HERE for all wall plugs models.
 Concrete wall
And it is increasingly frequent in the modern buildings, hook "X" proposes to you small brass or plastic hooks. provided with 3 small nails which will clutch the concrete with force. Their resistance is astonishing.
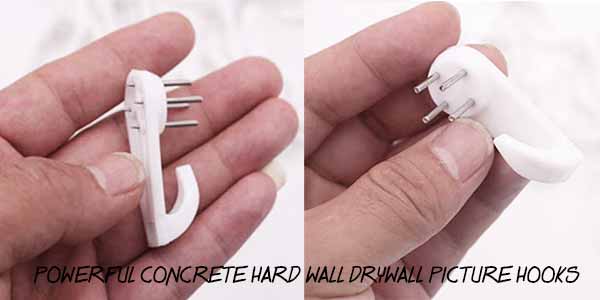
To pose them, you maintain them in place and with a hammer you drive simultaneously the 3 or 4 steel nails by tapping with small blows so that the tips sink into the concrete .
Those will create a sufficiently solid point of anchoring to support between 5 and 30 kg according to the models. Always read closely instructions !!!
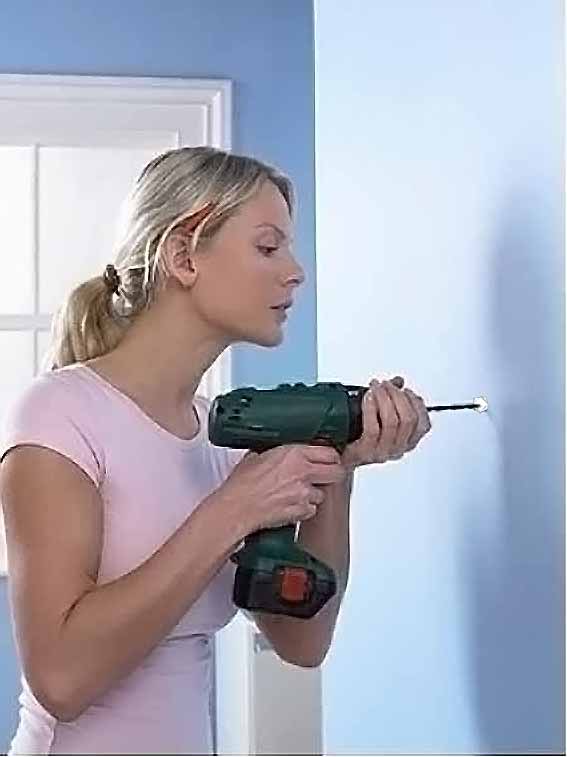
For the more important masses, it will be necessary to bore and to pose wall dovels: a hammer drill will be necessary with an excellent carbide drill bit… Hard, hard in some vibrated concretes but that holds wel !!!
A TRICK VERY USEFUL!
To drive a nail into concrete is not easy, even with special nails ... But there is one trick to know : using a cork !
Cut a piece of cork 1 cm shorter than the nail. Tap with the hammer with short twists while holding the cork. The nail will sink easily into the concrete and without splinters.
To try it is to adopt it! Very cheap and usefull !!!
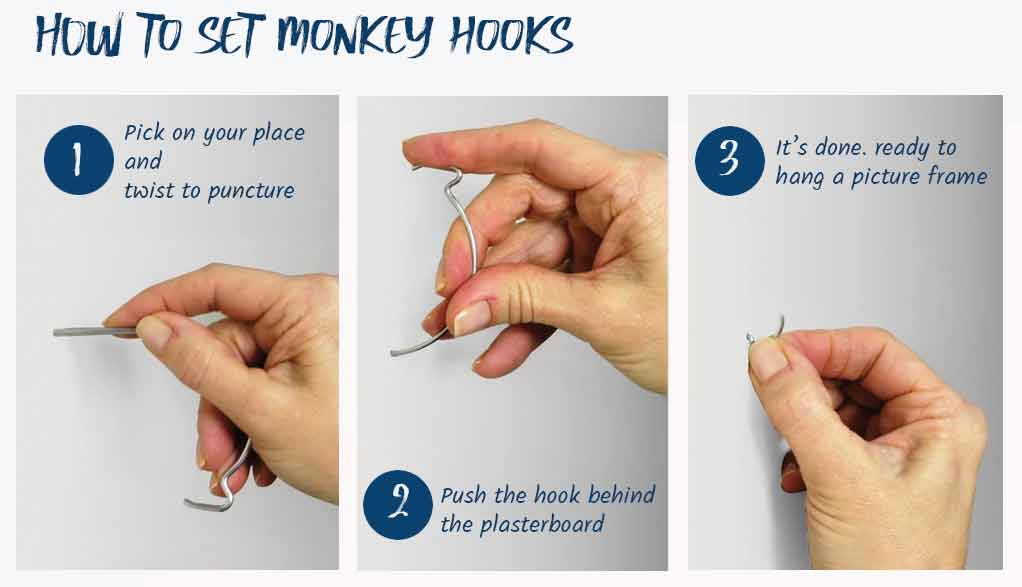
 Dry walls (plaster boards)
They are now widespread and tend to gradually replace the traditional brick + plaster partitions. The problem is that of the resistance of the partition itself! -
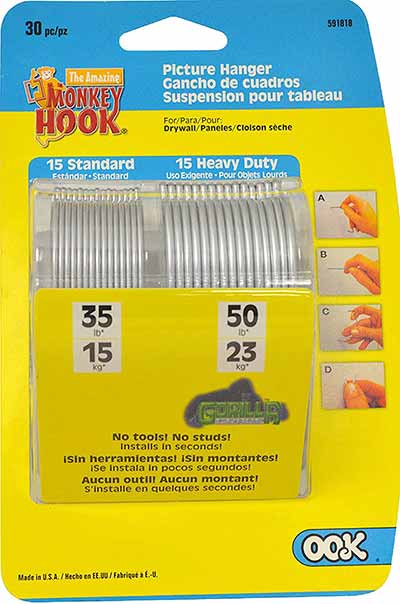
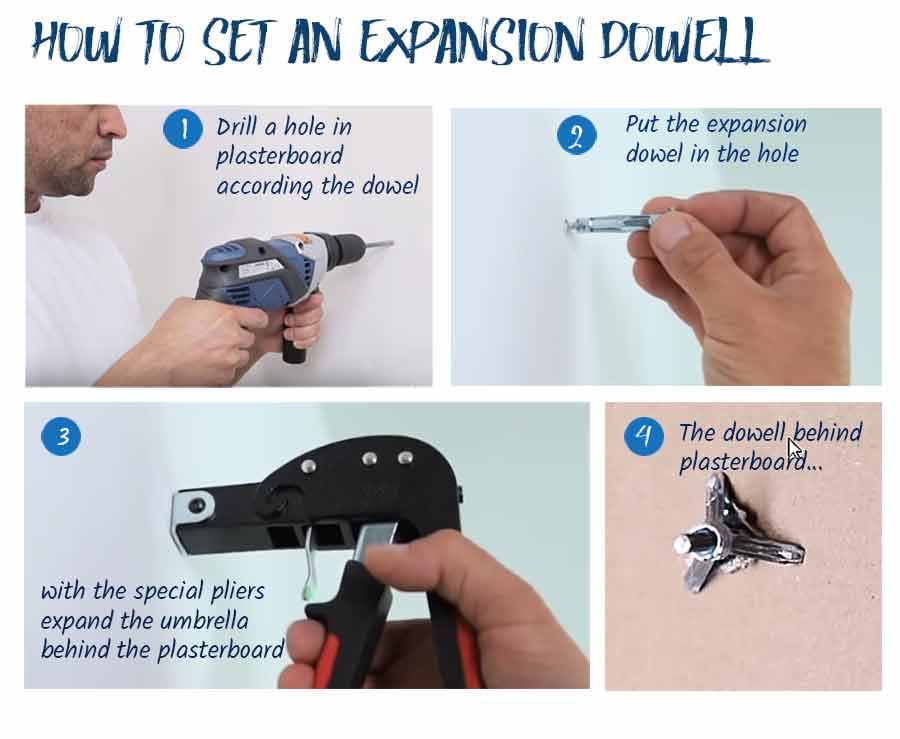
You first drill a hole in the plaster to the size of your ankle and then, with a special pliers, you will fold the back of the ankle, "umbrella", behind the partition ... You will then get good resistance, both in tearing and shearing.
- The plasterboards are screwed on metal studs called "furs" ... maybe you can locate them by tapping on the wall and trusting the sound ... If you come across a "fur", you can drill and there, put an ordinary dowell: it will hold properly!
- By applying the principle of "distribution of efforts", several MOLLY dowels can support a much larger mass ... For example, you can attach a wooden plate on the wall held by 4 pegs umbrella: and on this wooden plate you can screw your fixation! Beyond, we go beyond the point of this page!
See also the special page: set in hollow materials.

 An elegant way… clip rail mounting !
It is the solution chosen by all the galleries which expose framed paintings and which must often renew their exposure.
If you wish to gather several frames on the same wall, it will be for you a good alternative.
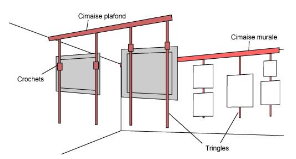
The clip rail mounting is composed of a small “rack” which comes to be screwed with or near the ceiling. On this rack you can hangs steel or perlon cords, sometimes steel rods which will be used as support for your frames via adjustable hooks throughout the cord or rod.
Look at Clip Rail Hanging page
It is, the better way to build a “wall” of paintings and frames without constellating the wall with unaesthetic perforations.
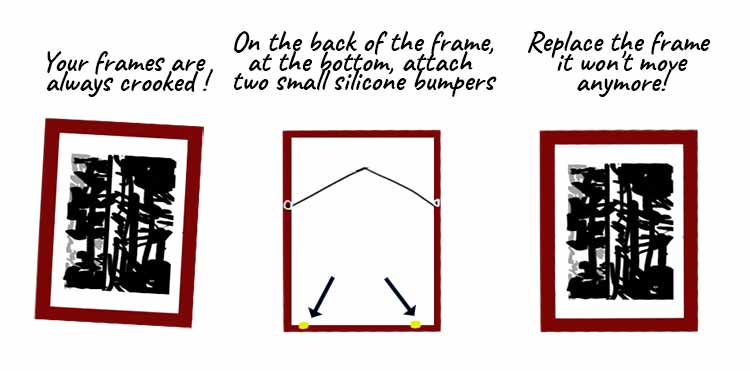
 Just a small “trick” : how to rectify a frame...
The frames fixed on a wall are never right! Unceasingly, you should rectify their position because they are always tilted.
They will not move any more if you fix a whole small piece of double-coated tape (or a pearl of Bostic White Stick'n Fix) in the bottom of the frame to make it very slightly adhere to the wall !
The Complete Photo
Guide to Framing and
Displaying Artwork
by Vivian Carli Kistler
The author provides inspiration and helpful examples to show people how to display their artwork using basic design principles in a manner that is easily grasped.
New Fix-It-Yourself
Manual
Reader's Digest (Editor)

How to repair, drill, clean and maintain anything and everything in and around your home !
Homeowner Basics
(Black &
Decker
Complete Photo
Guide)

Filled with easy-to-follow projects for all of the most common repairs and installations homeowners confront.
This is the essential guide for readers with little to no do-it-yourself experience.
See other pages
> Rules for hanging pictures...

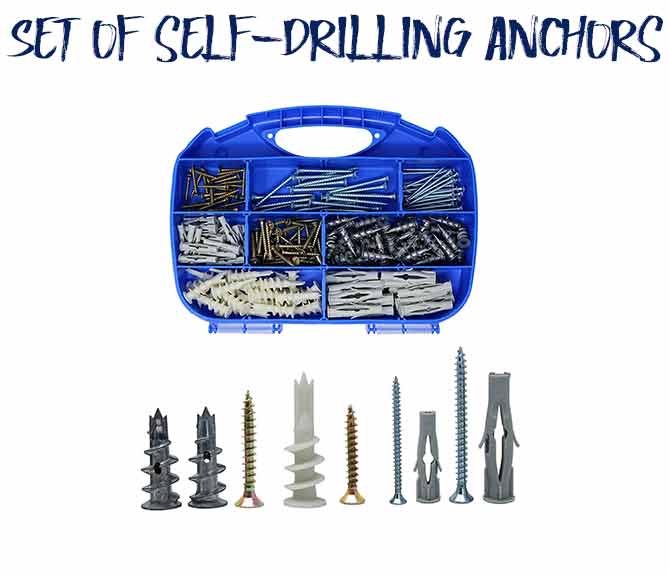
> Different wall anchor models ...
> Wall picture frames Layout...
