
HOW TO FRAME A POSTER and HANG IT
How to frame a poster
All the solutions!
Very often, freshly bought posters are quickly fixed to the wall with 4 tacks or Patafix balls.
The first few days everything goes well... but very soon the poster becomes slack, yawns more and more and ends up hanging pitifully against the wall.
How to remedy this and, above all, how to give your posters the place they deserve and thus give them an undeniable decorative value.
And this is especially true for the highly prized movie posters!

 Economical solution: do it yourself!
From 20x10 wood, 6x30 flat board or 15mm half round, cut out two pieces the length of which corresponds to the width of your poster.
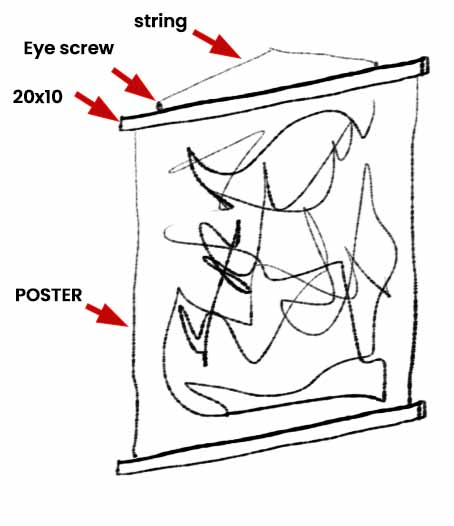
You can use these strips as they are, or better: sand them finely and apply two coats of satin acrylic paint (choose a non-dominant colour found in the poster...).
Screw two small eyebolts onto one of the brackets, then pin your poster to the back of the brackets... hang on two thin spikes driven into the wall... or stretch a thin string between the two brackets. The weight of the lower bar will keep your poster taut and it will no longer sag. In the diagram below, the thickness of the support strips has been exaggerated...
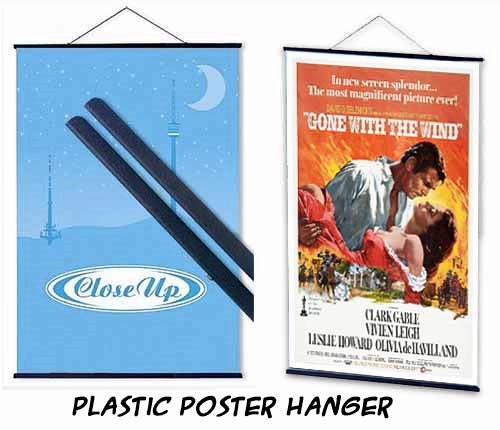
 Discreet profiles for hanging
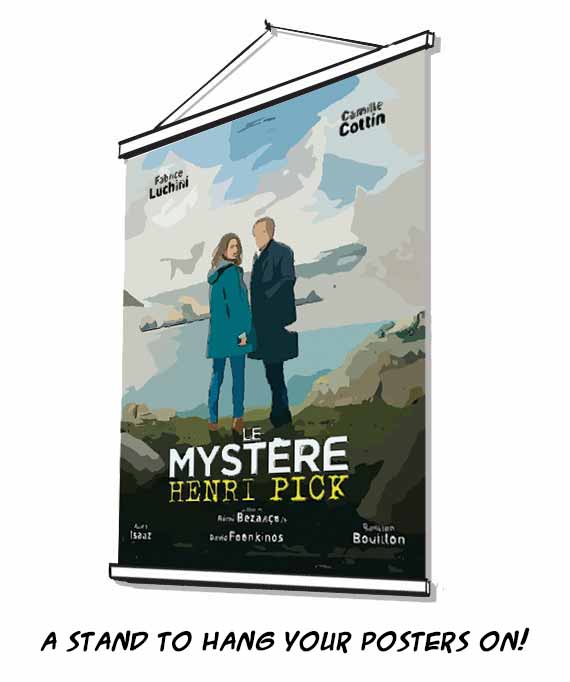
All these systems are based on the same principle: attach two rigid rods to the poster (with clamps or magnets) and thus "stretch the poster" to prevent it from creasing.
![]() On AMAZON, you can also find super cheap poster rods... At this price, you don't even need to do anything!
On AMAZON, you can also find super cheap poster rods... At this price, you don't even need to do anything!
They consist of 2 coloured plastic clamps that fix your poster at the top and bottom... A suspension system is integrated in one of the clamps...
Very quick and easy to use!
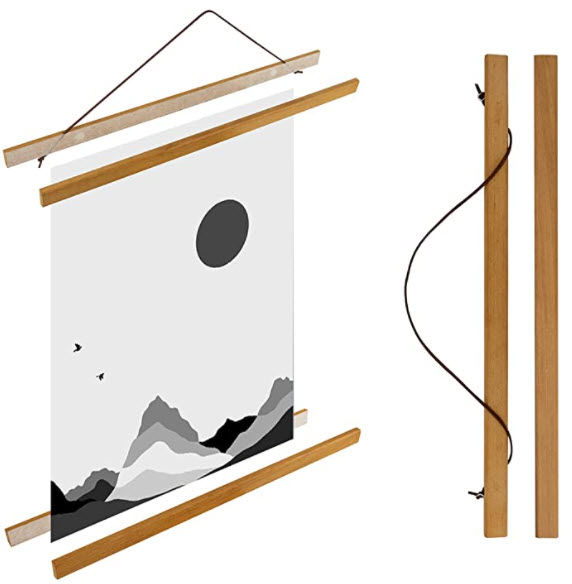
![]() More elegant, the natural wooden rods... Each rod is made of 2 parts that hold each other (and the poster) with magnets. These magnets are embedded in the wood and do not protrude from it, which avoids damaging the poster.
More elegant, the natural wooden rods... Each rod is made of 2 parts that hold each other (and the poster) with magnets. These magnets are embedded in the wood and do not protrude from it, which avoids damaging the poster.
You can find them HERE for between 6 and 10$.
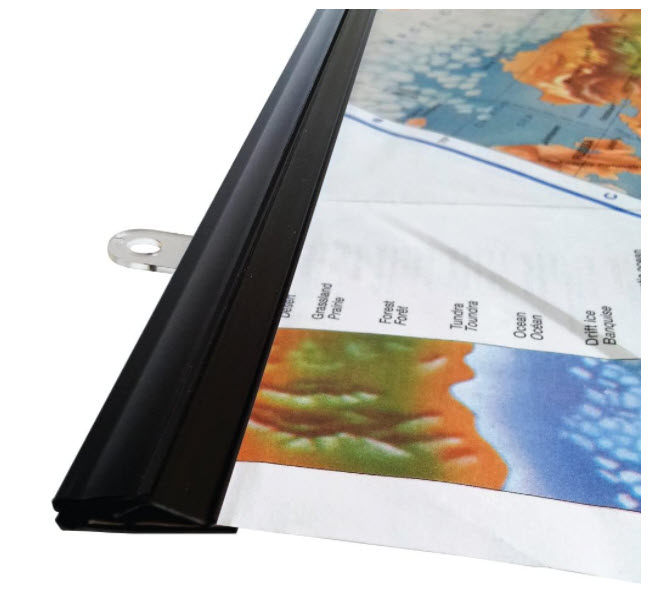
![]() If you want a more elaborate device that doesn't look plastic, you can look HERE. It's quite cheap... but the result is impeccable ! This model is best reserved for modern design interiors... It is available in 30,50 and 60 cm width : I would have liked an 80 cm width for my movie posters collection !!!
If you want a more elaborate device that doesn't look plastic, you can look HERE. It's quite cheap... but the result is impeccable ! This model is best reserved for modern design interiors... It is available in 30,50 and 60 cm width : I would have liked an 80 cm width for my movie posters collection !!!
![]() And if you want to have the choice...
And if you want to have the choice...
See all the poster rail solutions HERE!
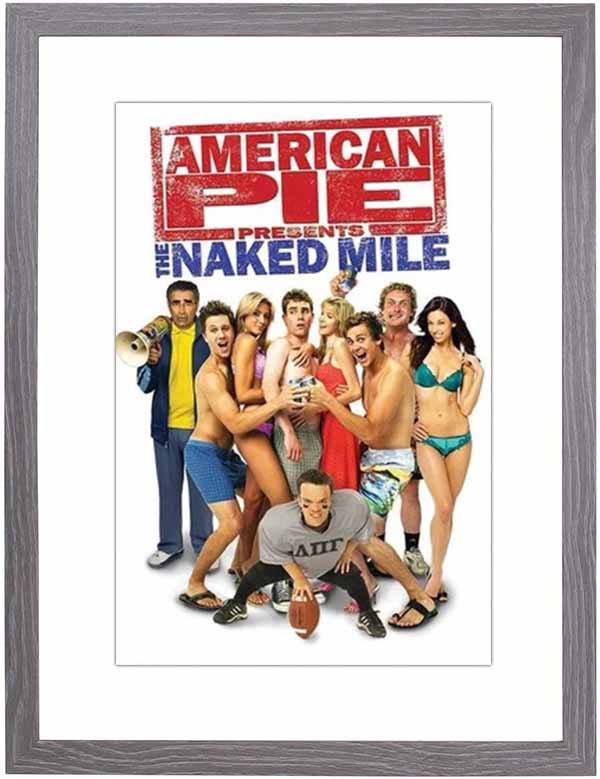
 A commercial coaster frame
A word of clarification to begin with: so-called "anti-reflective" glass is, with a few exceptions, to be definitively banned! Indeed, their advantages do not compensate for their big disadvantage: they are not totally transparent and give a slightly blurred vision of the work. Moreover, they are very expensive to buy.
In a coaster, the poster is sandwiched between the protective glass and the back plate: it does not risk to be deformed... although... the dynamics of papers in a not very dry environment is sometimes surprising.
There are many websites specialising in the sale of poster frames on the Internet. Here is one that I find interesting because of the variety of its offer and the reasonable prices it charges: Have. For a poster measuring 24x36 inches the prices range from 16€ to 60€ (depending on the quality of the moulding).

This model, with clips, is just under 35$ for a 24x36 poster. As I write this, a "free shipping" operation is underway... even more interesting if you come across such an operation.
You will find the equivalent on AMAZON with even more choices... Special mention: Only 22$ for a large 91x61cm coaster frame. With always the speed of its sendings and the seriousness brought to all the orders.
 Bonding to a rigid plate
If you don't want to invest in a frame, there is another, very economical solution. In order to prevent your poster from distorting, I suggest you glue it on a rigid plate: cardboard or thin plywood.
Cardboard is still more elegant, especially if you use foamboard, which consists of a layer of expanded foam sandwiched between two layers of thin cardboard. Foamboard is very light and easy to cut: it is available in sheets of 50x65 or 100x140 with a thickness of 3mm (also in black, 50x65 thickness 5mm) in educational shops.
You can find this foamboard in white or black... Black one can give your frame a lot of character!
When gluing the poster, avoid water-based glues that will soak the poster and cause deformation. Instead, use spray glue that can be repositioned, which allows the poster to be removed and repositioned in case of problems. Avoid especially NEOPRENE glues which do not allow repositioning!
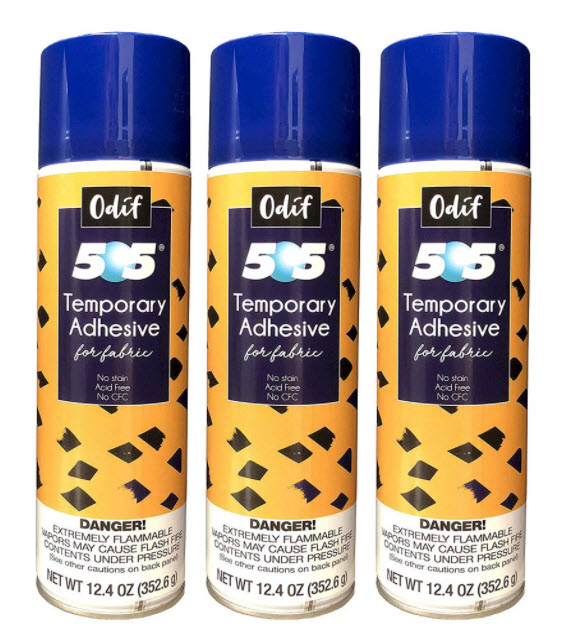
Spray the adhesive on the back card without excess, then present the poster from the top and make it adhere progressively, from the centre to the sides, with a clean paper towel... (it's better than starting by gluing the poster!)
When you have finished, stick a self-adhesive clip or, better still, a special foam cardboard clip to the back of your cardboard.
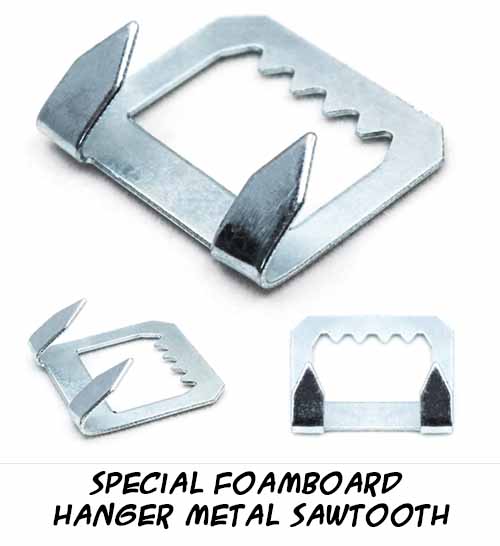
These fasteners hang easily and offer great strength by penetrating the cardboard without going through it.
This technique is very suitable for large posters for which it is difficult to find a frame.
Do your own framing!
If you are a little handyman and have some material, you can perfectly build your own poster frame.
The work to be done is strictly identical - in larger size, considering the dimensions of the poster - to the work already described on this site. I remind you the main lines.
You need a rigid background, in thin plywood (6mm) or better in cardboard (wood or foam) of 3 to 5mm thickness. In general, this cardboard will be the same size as the poster to be framed. If you don't want a protective glass, glue the poster on this cardboard.
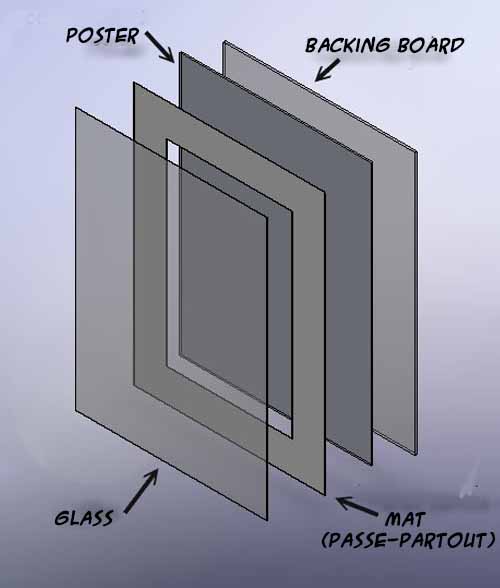
You will then cut a mat of the same dimensions from cardboard (light cardboard) and cut the image window in this mat which will determine the visible part of your poster.
Then, cut a window to the same dimensions and form the "package" by applying a gummed kraft paper that holds all the elements together (see the page on how to make the package).
All you have to do is cut a molding by going to a hobby store with your "package" and choosing a framing rod (fine for a poster: ask for a framing rod)...
You can also make your own framing stick and then assemble your frame: the floating frames 1 or 3 are particularly good with posters. In this last case, you will fix your "package" at the bottom of the box with double-sided tape.
 The professional framer
It is a solution that is often considered too expensive... but it is not always the case when considering the quality of the work provided.
In addition to the framer who lives near you and who will know perfectly well how to advise you, there are others, online, who show seriousness and professionalism. The rates are perfectly accessible...

The above frame comes back, all included and with the 50x40 poster at less than 110$...
 Photo development sites
Just for the record... all these sites make posters from your photos and can provide you with frames at quite low prices!
See MonAlbumPhoto.fr, for example, from 25€ poster + frame !
Search on Google with the theme : "framed poster" ... and choose, according to the permanent promotions, the site which provides you the best service !
Home Book of Picture
Framing
by Ken Oberreicht
One of the best ! I think ! Over 40,000 copies of the first edition sold : it cannot be an error !
(Click for +)
Frame It! (Paperback)
Tonia Davenport

(click for +)
Customers review are the better test for the book!
And the best framing handbook is, in my opinion :
Mat, mount and frame it yourself
David Logan

Logan does a great job of explaining everything and supplements the text with attractive photos, which will be a helpful resource for beginners to copy.
There is something here for framers of all skill levels. Recommended for most public library collections.