AGE YOUR PHOTOS FOR
YOUR VINTAGE AND HERITAGE PAGES
Recent photos do not fit in your HERITAGE pages ... If you want to use them, it is necessary to give them a certain age!
There are dozens of different ways to age a photo ... Here is one, not too complicated if you follow the given explanations, and which will give you full satisfaction.
In a few clicks, your image is 75 years old!
So, let's going back in time !
 Equipment
The images will be processed here with Photoshop CS3... but nothing prevents you from using PaintShopPro, PhotoFiltre or even The Gimp, which have equivalent functions.
The images used on this page are in the file Elements.zip you can download if you want to follow this tutorial.
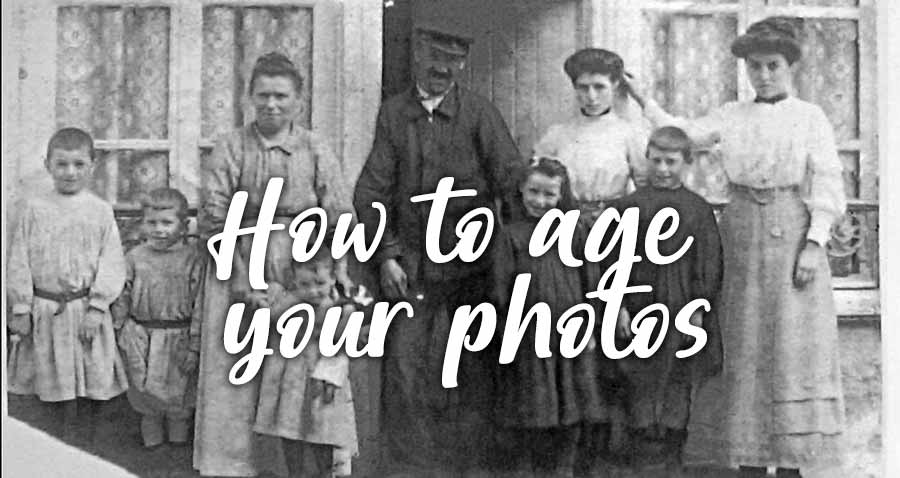
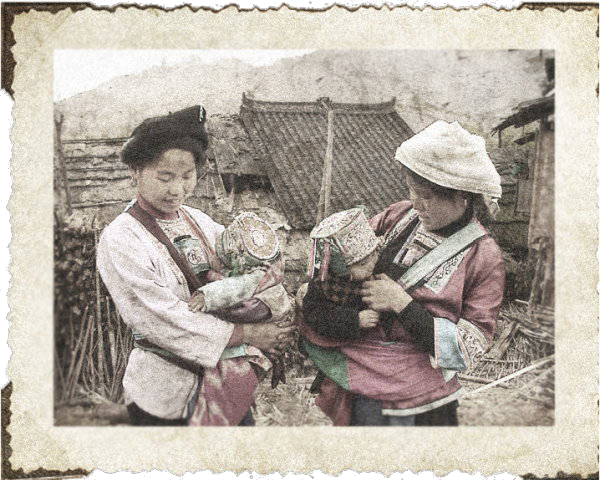
Here's the image we'll grow old:

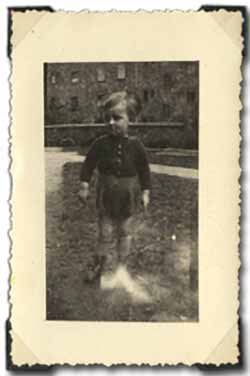
And here, at almost exactly the result you get at the end of this tutorial :
Then we start? Launch Photoshop and go!
 Image Processing
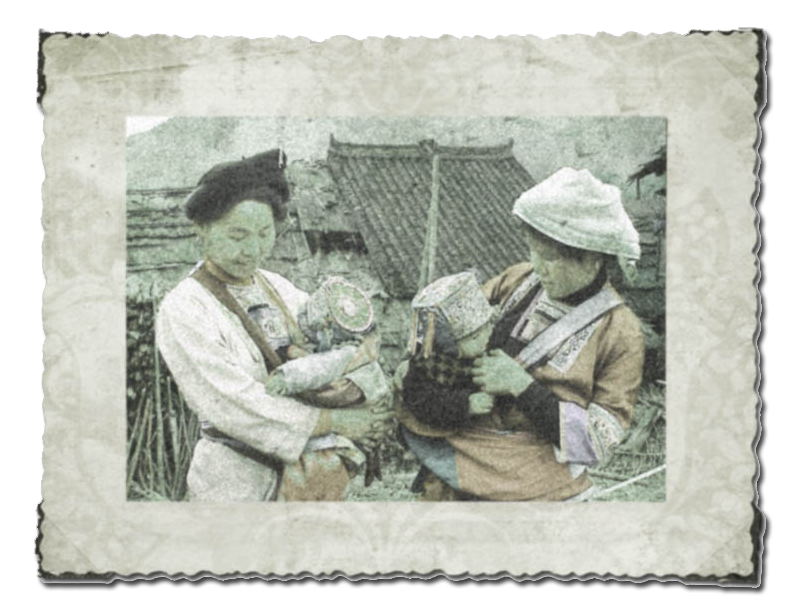
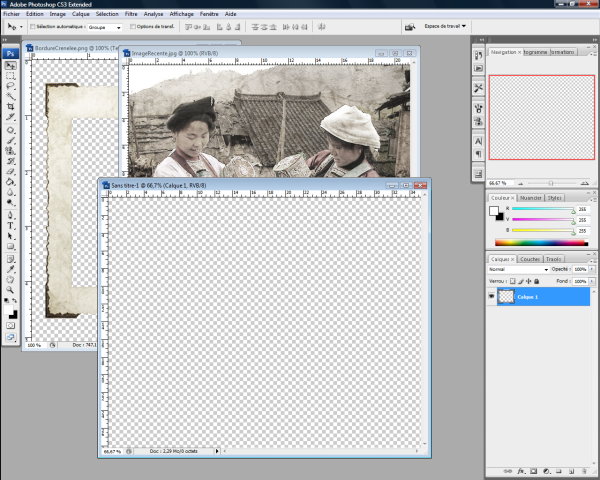
1. Open the image to age (the background) and texture in Photoshop.
and with the Move Tool, Drag the texture on the image ... This creates a layer 1 above the background.
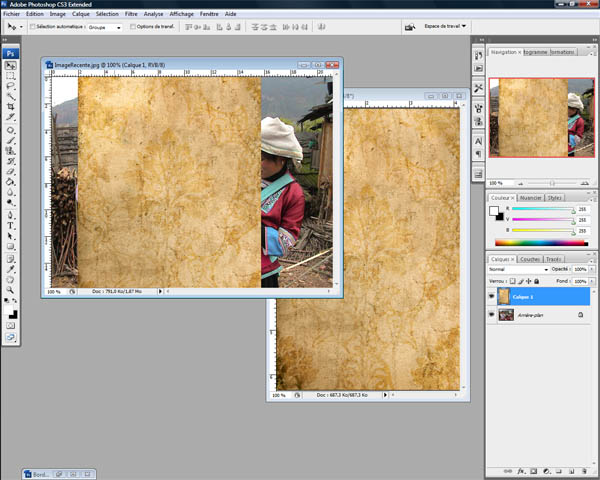
Use Edit> Transform. Click on the texture and pull the handles to spread the texture throughout the image.
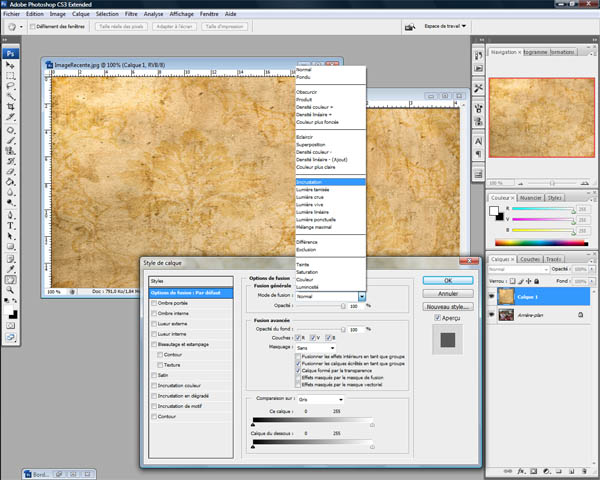
2. Double-click on layer 1. The window Blending options opens in the category Choose overlay.
The image reappears through the texture.
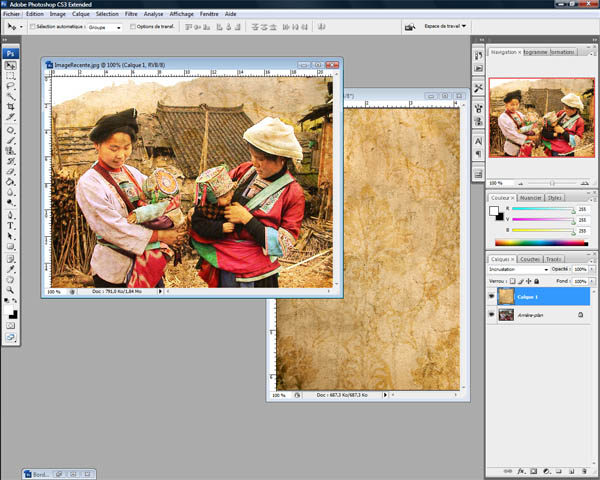
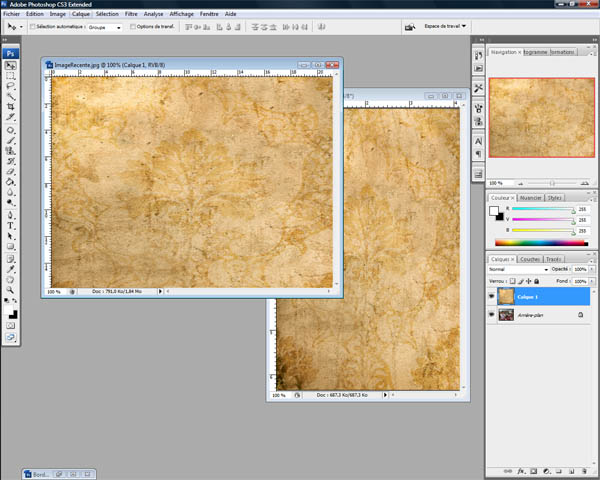
3. It is now time to desaturate the color photo to make it look like those old photographic plates from the beginning of the last century ...
Then set up a New adjustment Layer by clicking on the small black and white circle in layers and in the window that opens, click Hue / Saturation.

Almost completely remove the color by putting Saturation at -80 and to complete the resemblance to the old 1920's autochromes , push a little Brightness to 6 to simulate a slight overexposure ... Confirm ...
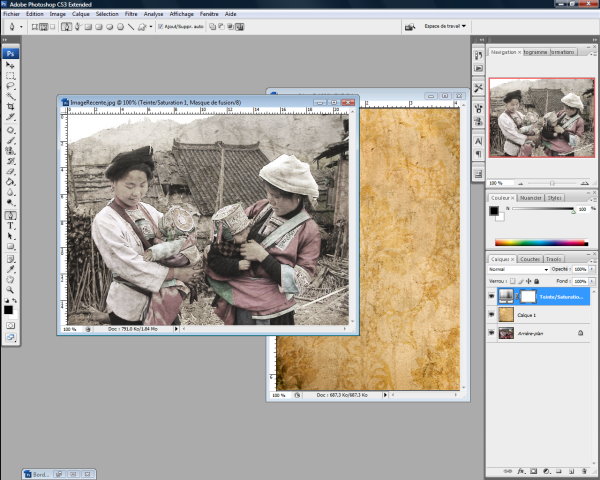
It's over for the photo ... merge all layers (right click on one of the layers and then Merge down Layers).
It's the edges trurn now!
 The treatment of edges
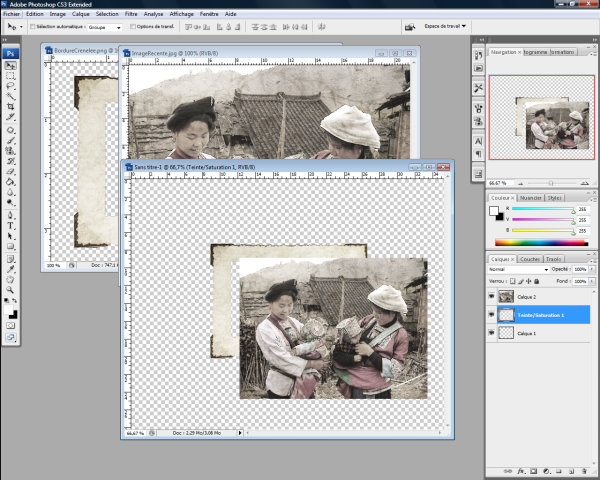
4. Close temporarily your image and open the aged and embattled border. You'll make it suffer the same treatment as the image ...
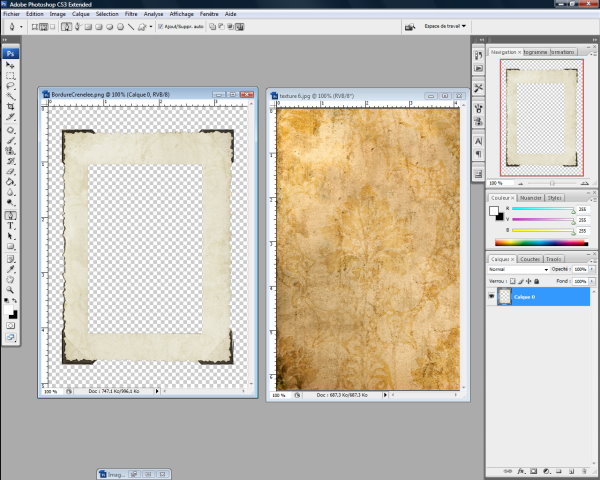
Similarly, with the Move Tool, Drag the texture to bring on the edges image ... then, widen the texture (if necessary) so that it completely covers the edges ...
At this time, press CTRL key and click the thumbnail that represents the layer0. The shape of the dotted border appears in the picture.
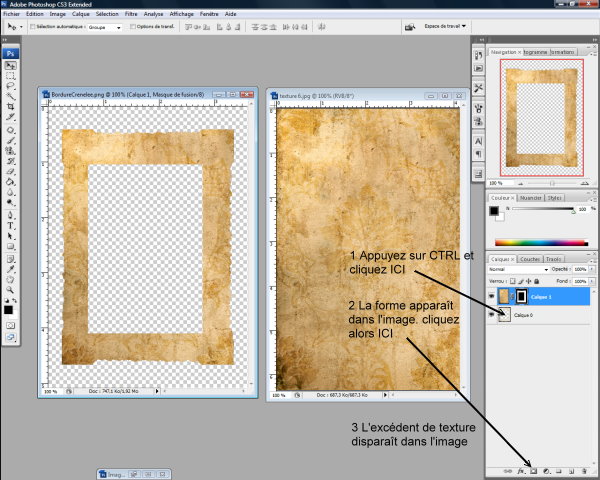
Now repeat the same operations as before (from #2) to create a Fusion with overlay. Then, again with an adjustment layer, adjust the saturation to approximate the color of your old image .
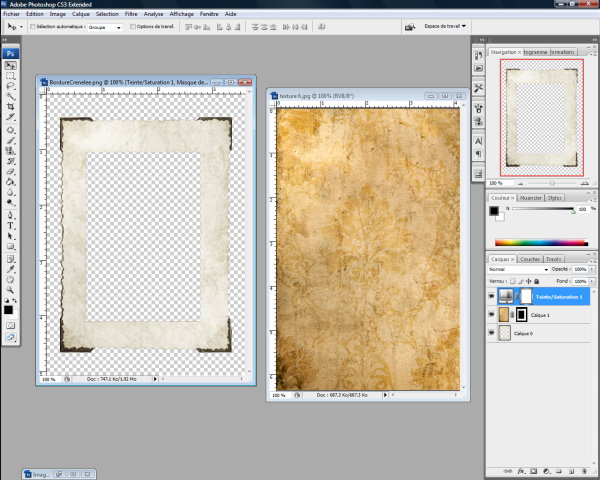
Right click on one of the layers ... then Merge down Layers.
 The lay-out
6. Close texture, we no longer need ... Open again the aged image and create a new image you name "PIC" with transparent background of 1000x750 (it's too big but it gives place to work).
With the Move Tool Select the border, and then use Image> Rotate Canvas> 90 °.
Then drag (Move Tool) the olded edges Image in the PIC image then drag also the aged image (If you can not drag images ... is that you probably forgot to merge the layers!).
Select the layer that corresponds to the border. Then make Edit> Transform to adapt, with the handles, the edge to the picture.
Slightly uneven borders may suggest an ancient hand work by. When finished, merge down layers.
 Finishes
7. To further improve the resemblance to an old photo, give any "grain" to your photo! Use : Filter>Artistic>FilmGrain and adjust the grain to 3 or 4 ... Confirm
8. With the Smudge tool with a radius of 80 and 50% intensity, just scan the junction between the edge and the photo to melt slightly ...
9. You can also give strokes with a white brush, very light, Opacity 25% and flow 10% to overexpose parts of the image.
10. Finish by clicking fx (blending options) in the bottom left of the Layers window and select DropShadow in the options. It's over, crop your image and save it. Png format to place it in your pages ...
Learn Photoshop ...
Photoshop software is not "easy" ... but, especially if you do Scrapbooking, it's worth learning to use it ... Internet is full of tutorials very interesting ... for someone who already knows a little!
To learn more methodically, there are "good" books on Photoshop ... Here are some that will be useful ...
Photoshop for Dummies!
Peter Bauer

You'll discover all you can do with Photoshop! You start with the basics, acquiring an image from your digital camera and you go through all the steps that will lead you to make your photo Gross, a true work of art ... Easy access!
Method Photoshop 7 points
ScottKelby

The seven-point method is a veritable roadmap that you apply to your pictures. You'll know exactly where you go what to do next and that until the time of printing. You'll be surprised how this method is fast and pleasant.