
FRAMING A PICTURE
The 90° bevel also called French bevel
 What we call "French bevel" ?
When framing a photo or watercolour, we need depth so that art is not glued to the protective glass. The bevel, made of thick cardboard or thick foamboard (3 to 5 mm), will give this depth to the framing and finally highlight the art.
This bevel is placed directly under the passepartout, just above the art....
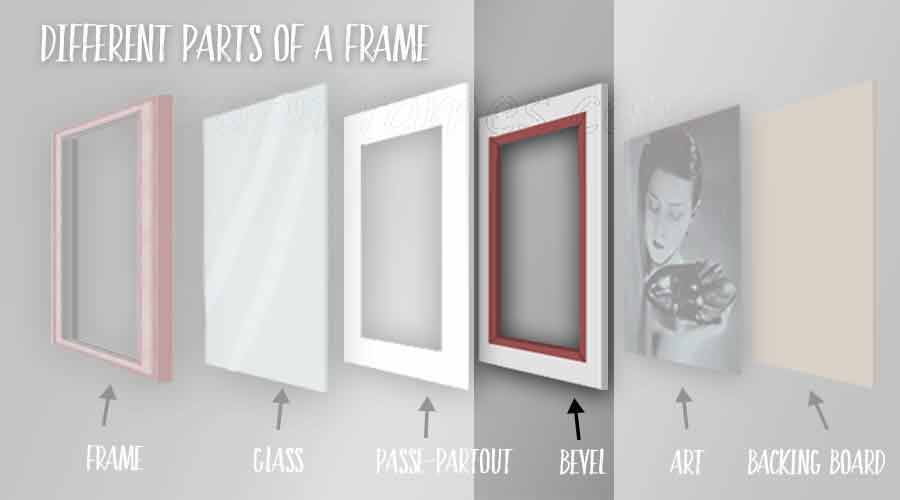
It should protrude only 2 or 3 mm from the passepartout, so you can only see the edge.
The bevel gives depth to your frame and perfectly enhances the framed art!
In this page, we limit ourselves to the 90° bevel called "French bevel" (as opposed to the 45° bevel called "English bevel").
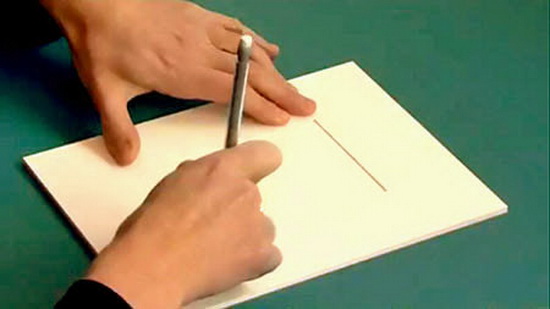
 Cut your bevel
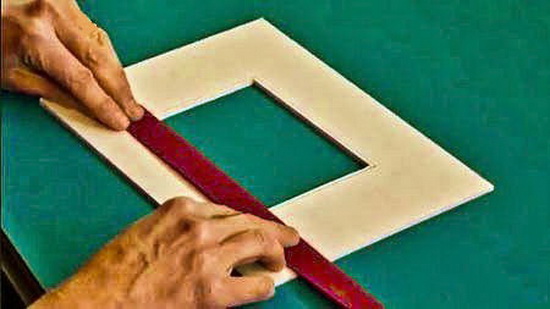
In "wooden cardboard" of 3 or 4mm or better in "foamboard" of the same thickness, cut out a rectangle with the exact dimensions of the mat (which you can use as a template for the drawing).
Remember : mat, backing board and bevel must have same dimensions.
If you use wooden cardboard, it is more difficult to cut : do not try to cut it in a single pass, but rather pass the cutter several times using the ruler.
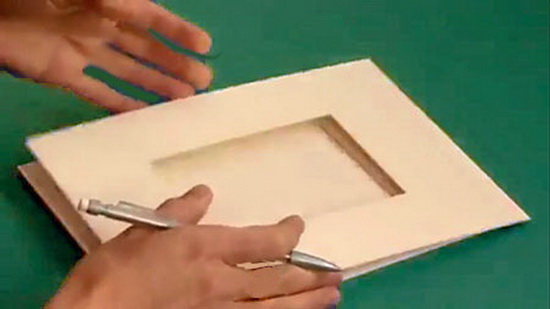
 Open the bevel window
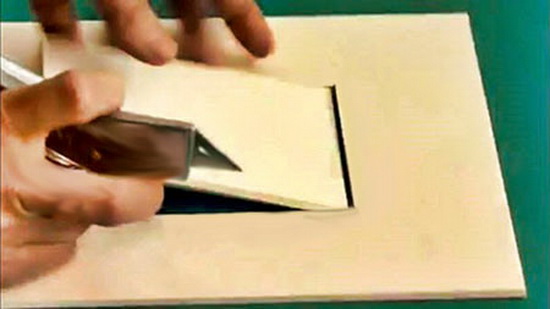
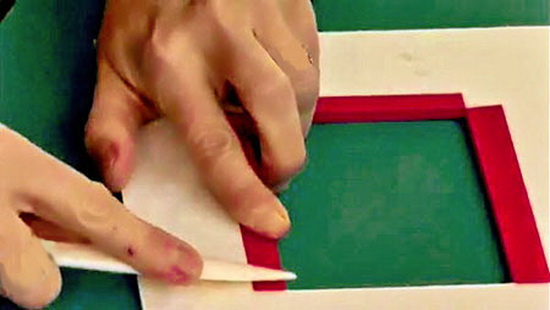
Place the mat on the bevel and mark the edges of the opening with a pencil. Draw this opening with a ruler and pencil: it is good to draw this window a little inside the opening of the mat.... only 2 or 3 mm.
Then cut the opening with the cutter.
 Dress the edges of the bevel
Now..
Now cut 5cm wide strips from the paper that will decorate the edges of the bevel.
And glue them on the edges of the bevel by adapting them to it....
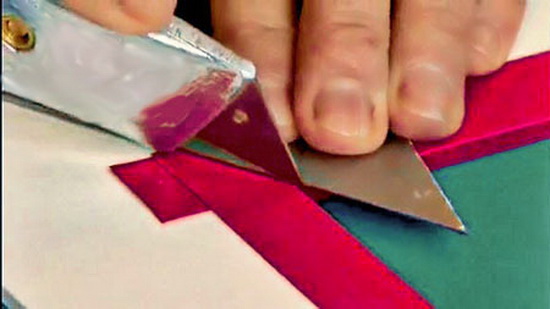
Glue the frontside and extend well beyond so as to cut the corners at 45° using the corner template...
On the reverse side, the strip must be cut to size to cover the inner edges and folded and glued.
Your right bevel is finished, you can now move on to the next step...