
How to frame an embroidery
Rather than letting them sleep well folded in a drawer, your embroideries would be just as well exposed on your walls! Plus, if you're the one who embroidered and framed them, you'll be happy to say: "I did it all!".
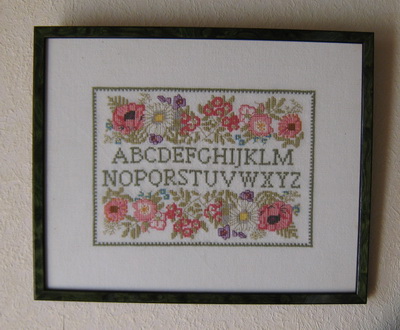
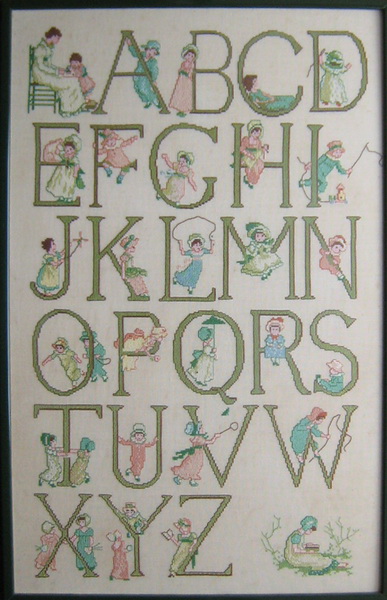
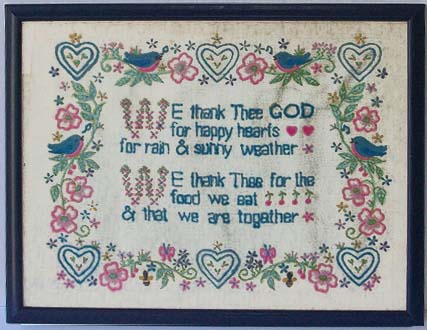
Old alphabetical embroidery, lace bought in a foreign country, a cross-stitch embroidery, an very old lace discovered at the second-hand dealer store… as many reasons to create frames with high decorative potential!
 Problems to be solve
When you want to frame an embroidery, you have to solve some problems...
- With or without glass ? There are divergent opinions with good arguments each time : glass crushes the points yes… but glass protects from dust and avoid dissembling for cleaning. What is the best ?
- How to correctly tight the embroidery before placing it in the frame : lacing on the back, fastening on the side, fastening or doubles coated tape ? As many picture framers... as many answers. There still, you must have an opinion and defend it!
 The example
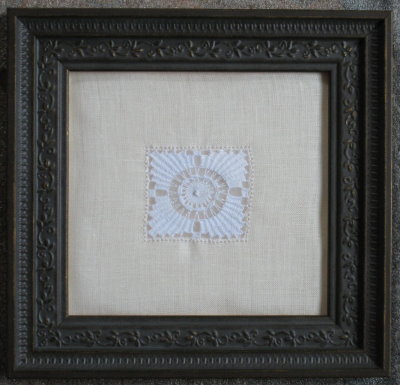
We brought back from Fuerteventura (Canaria islands) a “Calado Canario”. It's an adorable embroidery openwork on flax measuring 8"x7.2".
In this page, I propose to you to frame this "Calado".
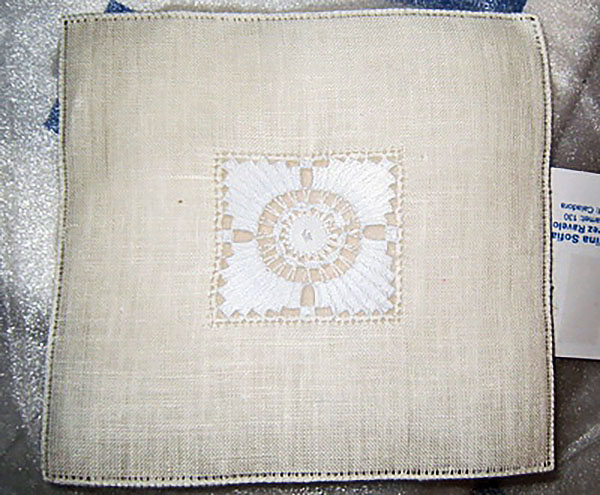
The flax cloth is very fine and its weaving is not very tight.
For its good appearance in the frame, it is necessary to pose it on a duffle (that you will find in any fabric store). That will give it puffing up and mellowness.
Gather the necessary materials: cardboard, double-sided adhesive, a thick fleece square... and let's go!
 The background cardboard
In a thick cardboard (2 to 3mm), or even packaging cardboard, you cut out the bottom cardboard 17.5 out of 16 with a cutter. Use the square to have right angles.
The embroidery will be folded back behind this cardboard, so we have provided 1cm of play in all directions.
 The assembly
Cut a 17.5x16 rectangle from the fleece (same size as the background cardboard).
Place double-sided tape on the back cardboard and glue the fleece to it.
Place your embroidery by centering it on the fleece. It must protrude 1cm in all directions.
Prick a needle with head in the edge of the bottom cardboard and start to fix the embroidery. Stitch one on the opposite side of the cardboard, giving it a slight tension. Do the same for the other two sides.
Continue tensioning your embroidery by pricking needles into the edge of the bottom cardboard. It is necessary to put one every 3cm to obtain a satisfactory result.
When it is finished, turn the set over and glue double-sided tape to the back of the back cardboard.
Fold and stick the embroidery on the back of the cardboard. Take care of the corners by folding and sticking them with a piece of double-sided tape.
Finally, remove the head pins.
By doing so, your embroidery will be well fixed to the back cardboard and perfectly stretched on the fleece.
The embroidery will be presented without a passe-partout in order to preserve its artisanal and authentic character.
 The frame
We chose to put the embroidery within a frame with glass and preferred to order frame and glass in a specialized store.
To avoid crushing the embroidery against the glass, we are going to put some spacers inside the frame!
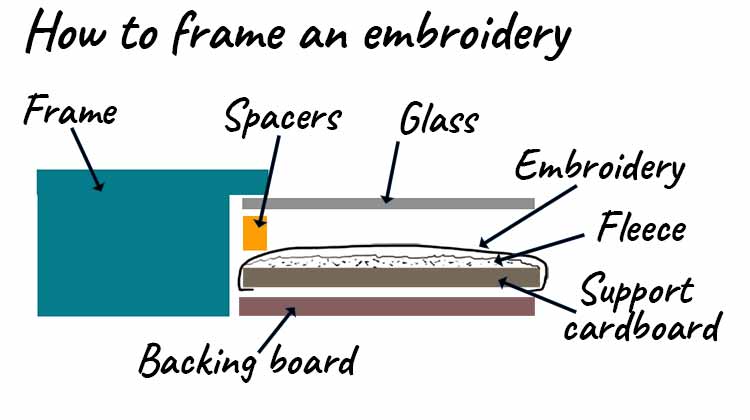
In a thick cardboard (2 to 3mm) or in feather cardboard, cut thin strips of 5mm wide.
Put your frame upside down, and place these strips in the rebate against the glass.
Then place the mounted embroidery on the cardboard.
This way, the embroidery will not be in direct contact with the protective glass...
Attach with a few thin spikes arranged at an angle and complete the mounting by gummed Kraft tape.
If you judge that the spacers are too visible and a little inesthetics, you can cover them with a printed paper with color ivory, matched perfectly with “Calado Canario”. Hang it and enjoy !
 Ideas about embroideries
Embroidery, Flora and Fauna
Lesley Turpin-Delport

Meg-online : This excellent book has a subtitle - 'Three dimensional textured embroidery', and it is packed with beautiful samples of stitching and multimedia techniques illustrating plants and animals in relief. Among the different methods shown are applique, ribbonwork, beading, shaping over wire and ideas inspired by stumpwork....
Crochet Bouquet
Suzann Thompson
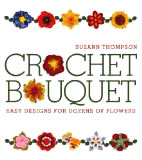
Crochet bouquets of nearly 50 whimsical, wonderful flowers, in a variety of shapes, sizes, and colors ! Done in upscale yarns like ribbon, chenille, and silk, this contemporary garden will get intermediate-level crocheters grasping their hooks.
Some of the flora looks realistic; others are beautifully fanciful, pure products of the imagination. A simple, well-photographed basics section explains how to create them all: specialty techniques include felting, stacking the flowers, stiffening the petals, and linking the flowers together....
Fabulous fabrics beads
Kristal Wick

A spectacular combination of beading, scrapbooking, fiber arts, and mixed-media techniques, this amazing handbook describes how to create 30 handcrafted beads from rolled tubes of silk, muslin, or ribbon.
With more than 20 easy embellishment techniques incorporating glitter, paint, crystals, or wire, these projects result in stunning beads that can be created with inexpensive and readily available supplies and tools described in this guide....
GD![]()
Frame It!
by Tonia Davenport

Framing isn't something one has to leave to the professional.
With Frame It! readers will learn how to use ready-made frames and inexpensive framing materials to create frames perfect for their favorite photo, piece of artwork, canvases or souvenir.
How to Make Your Own
Picture Frames
Ed Reinhardt, Hal Roger
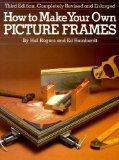
Excellent book for the beginner. Clear and concise. Step-by-step instructions with photos for each and every step.
This book covers all aspects of frame construction, painting, mats, glass-cutting and usage. A great book to trigger your own ideas to create custom frames.
Matting and framing made
easy
Janean Thompson
Since the cost of framing often exceeds the price of the artwork itself, it pays to know how to do it yourself.
Even if you're not ready to invest in specialty tools like a mat cutter or miter box, you'll find useful instructions on working with ready-made frames using simple tools (a ruler and utility knife)...