CHARACTERS AND LANDSCAPES
IN PAINTED PEBBLES...
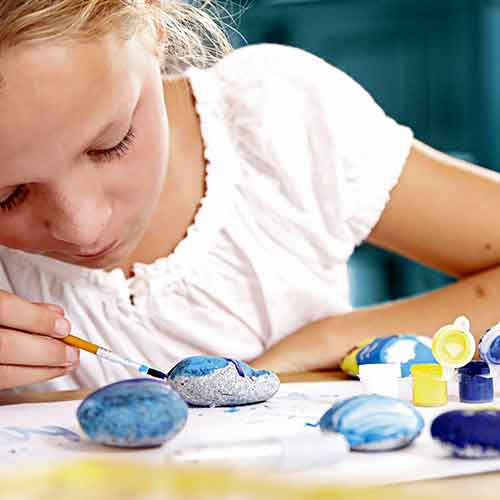
Do you want to be creative and original? Do you want a creative hobby that will interest your children on vacation by the sea? Do you want to create a natural and personalized decor? Sometimes even curl up with artistic creation!
Then go for pebble painting... you won't regret it !!!
 Necessary equipment
No debauchery of material... You will just have to gather :
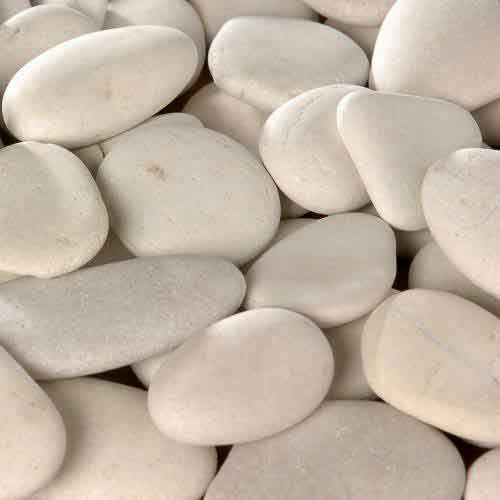
Pebbles of all sizes...
You will find them by the sea or along the fast streams. If you have trouble getting them by yourself, go to garden centers and outdoor decorating supplies... Preferably, and especially if you want to make paintings, choose the flattened ones...
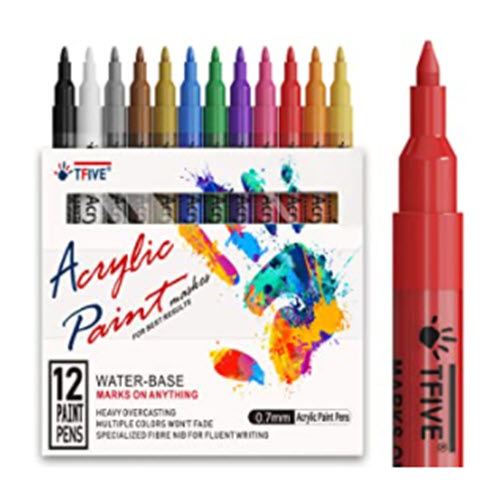
For drawing and painting on pebbles, the most practical and easiest to use are acrylic markers. You will find them in all craft stores... and if you don't live in a big city with a large choice of stores... I'll leave you a link to Amazon... you'll be spoilt for choice!
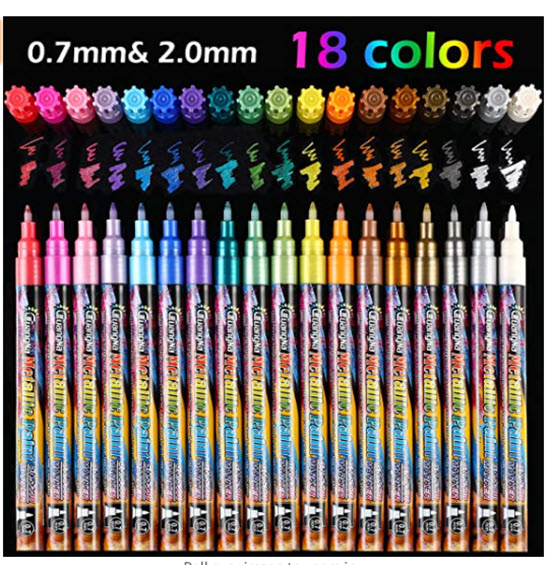
Among the proposed sets, I recommend these very bright "metallic" colors at a good value for money.
Egalement ce jeu de couleurs très économiques si vous avez un budget serré! Ce sont les markers WOTEC acryliques capables de peindre sur toutes surfaces : pierre, verre... Idéal donc pour les galets!
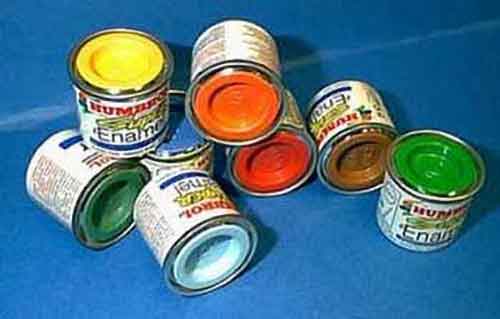
Any acrylic paint for interior walls can be suitable: don't hesitate to test the old pots that are lying around in your garage... But if you want an impeccable result, I recommend the model paint that you can find in specialized model stores (all medium-sized cities have at least one such store) ...
I recommend you the brand HUMBROL or REVELL in small jars of 15ml . It is very covering, usually only one coat is enough, and it dries very quickly: this is a big advantage. You will find it in shiny or satin quality. In case you have difficulties to get some try to order some at this address...
Large DIY stores (LeroyMerlin in particular) have in the paint department test boxes of reduced capacity: here 50ml for less than 2€...
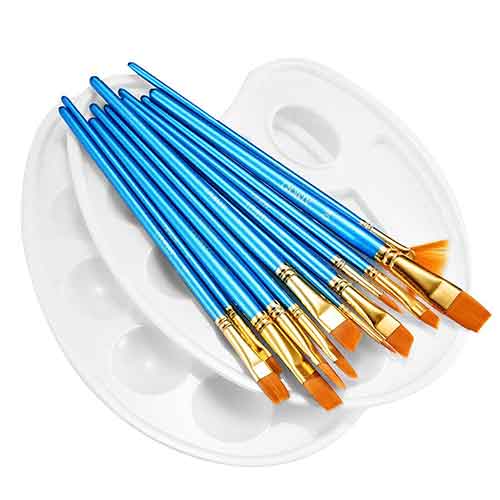
You need 2 kinds of brushes: flat brushes to spread backgrounds and round and fine brushes for details. No need to go broke, you should find cheap lots like this one for less than 10$ for 12 brushes and brushes :
Like for example newspaper to protect your surfaces, paper towels to wipe your brushes and also ... water bottle caps (very practical to isolate the pebble from the support during painting and drying;
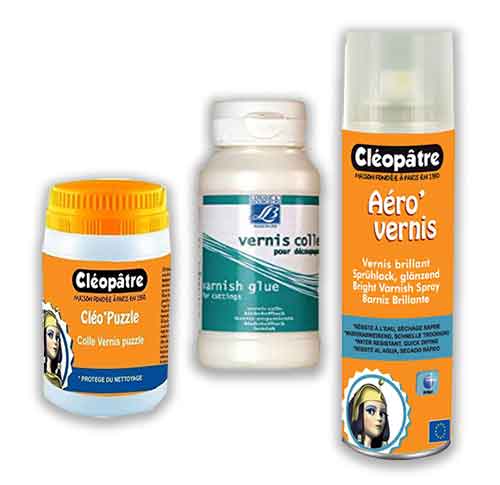
Don't forget the finishing varnish for your painted pebbles... It will give them all the necessary shine and brilliance. This can be spray varnish, quite expensive but practical, available in all educational hobby stores. More advantageous, the varnish glue-glue multi-purpose and very economical: DecoPatch or ModPodge...
These glue varnishes exist in matte or glossy finishes: I have a preference for the glossy one which "reinforces" the depth of the colors!
Don't forget some black markers... there are also some very practical white ones (white can be replaced by stabilo in a thin applicator tube...).


 How to paint the pebbles?
Start with simple creations... You will see, depending on the interest shown by your children, if you need to move on to more elaborate works.
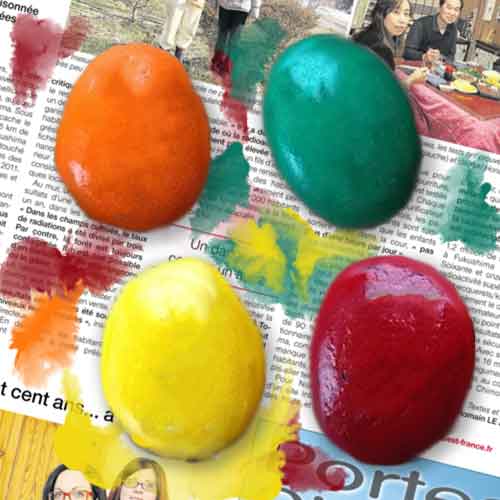
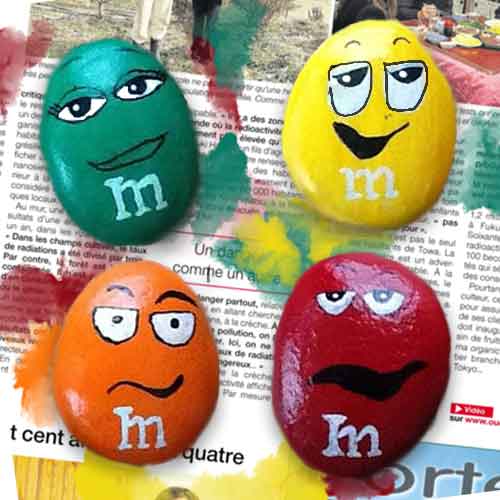
The example below is ideal to get started! You are going to imitate MNM'S!! What could be more crunchy?
If you have picked up your pebbles at the seaside or even by the brook, a good cleaning with a brush and clear water will be necessary to get rid of salt or green algae that could cover the pebbles.
Let them soak for an hour or two in a bucket containing a little diluted bleach, then rinse them well and let them dry in the sun until they are completely dry.
This step is not essential but it will give you an unparalleled finish because you'll be able to put tons of it, the paint will never block the holes!
To obtain a smooth surface, start by applying a coat of matte acrylic paint (like ceiling paint... there's always a jar lying around in the garage). Let it dry and then sand it with sandpaper until the paint almost completely disappears (it only remains in the holes).
Eventually, start again if the holes to be masked are important. For a better result, you can also put some filler and sand with sandpaper to even the surface... But don't overdo it : the interest is that you realize that they are pebbles !
We will make painted pebbles MNM'S.... The children like it a lot! Make them big enough so they won't be tempted to bite them!!!
Using the flat brush, apply the main coat with the flat brush and paint evenly. Then let it dry on water bottle caps which serve as a support for the rollers .
Once the primer is dry, you can move on to the details...
You will draw them first with black felt pen to mark the contours: the felt pen dries instantly. You can then apply the necessary flat patches of color.
Make the white of the eyes with stabilo!
A protective varnish coat is necessary even if you have used a glossy paint: it gives even more shine to your creations and possibly protects them ...
Glue varnishes dry very quickly, spray varnishes dry even faster! Think also modpodge
 To go further... ideas and models
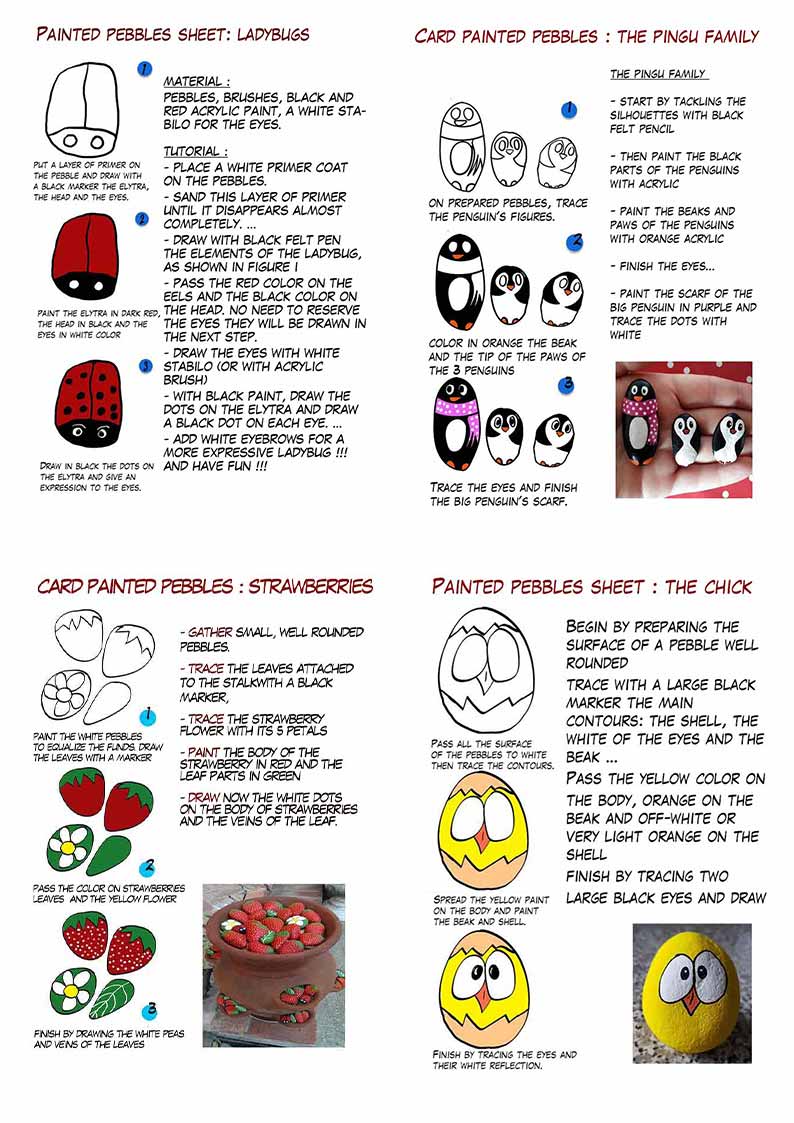
Easy and quick to implement for children... these little tutorial-guides for very expressive "painted rocks".
Click to download the PDF files: LADYBUGS, CHICKS, PENGUINS, StrawBerries
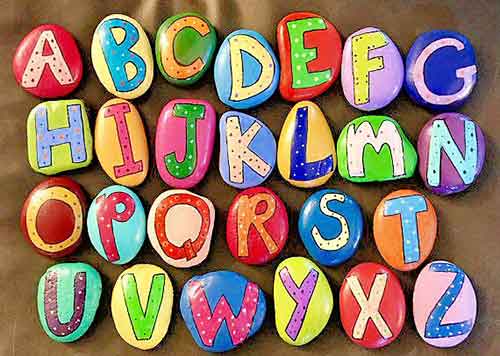
It is a great classic... Painted alphabet rocks primers (search on Pinterest with the research theme "painted alphabet rocks" for a lot of ideas for realisations...)
Here is a particularly neat one...
These painted pebbles can be glued on a painted or stained wood plate ... or even "sanded" ... The decorative effect in a seaside house is assured !
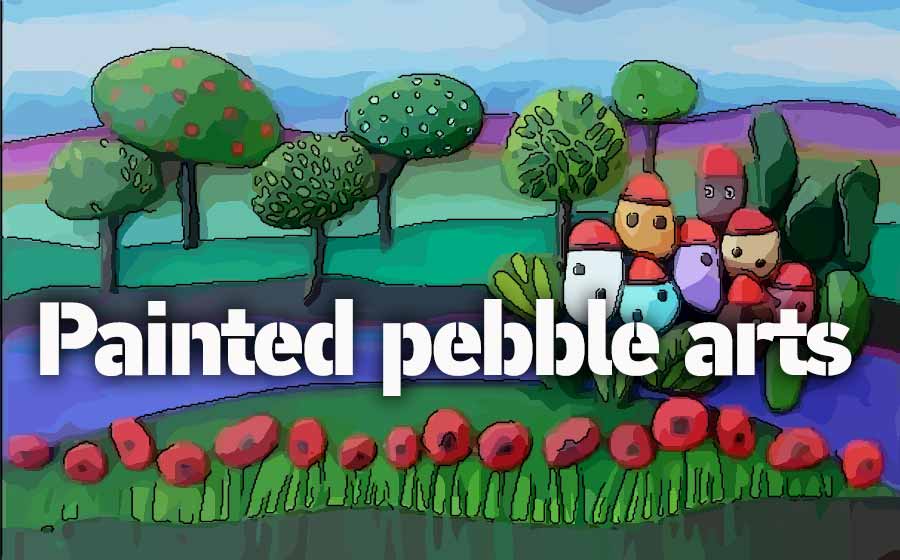
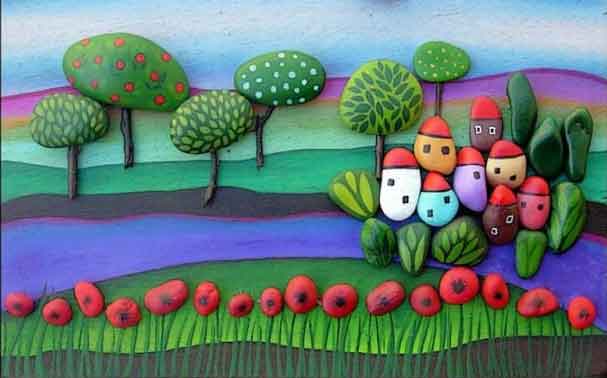
It is not always easy to find paint rollers that are flat enough to be used like this. But if you are lucky enough to have some, try these naive paintings, rich in colors that remind you of some paintings of the end of the 19th century... This is not Ledouanier Rousseau... but we are getting closer!
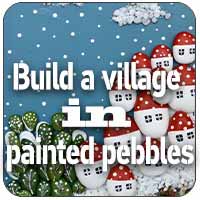
Look at this page dedicated to the villages of painted pebbles...
Once your pebbles are painted, you will have to prepare the support: plan a solid plywood because it will have to support several kg! Apply a coat of primer, sand and paint your background ... You will then glue your pebbles with a glue like "neither nails nor screws" or a "Sikaflex" glue-joint or a hot glue passed with a heat gun...
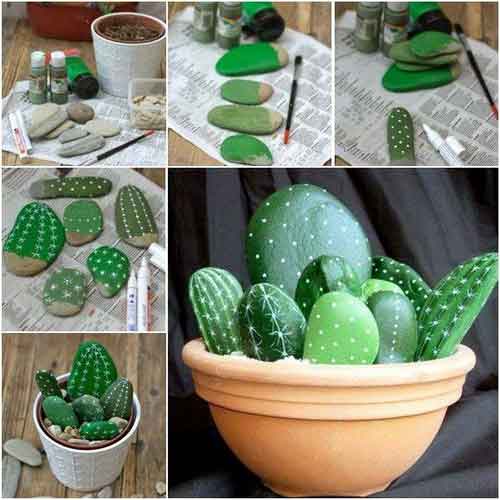
Especially the very successful cacti. To imitate them to perfection is not within everyone's reach but creating a composition like these below seems relatively easy... A bit of green paint in different tones, a stabilo or a white marker... and here are some good-toned cacti !
Click here for a more complete tutorial: painted pebble cactus
We enter here in the artistic... with realizations which it is necessary to try but which are not obvious to succeed: it is necessary to try, to start again sometimes rather long enough to obtain a result which satisfies you... It is not easy to imagine and realize from the first draft this superb "red woman" !
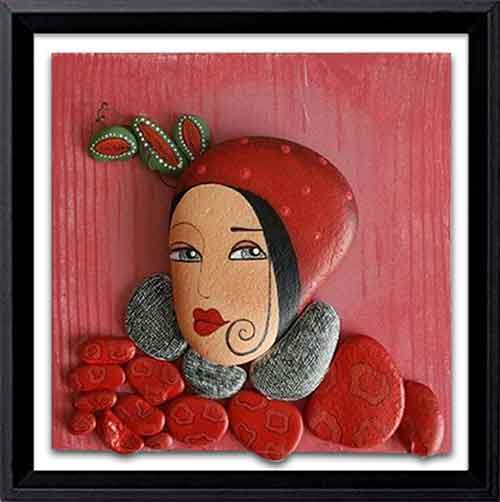
It is surely easier to start with small characters, more in the "suggested", certainly less artistic but just as creative.
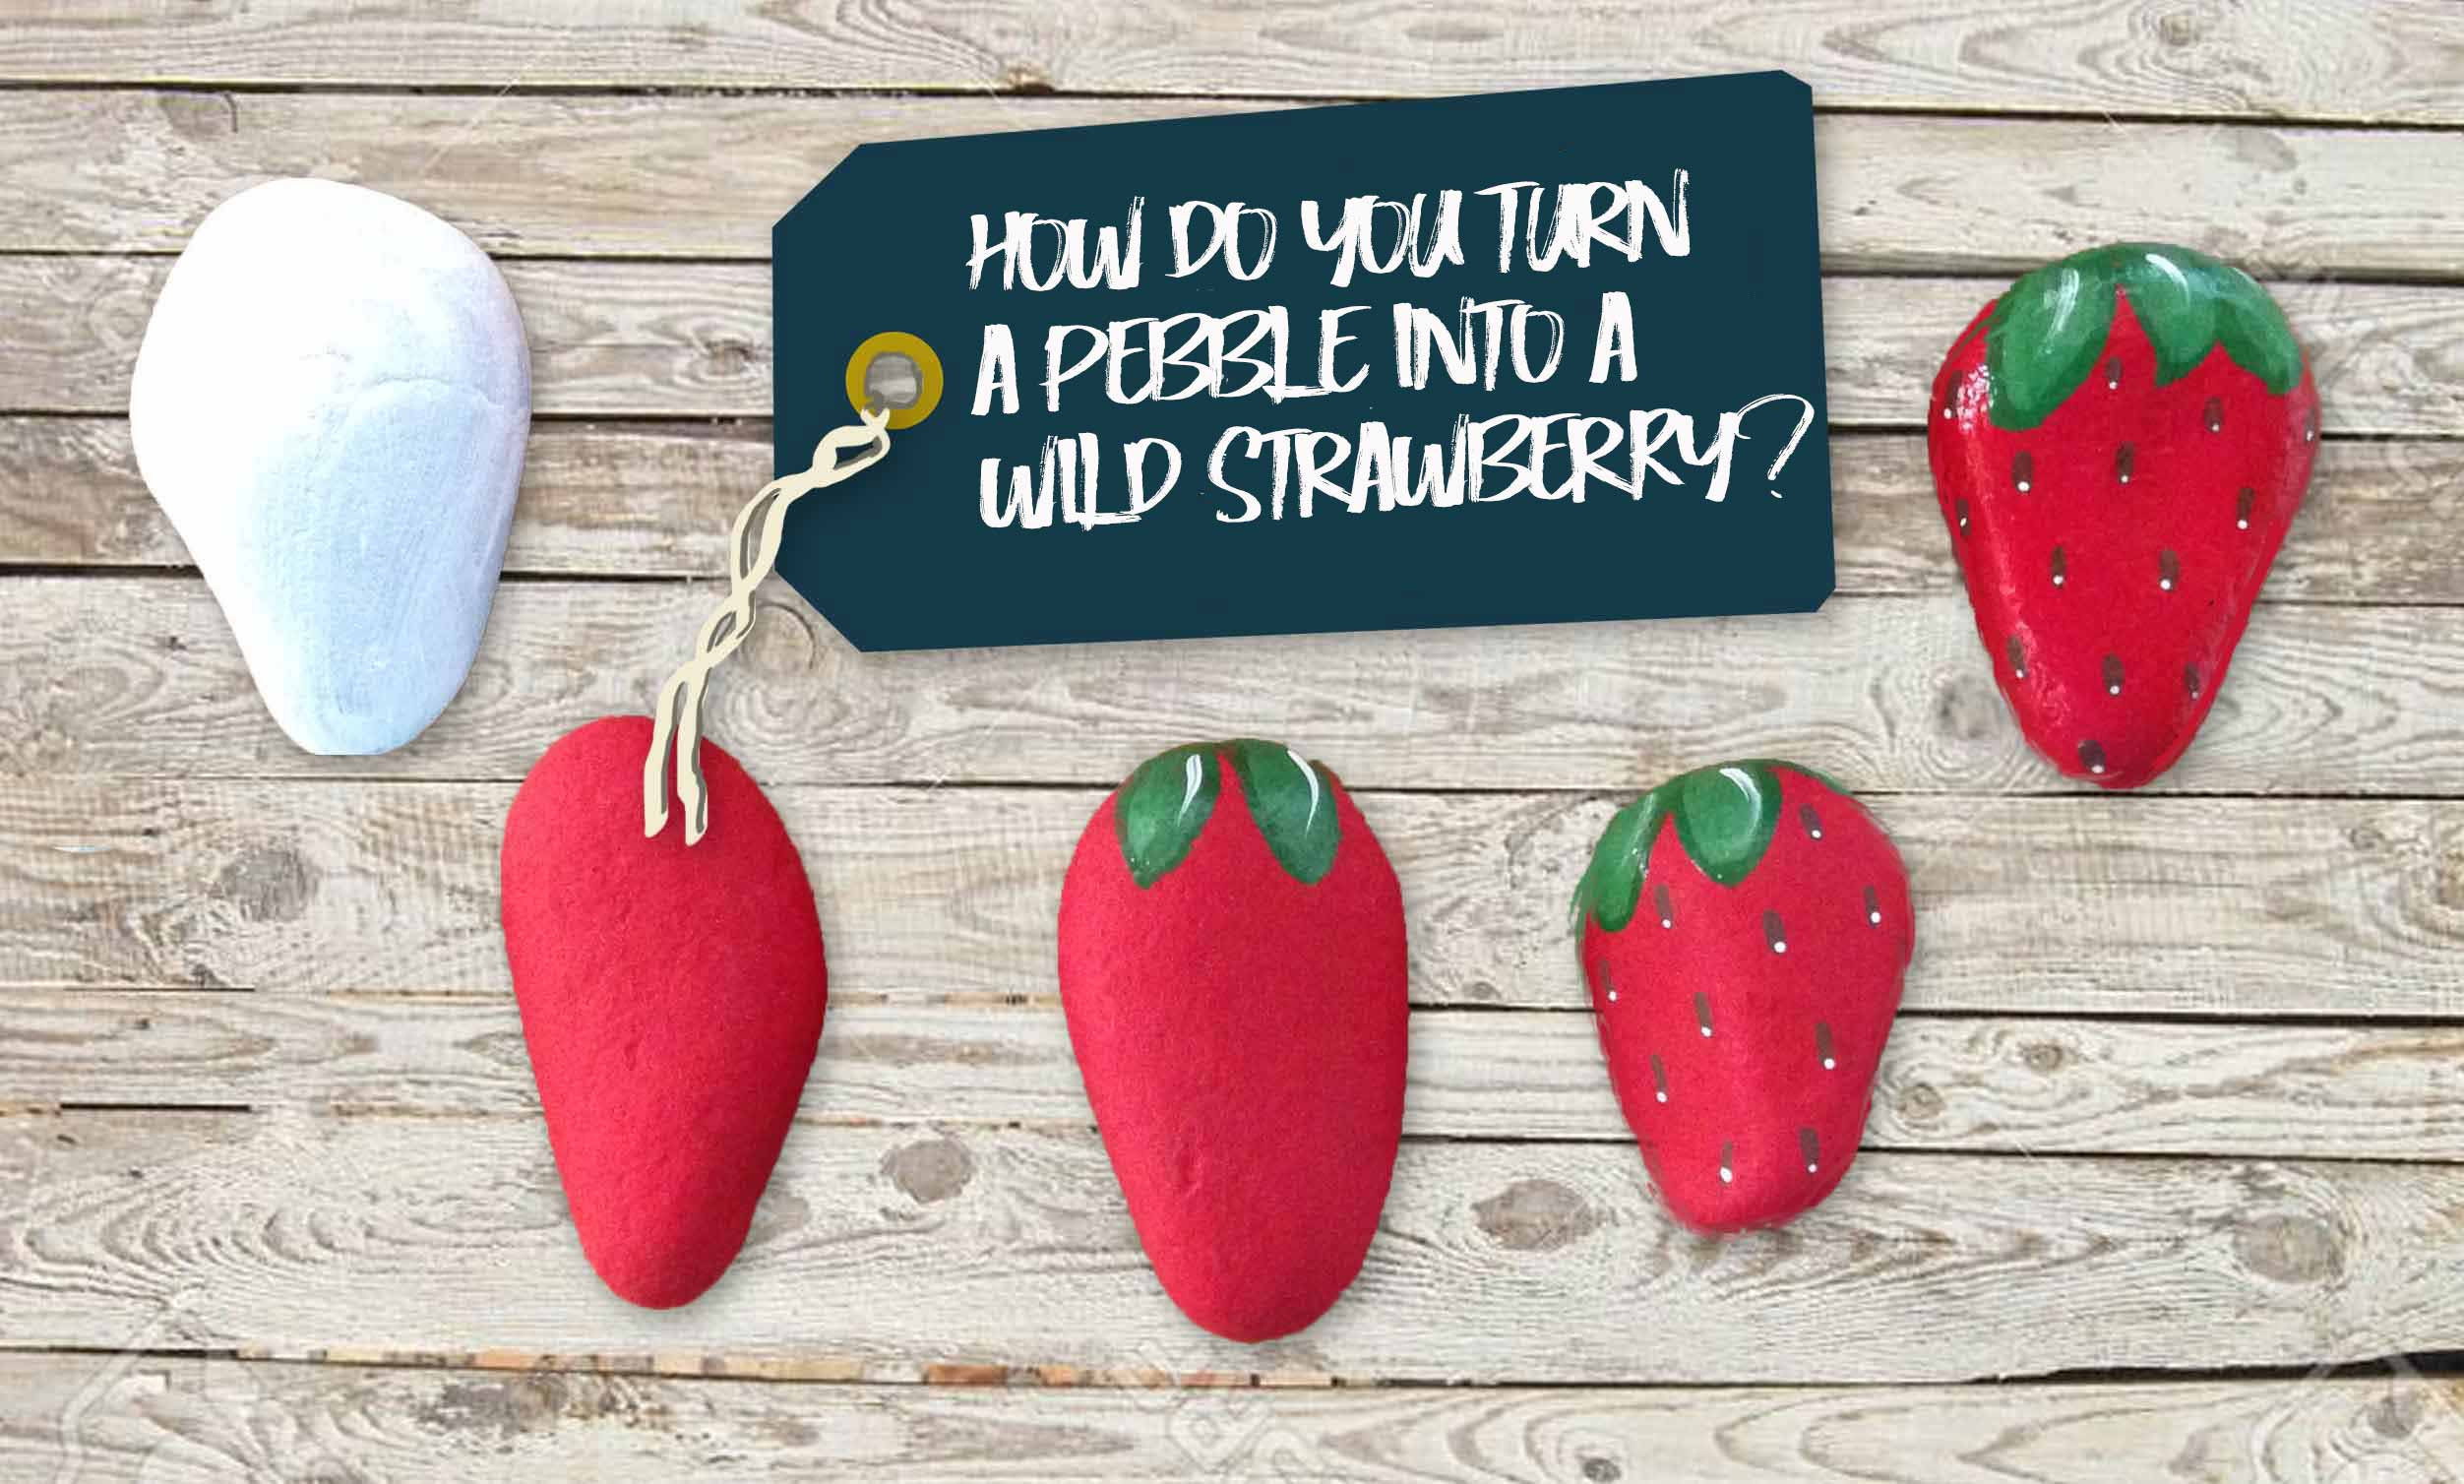
The most imitated fruit in "painted rocks" is, without a doubt, the strawberry !!! The shape of the pebbles is particularly well suited to the shape of the fruit and painting is not a priori a problem. Of course, some artists manage to imitate the strawberry in a perfect way: it is not a question here of setting the bar so high but of taking pleasure in creating decorative objects...
Here is a mini tutorial "special strawberries" that you can download HERE
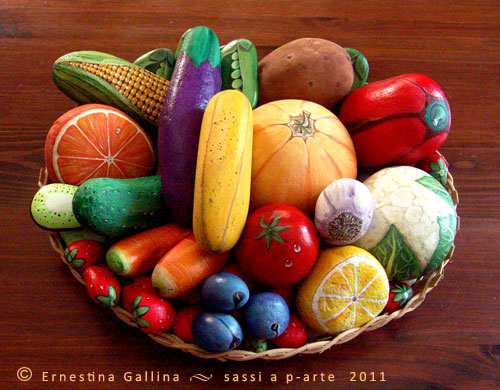
Just for fun... look at this beautiful basket of vegetables and fruits painted on pebbles and perfectly imitated! Art !!!

 And to finish with "painted rocks"...
It is an excellent vacation activity: ideal to keep young and old busy on rainy days... During your walks, pick up a few pebbles to build yourself a "war treasure" from which you will draw when the weather changes... It happens sometimes in Brittany !!!
Have a good "harvest" !!!
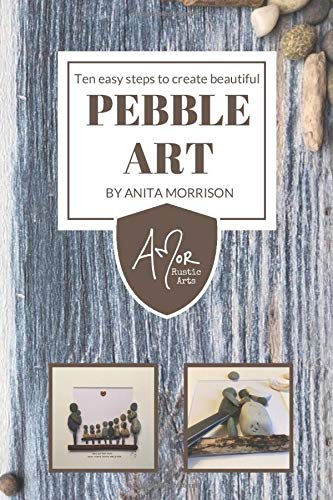
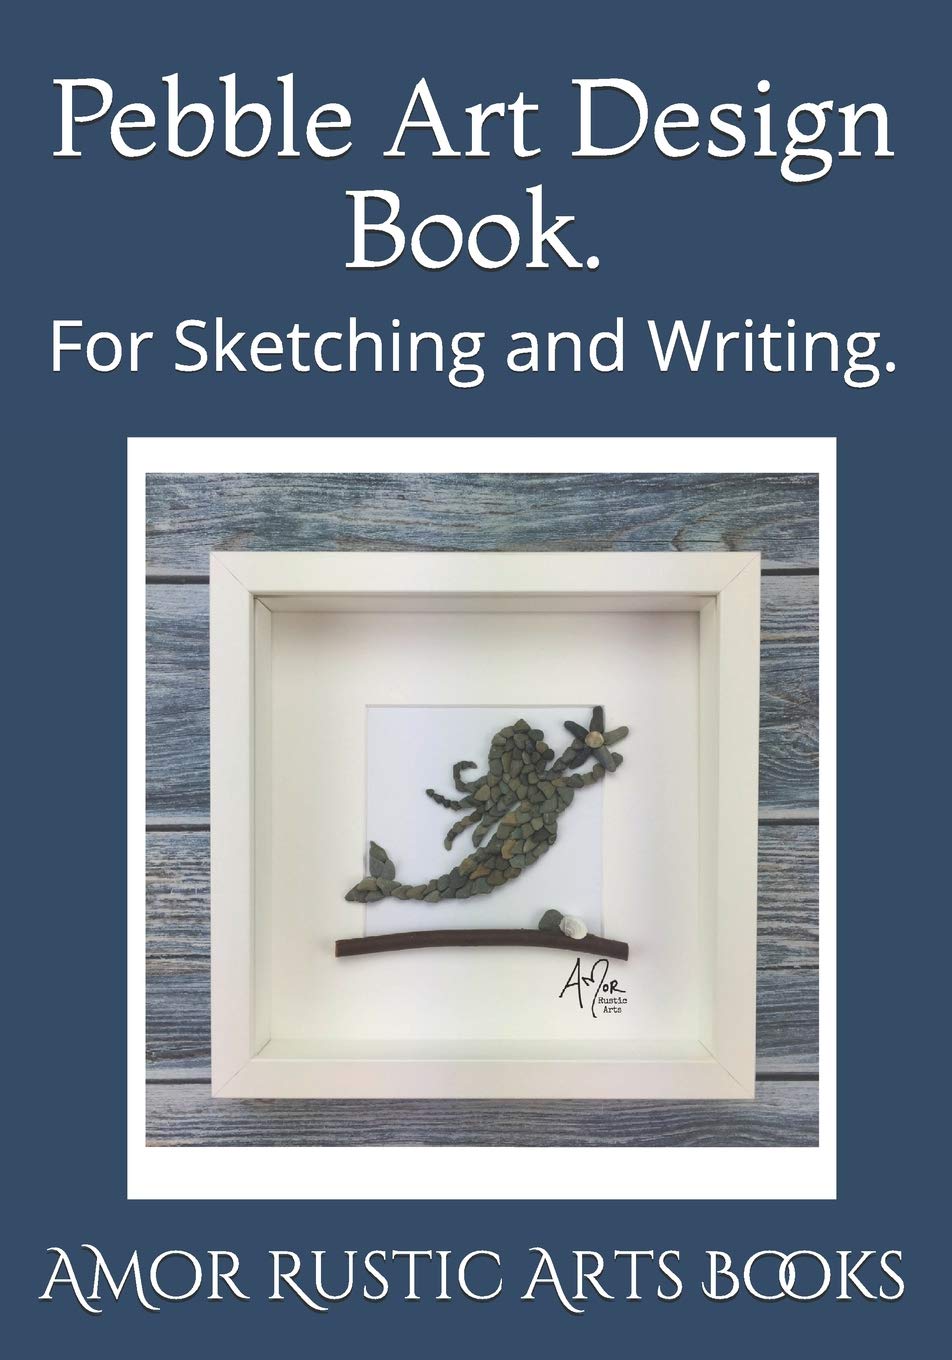
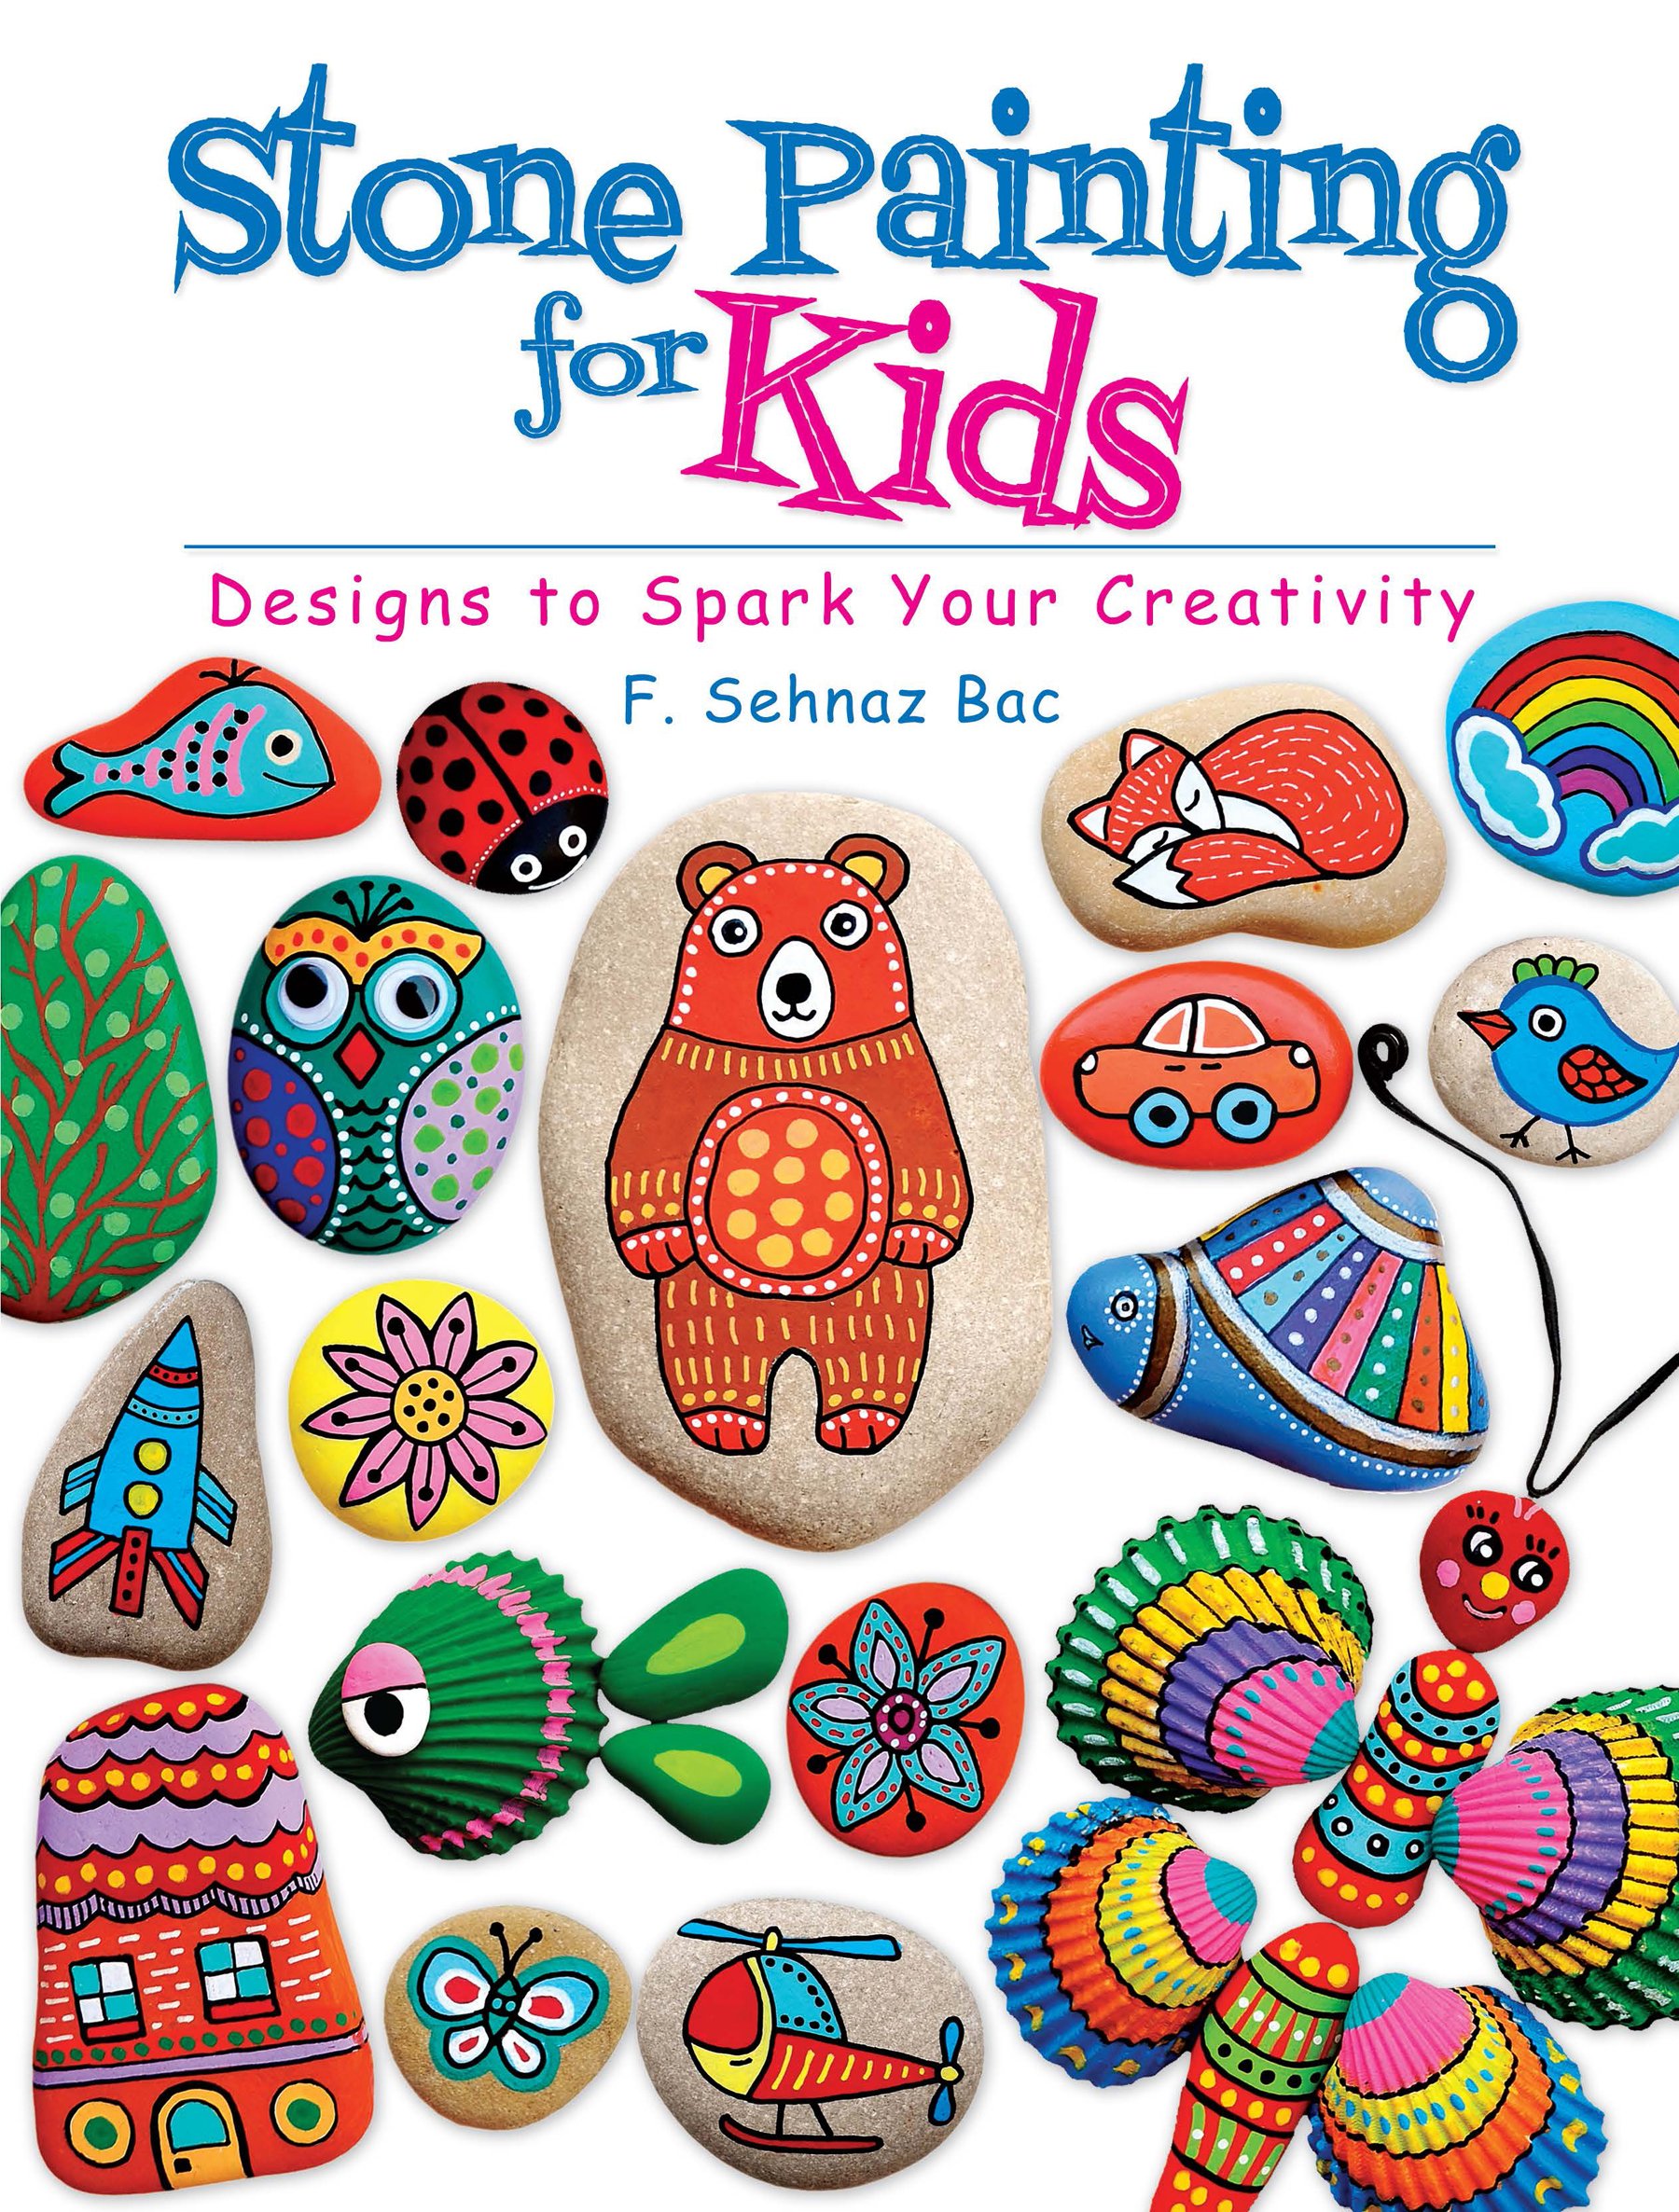
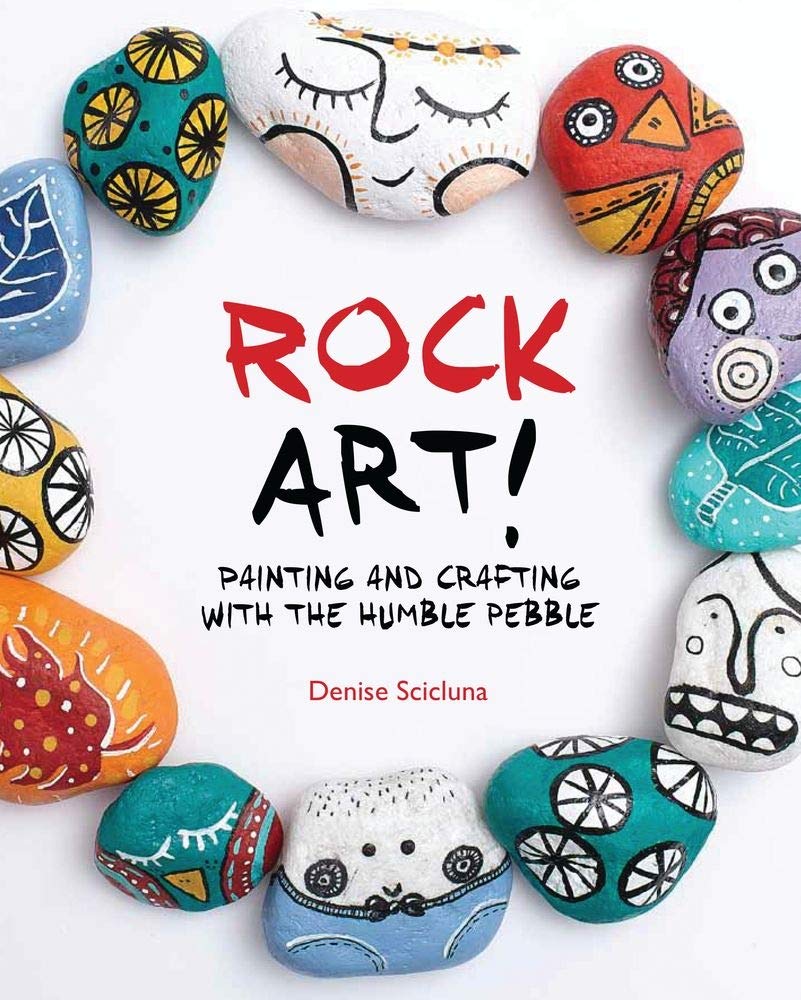
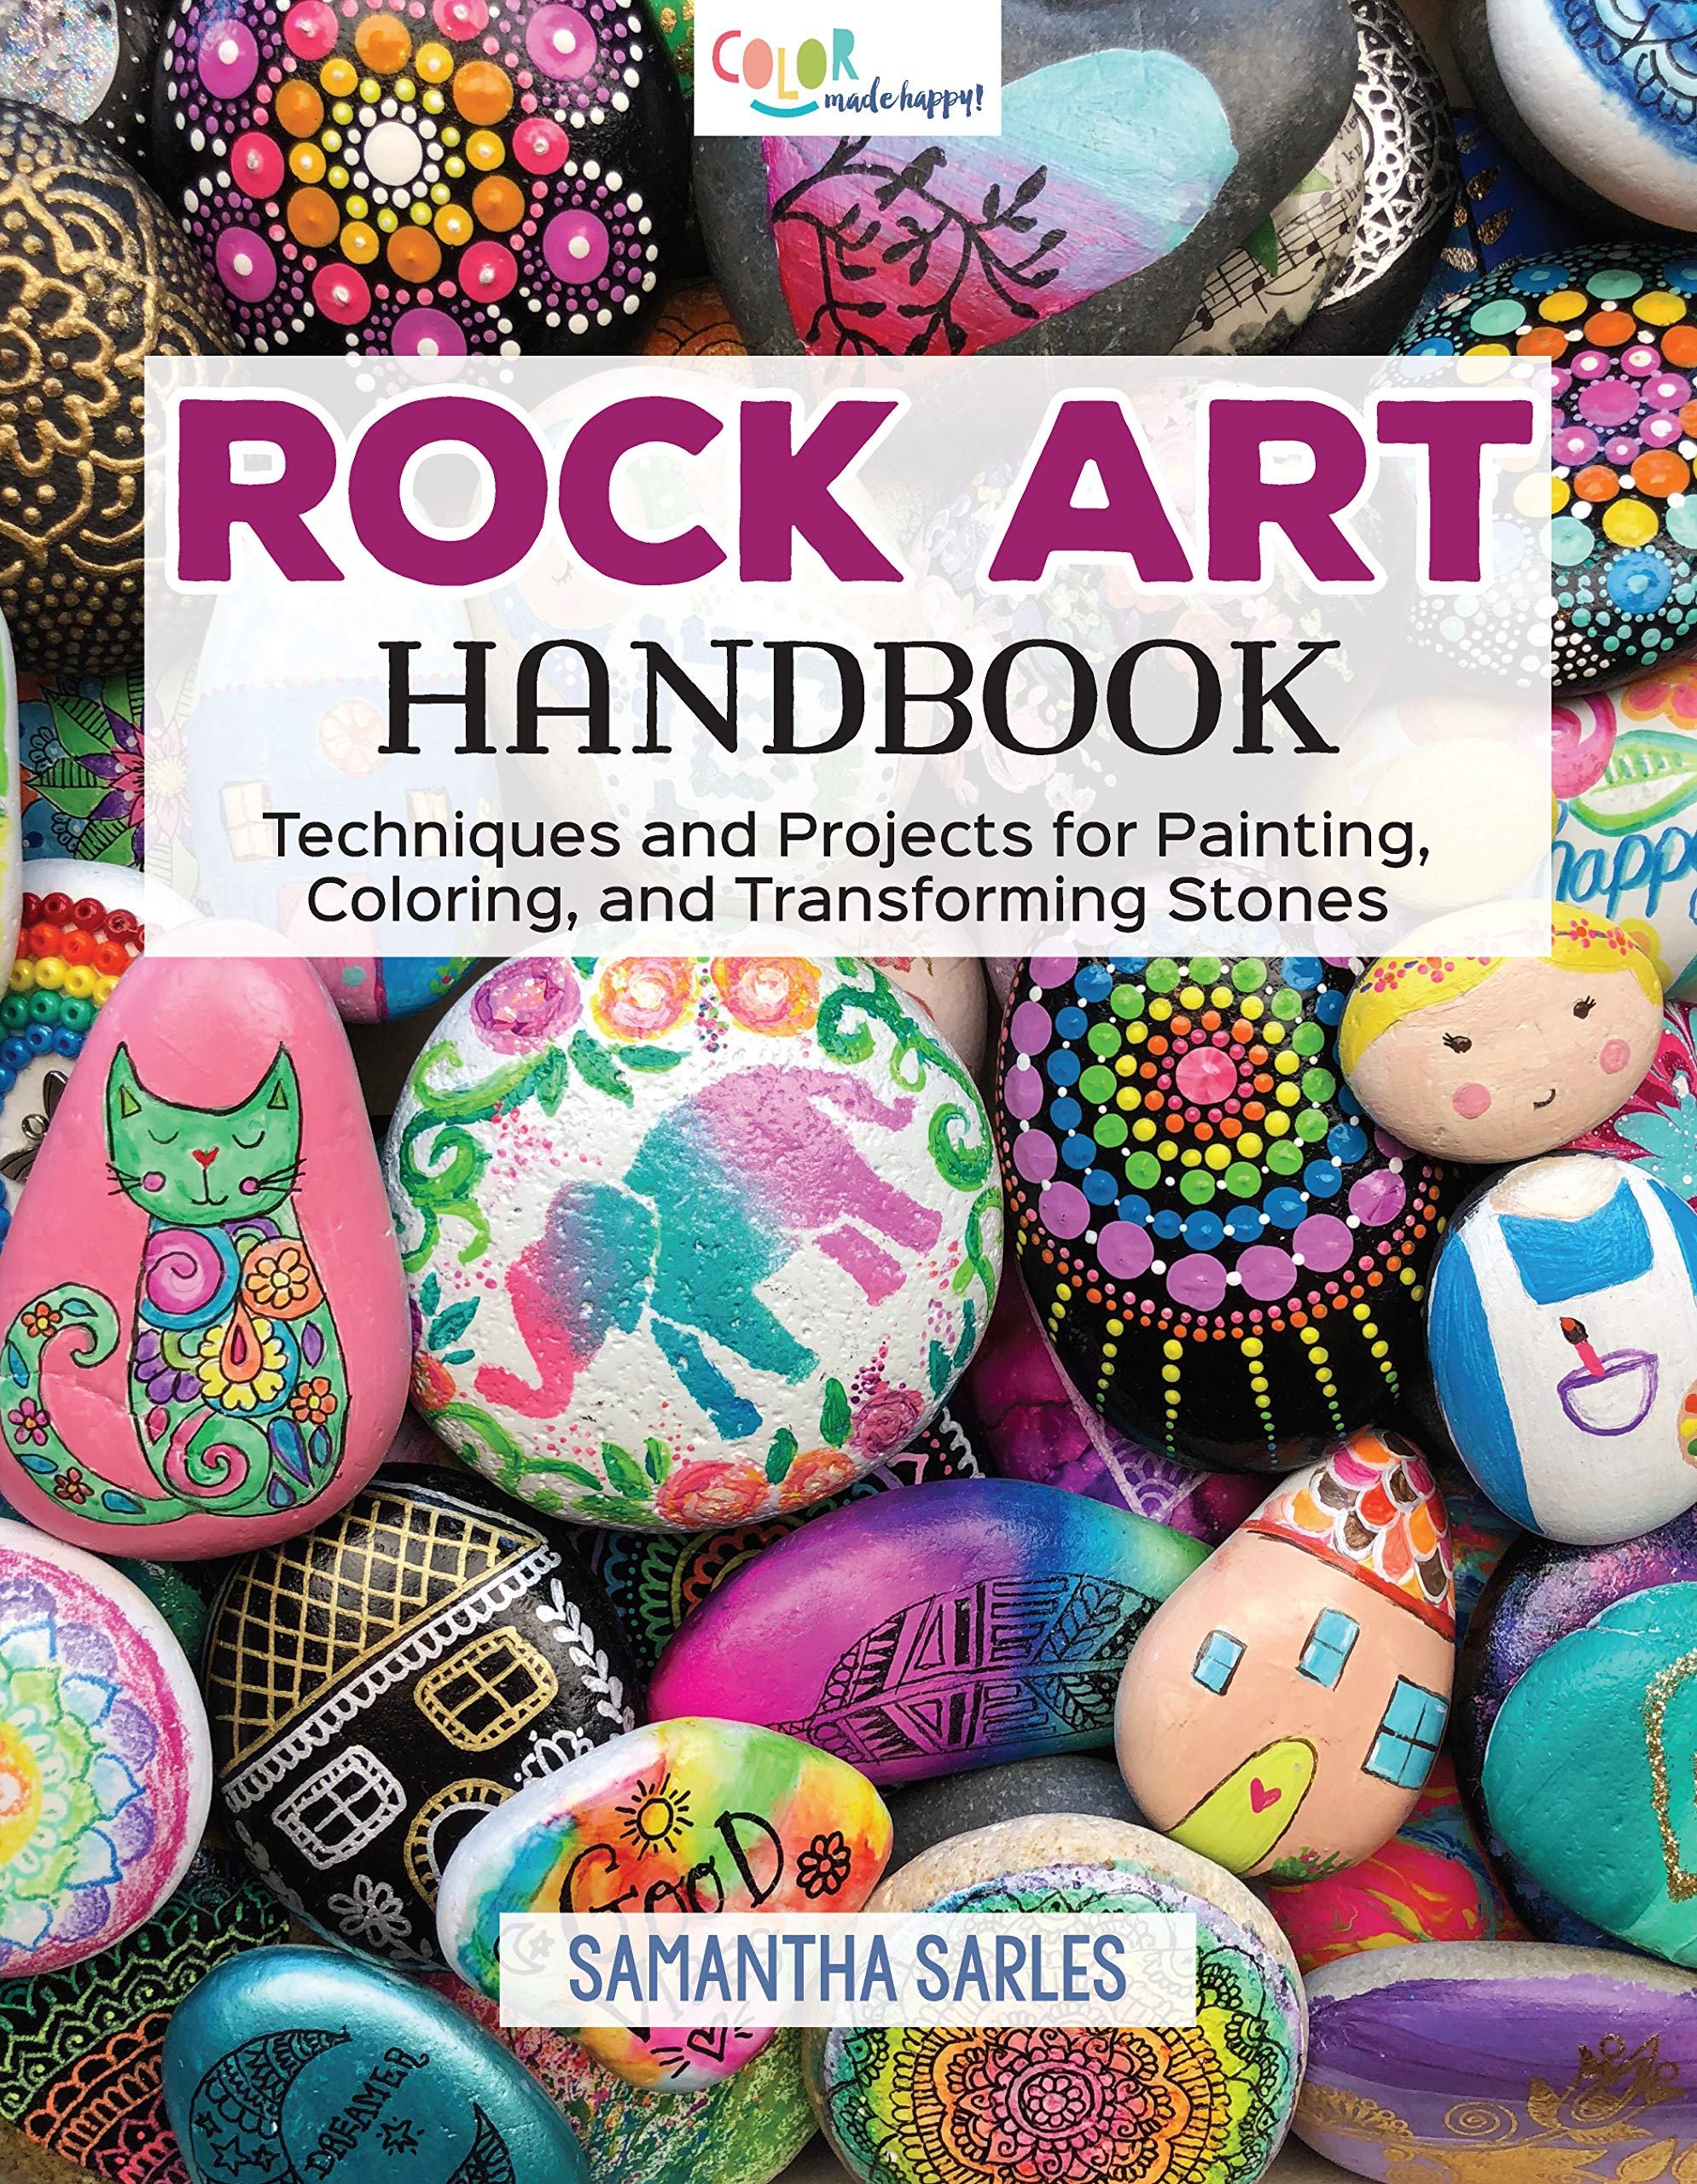
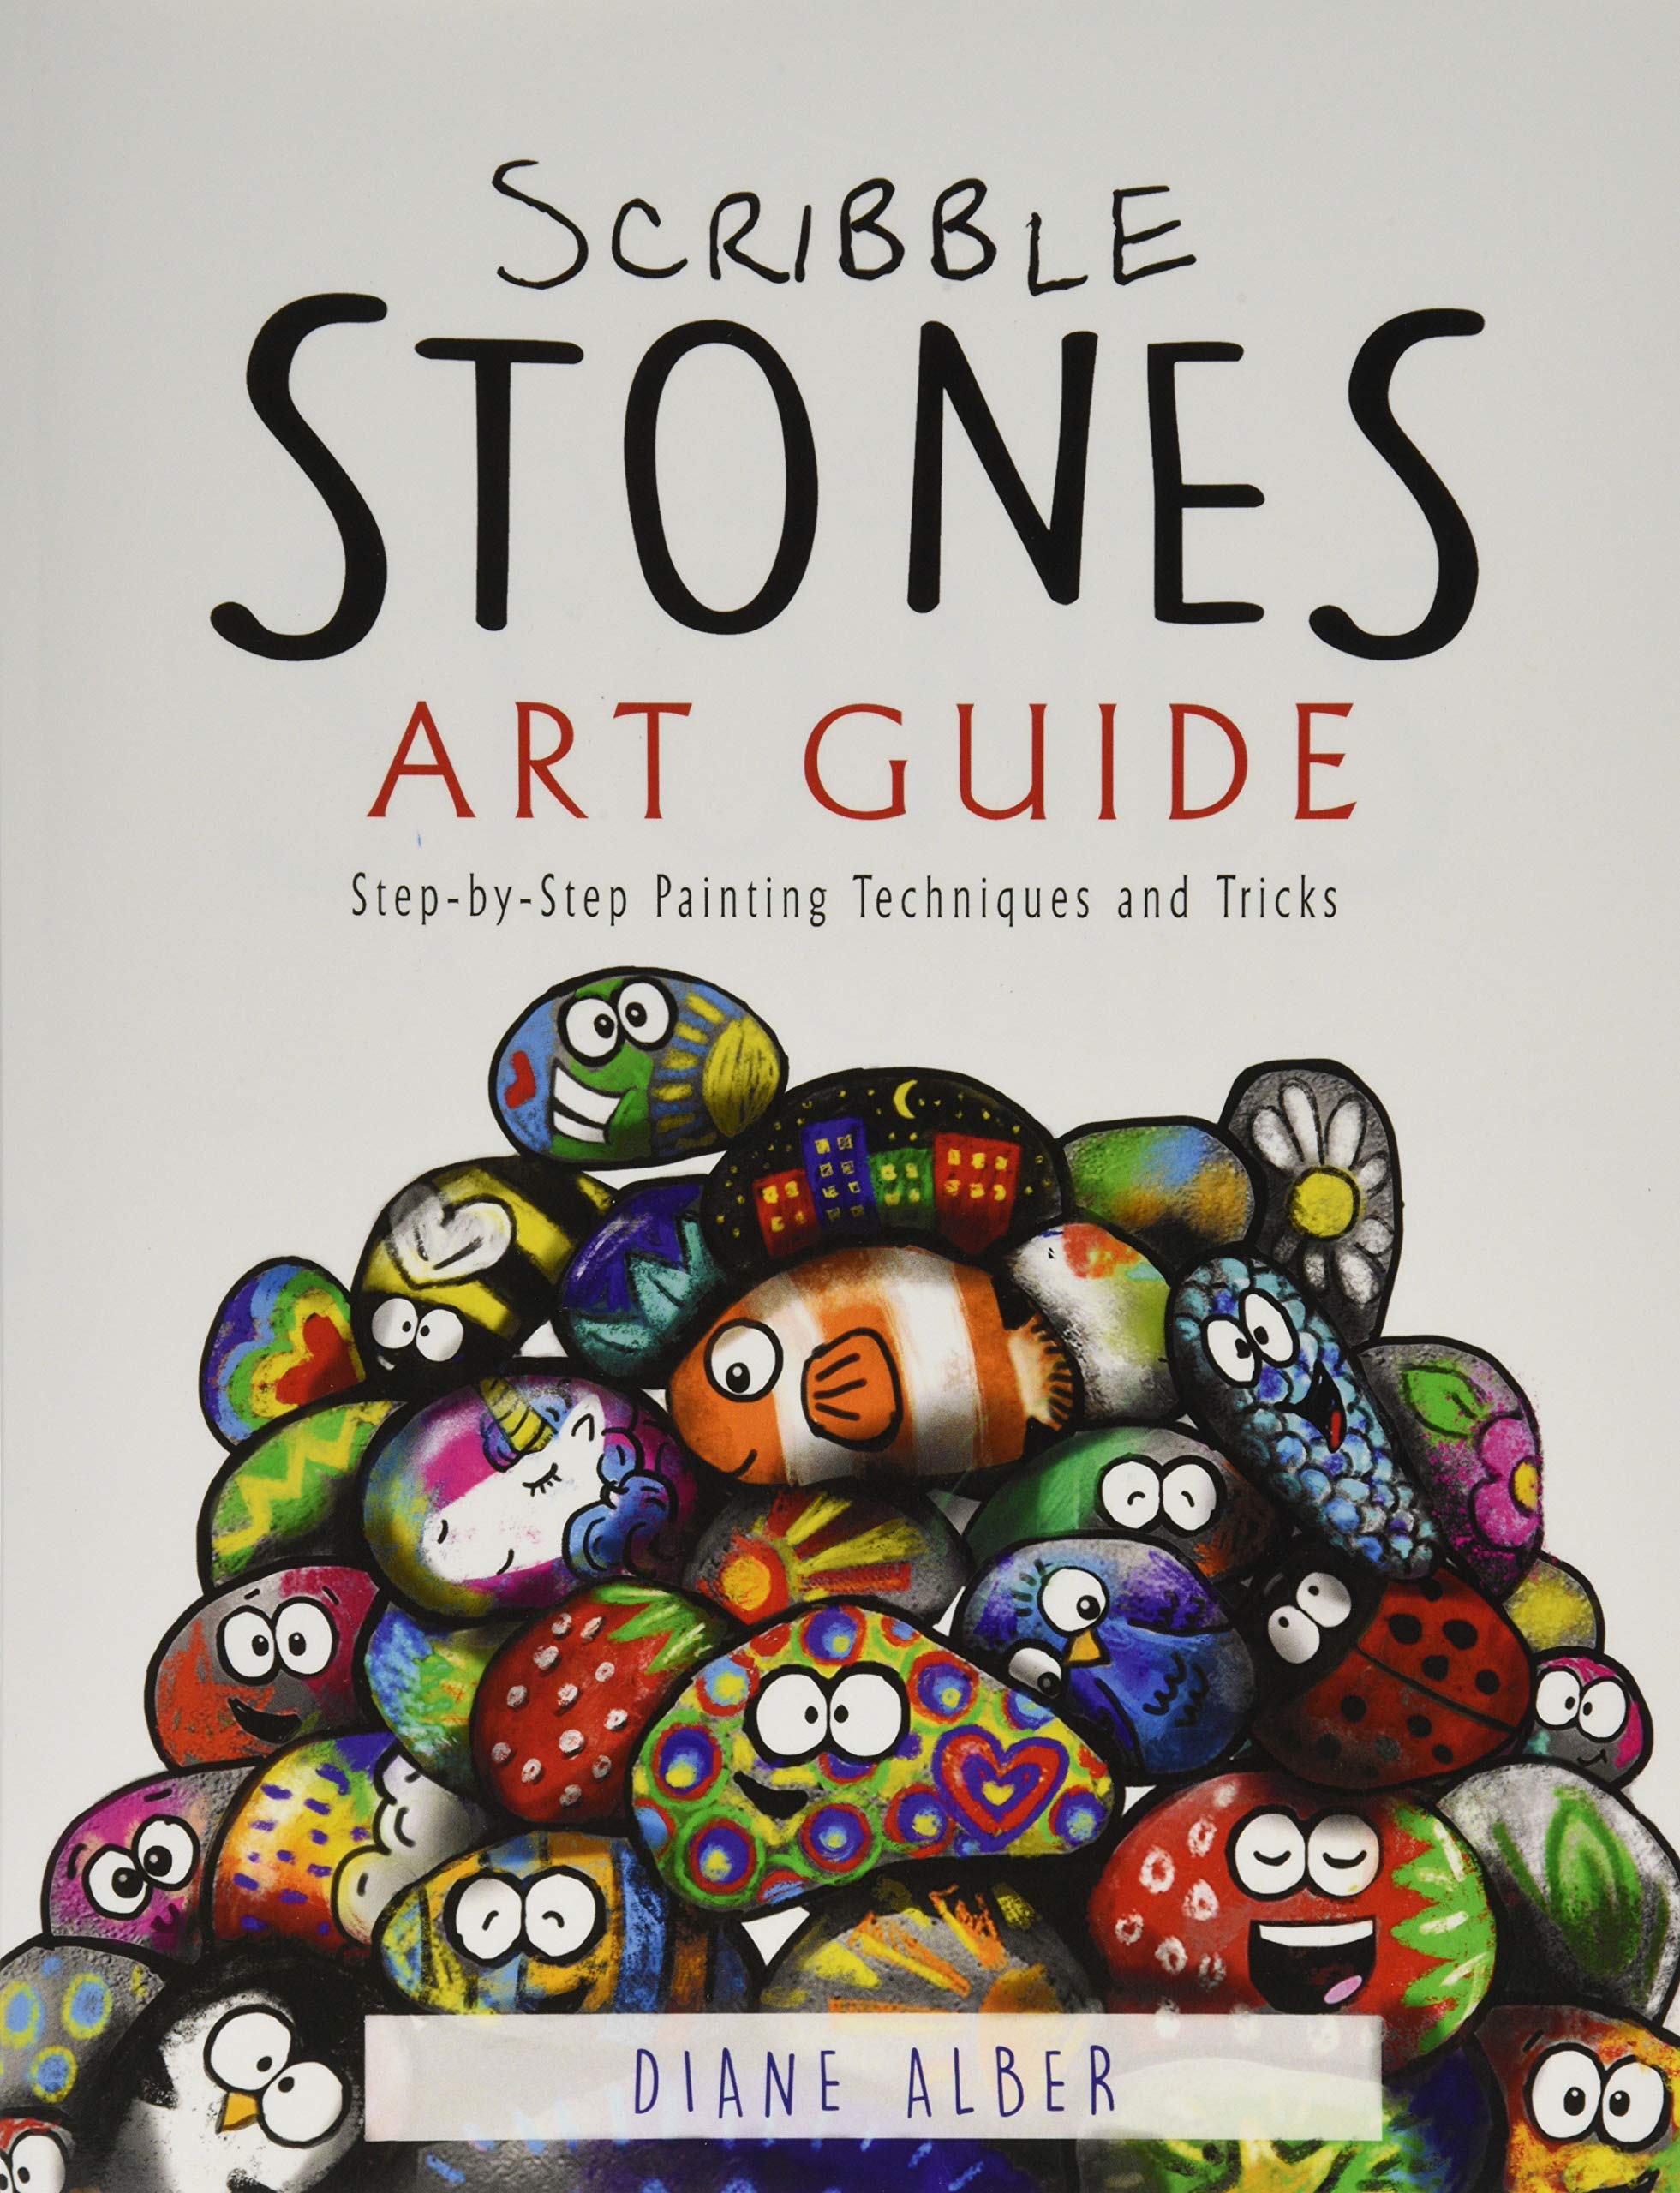
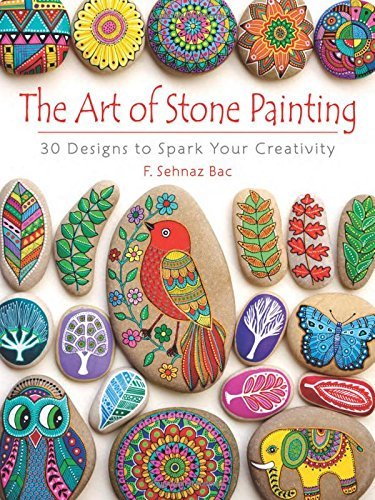
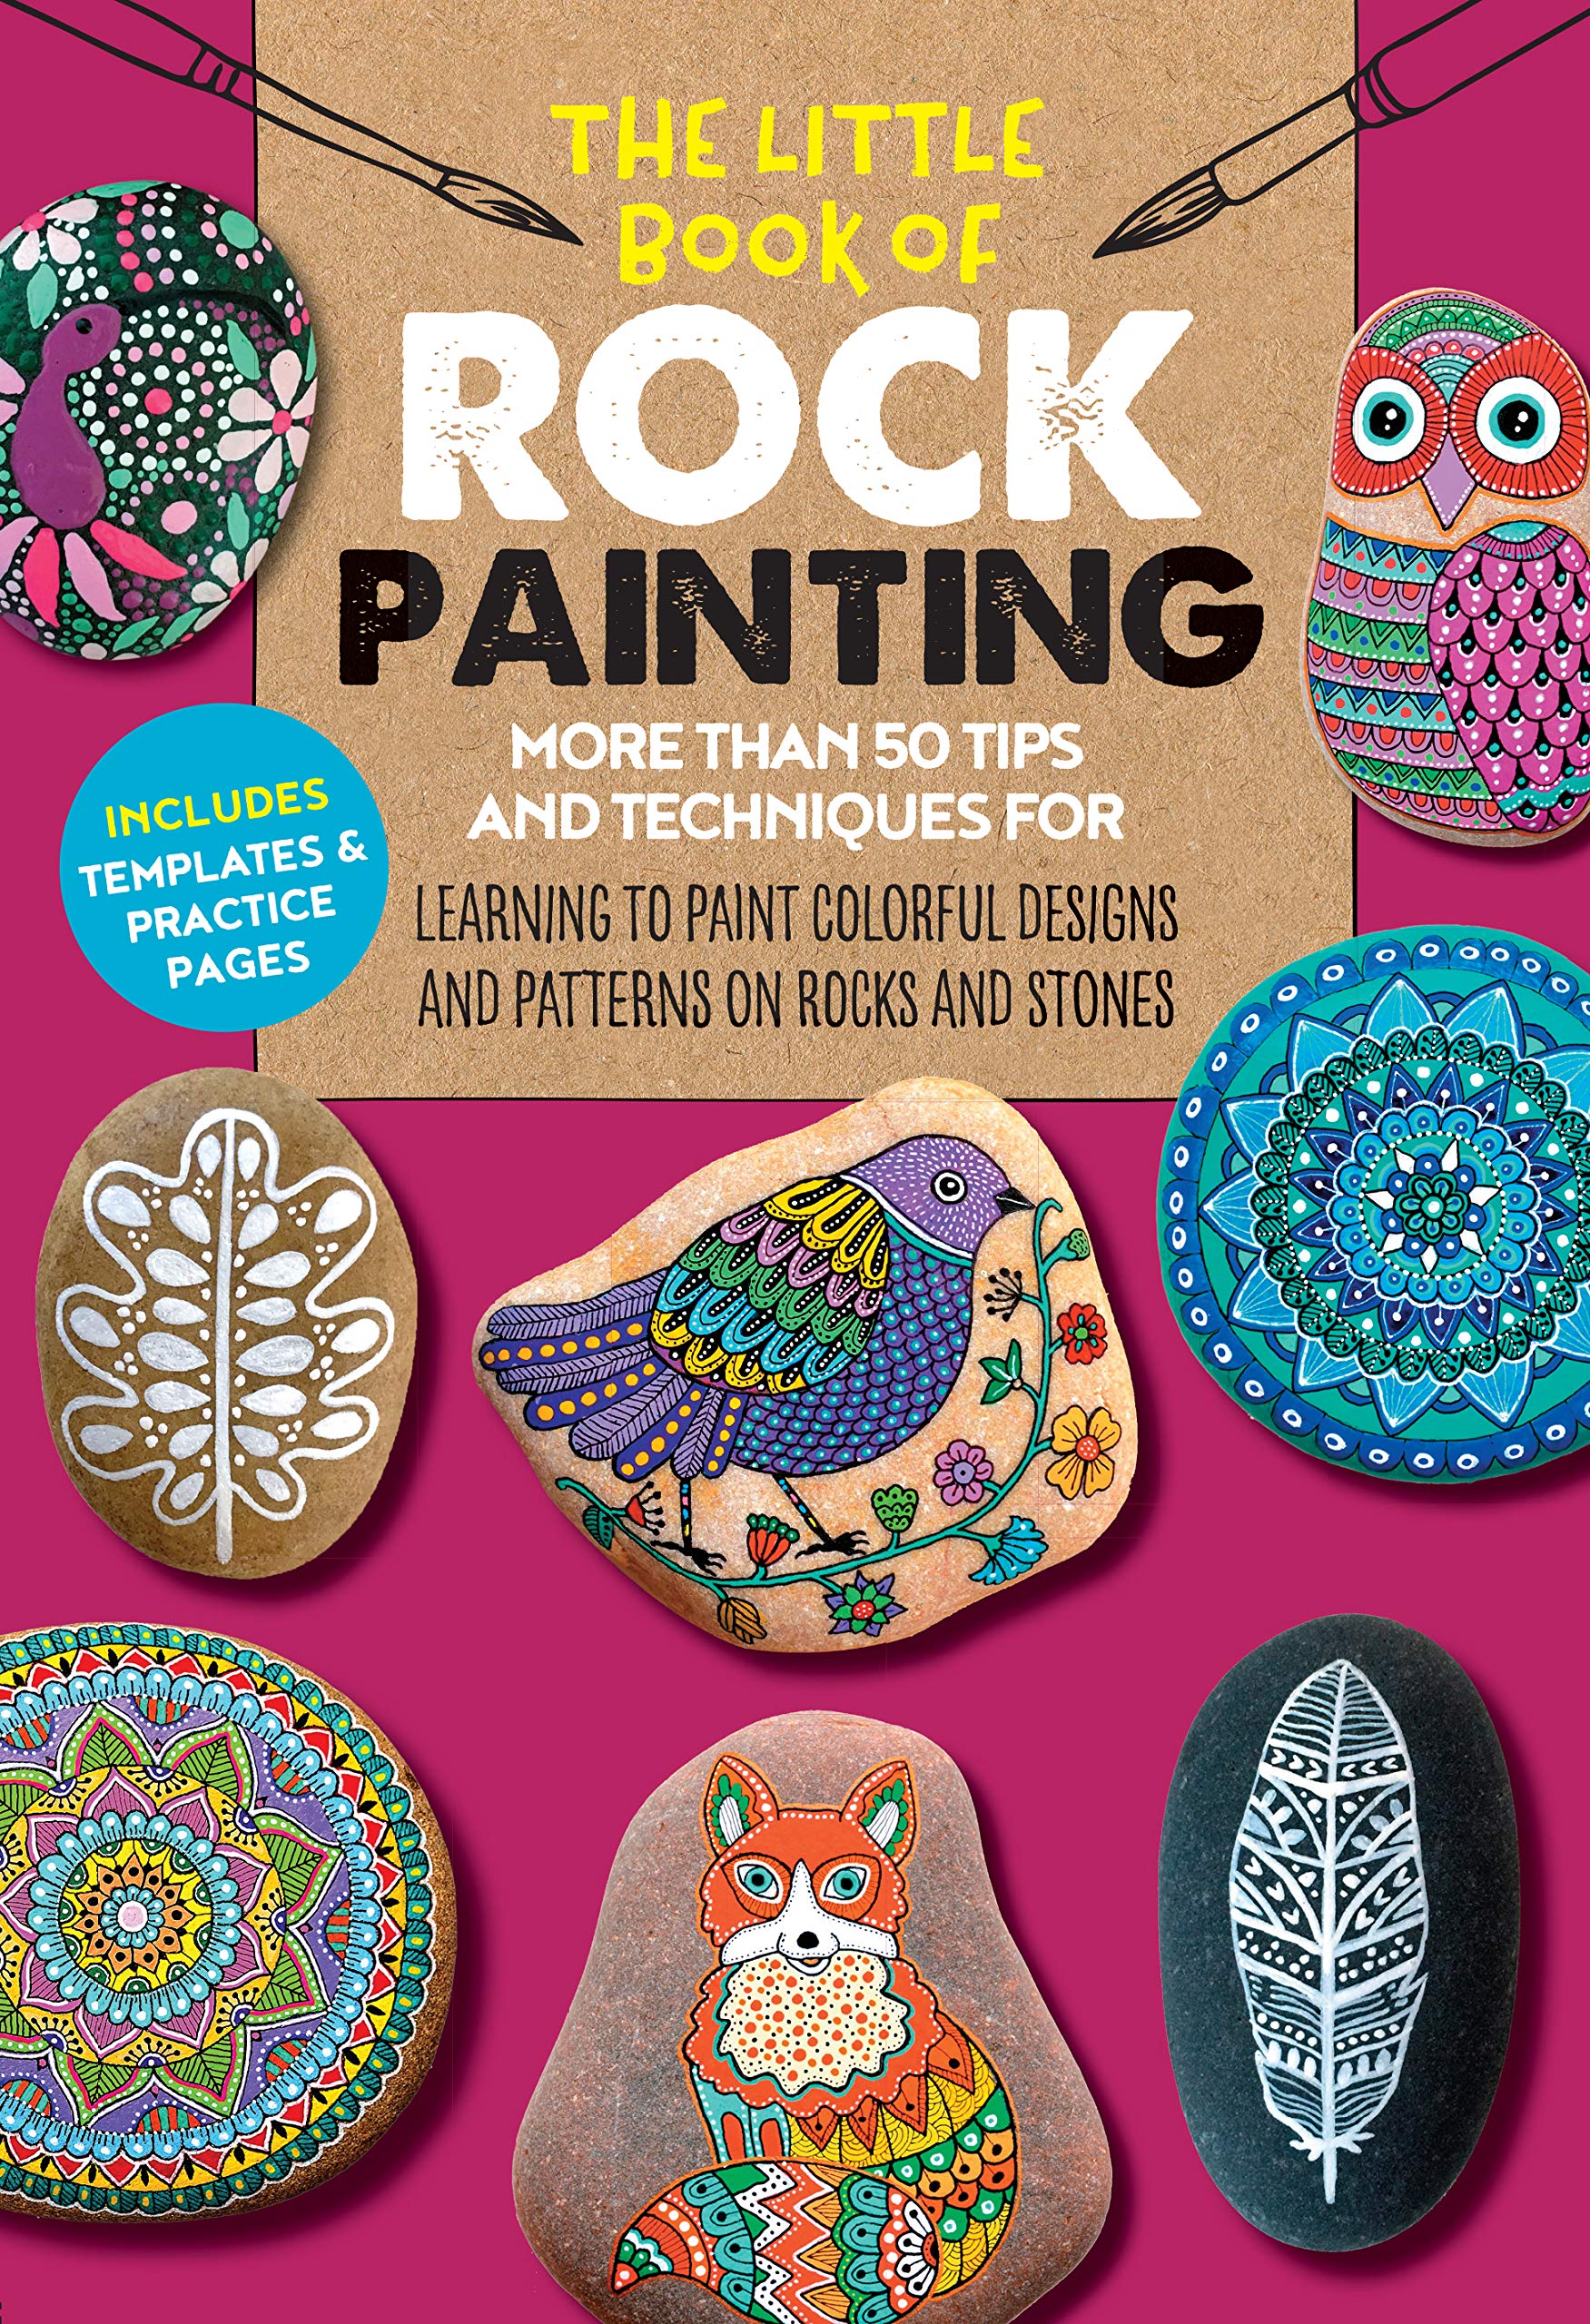
Some books on the creation of decorated pebbles