Technique: the French bevel
How to give depth to the framing.
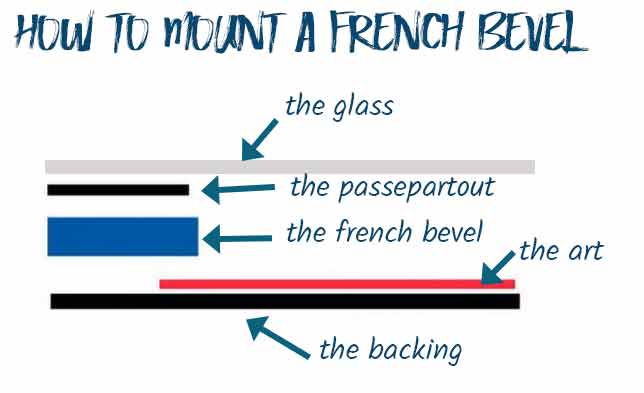
The straight bevel, also called the French bevel, is an "additional layer" in the frame that gives it thickness and depth.
It is made of thick cardboard (2 to 5mm) and comes to be placed between the art to be framed and the passepartout
It gives a lot of perspective and elegance to the frames of photos or drawings that it particularly highlights.
Contrary to what we think, it is easy to implement, its cutting not presenting any difficulty. Embark on this project, you won't regret it!
 Custom or Standard?
TAILOR-MADE
Depending on the result you want to obtain, you will first make the "package" (bottom cardboard, bevel, passe-partout...) and then have your frame and glass cut to your measurements. This is generally the right thing to do.
But you can also work with a commercial frame bought in supermarkets at a very low price: the dimensions of this all-ready frame then constituting a constraint that you will have to take into account during the realization. This is the solution I chose for this example.
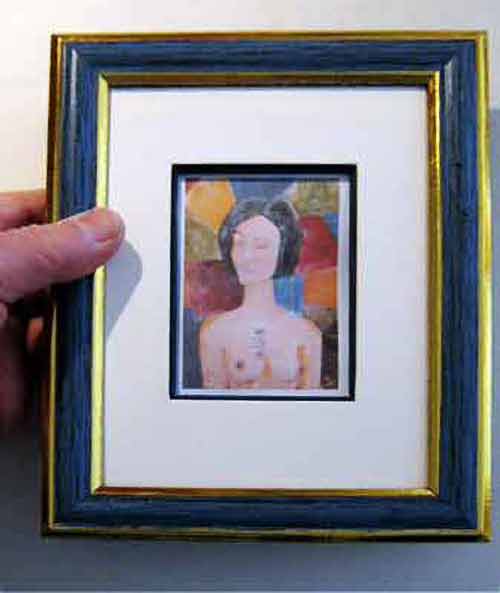
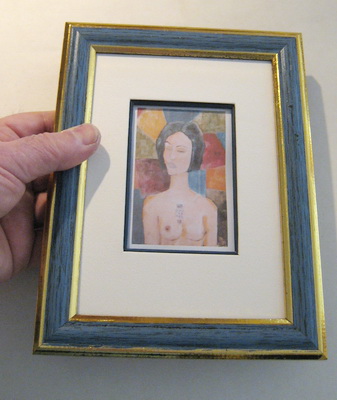
 The model.
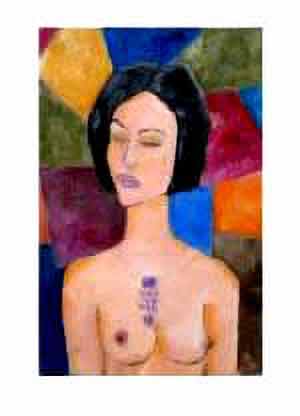
I bought a 13x18 commercial frame, blue and gold, to frame this mini-portrait of "amethyst woman" from a friend's exhibition ad.
The image itself measures 5.5x9 and is surrounded by a white border. I keep 0.5cm in all directions of this edging.
So I predict a window of 6.5 by 10 for the right bevel. It's the picture window.
On the bevel, in "last layer" will come the passe-partout which will leave 1.5mm of bevel exposed in all directions. The master key window therefore measures: 7 out of 10.5.
Thus, the bevel will slightly extend beyond the mat, which will accentuate the depth effect.
 Making of.
Cut the passepartout in a lightweight cardboard box with dimensions 13x18. The cutting window measures 7x10.5... which will leave lateral margins of 3cm.
For the horizontal margins, you have to adapt... I chose 3.5 at the top and 4 at the bottom. A slightly larger margin at the bottom is not annoying: it is even desired when you want to suggest an impression of depth. Draw the window and cut it out.
Now cut the right bevel from a 2mm cardboard box with dimensions 13x18. Place the mat on this cardboard and, with a thin pencil, transfer the image window. The biseau-window also the same dimensions as the mat.
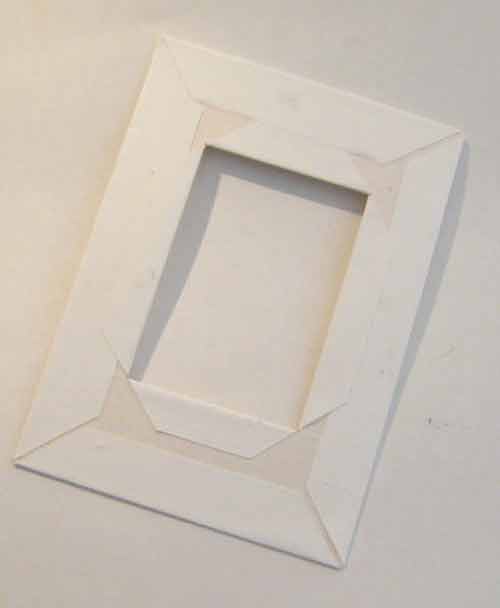
With the cutter, open the right bevel by cutting out the window. You can safely exceed the corners since they will then be covered with a covering. If your cuts lack sharpness, you will sand them lightly with fine sandpaper (as they will then be covered with paper your sanding will not have become visible!)
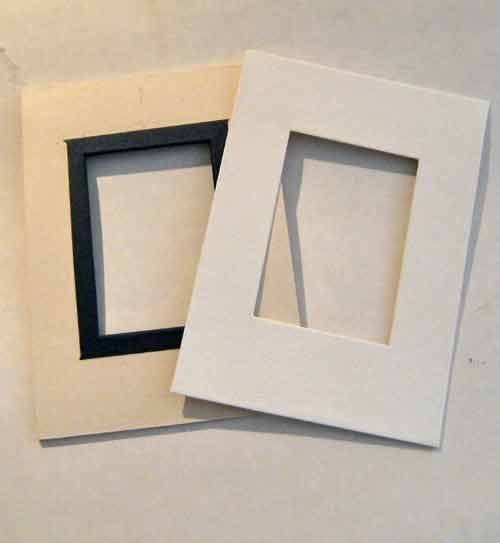
Dress the passe-partout with the chosen paper (I remain faithful to the cream colour that suits most cases). The picture above shows the passe-partout side by side.
Then cut out strips of contrasting paper to cover the inner edges of the bevel. Choose a colour that matches the work to be framed.... Here, I didn't have much choice, the frame is blue, we find this blue in the painting.... So I chose "night" blue. (see tips and tricks for dressing the right bevel)
Arrangez-vous pour que les angles de ces bandes soient bien taillés à 45° (on en verra une partie sous le passe-partout). La photo montre le biseau "habillé" de bleu foncé et le passe-partout qui le recouvrira.
 Mounting
Glue the drawing behind the bevel with a small piece of tape (this makes it easier to center).
Clean the frame glass, replace it in the frame, then place on it the mat, bevel and art.
Finish with the backing, the small stainless steel clamps of the frame tighten the whole thing. No risk of delays.
Hang your frame: you did it!