FRAME a WATERCOLOR
WITH A READY MADE FRAME
With a commercial clip picture frame you can find everywhere!
For a few bucks, you can easily find it in supermarkets these clip frames ready to be hung on the wall.
Many brands offer them in blister packs and they can be quickly used to highlight a photo, a drawing or a watercolor...
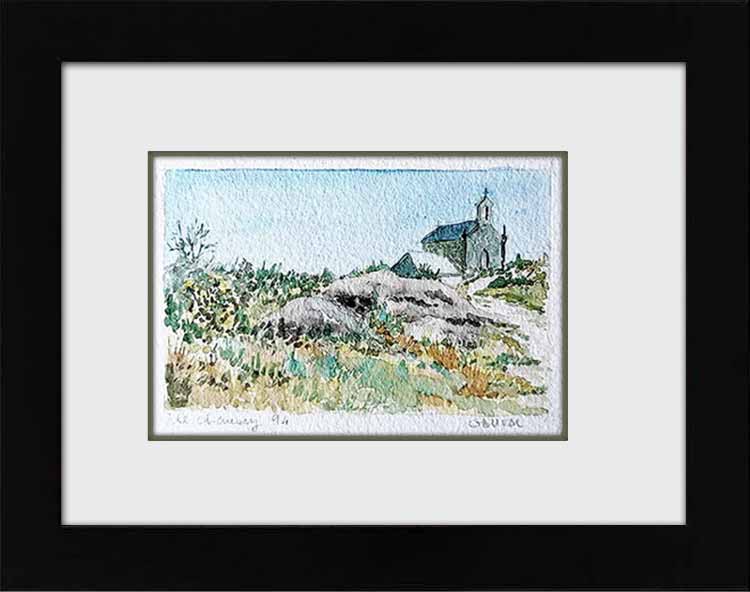
I chose this frame "American flat" which consists of a black wooden like frame, a strong cardboard bottom and a plexiglass window for a very modest price.
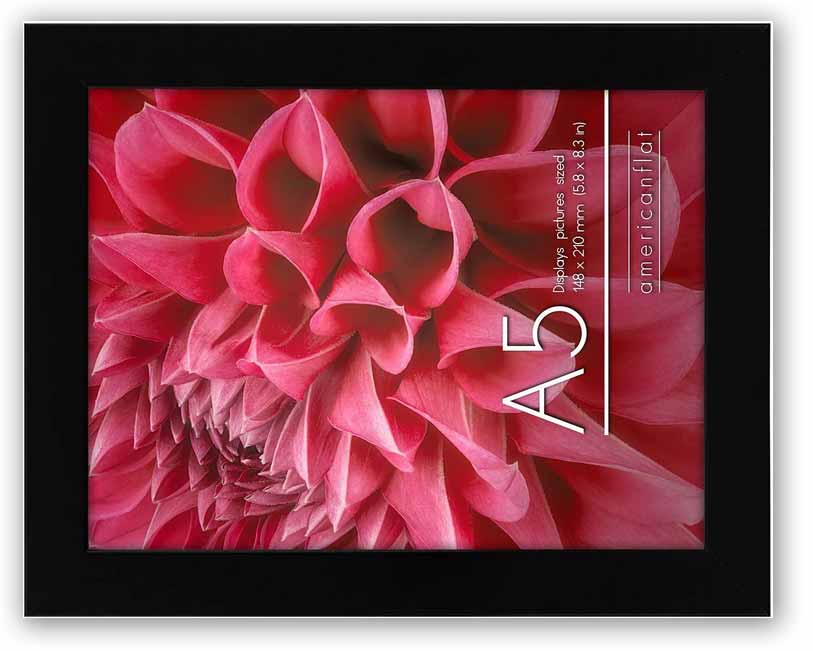
It's a A5 frame (max picture 148x210mm).
If you want a similar one, it's from AMAZON ($20), but you can get it just about anywhere near you!
 Gather the necessary material
Most of the time, these kits are composed of an isorel or strong cardboard acting as a bottom and small nickel-plated clamps with which a protective glass is fixed or a wooden paint frame with a plexiglass.
The dimensions are varied 13x18, 18x24, 30x42 ... are among the smallest ... We can even reach 80x50 according to the arrivals (dimensions in cm)!
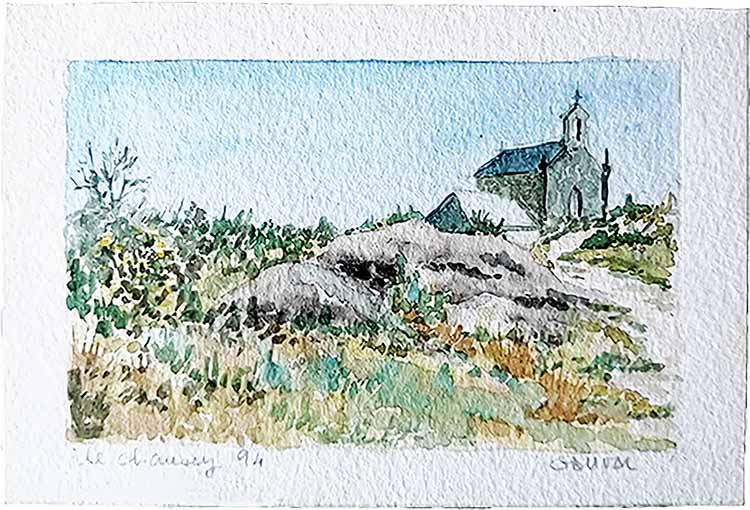
I chose this A5 picture frame to display a watercolor whose luminous colors deserve to be highlighted.
This frame is composed of a glass (148x210mm) and a strong carboard background (same measurements). Glass and cardboard are maintained into the frame by small steel nails.
To frame the watercolor, you need :
![]() a commercially available clipframe in the size A5
a commercially available clipframe in the size A5
![]() light cardboard for the mat
light cardboard for the mat
![]() fancy paper for the passe-partout and for the "overhangs".
fancy paper for the passe-partout and for the "overhangs".
![]() Cutter, scissors, square at 45° and glue as usual.
Cutter, scissors, square at 45° and glue as usual.
 Calculations... dimensions of the window
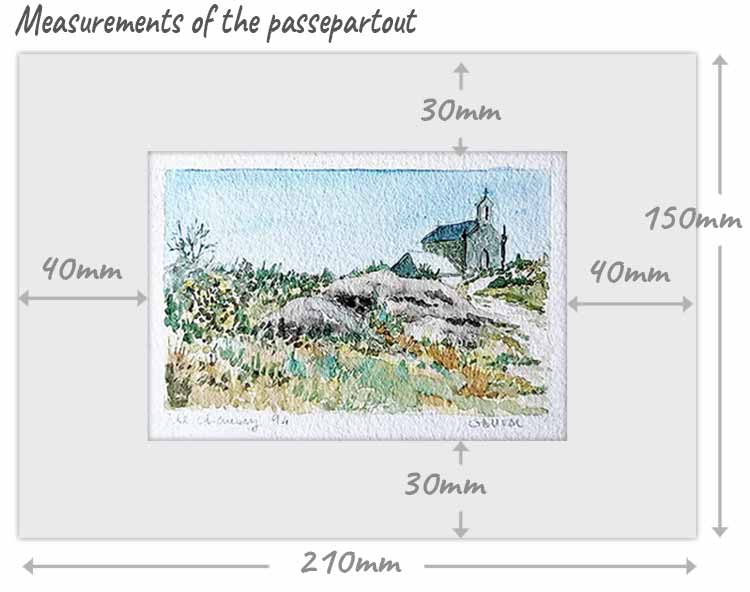
The first calculation, for a frame, is to determine the dimensions of what we call the "picture window". That is to say the part of the art that will be visible after it is in its frame.
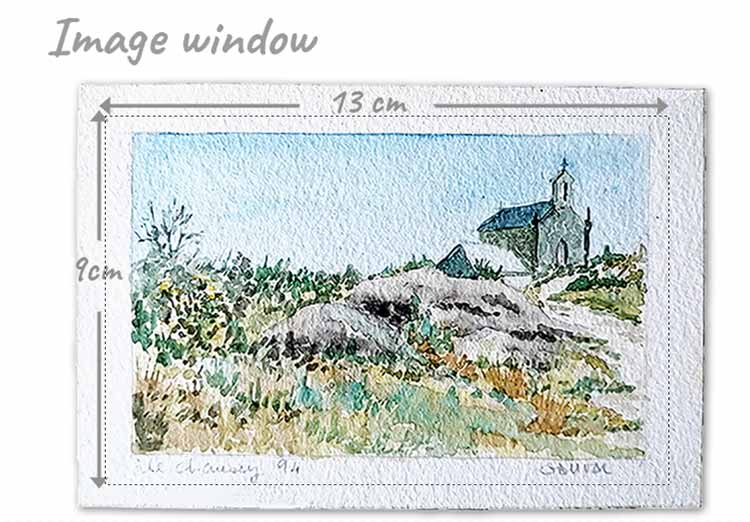
The "picture-window" mesure ici 13x9cm...
By subtracting these dimensions from those of the frame we get :
150 - 90 = 60 (i.e. 2x30 for margins) and 210 - 130 = 80 (i.e. 2x40 for margins)
 Making of Passepartout
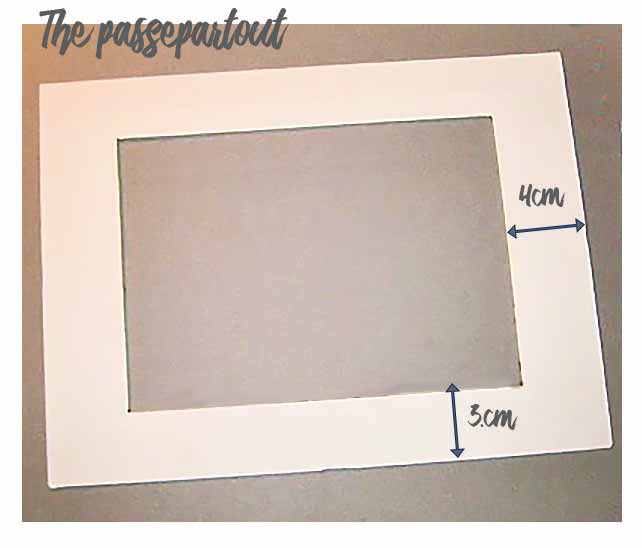
![]() The mat must now be cut to the dimensions of the frame and the "image window".
The mat must now be cut to the dimensions of the frame and the "image window".
In light cardboard, we cut a 210x150mm rectangle (you can use the backing as a template). Then draw the margins that we calculated above...And we open by cutting this window.
It is necessary to proceed this way in a somewhat empirical way because here we must adapt ourselves to the imposed dimensions of the clip frame.
It is the opposite of the classical framing !
Dressing of the passe partout.
This step is not obligatory if you have chosen to work your mat with special mat cardboard... Otherwise choose the passe-partout cover paper: here, I preferred a very clear cream.
![]() As usual, glue the side of the passe partout with the brush and then apply the paper by smoothing with a clean cloth.
It is better to proceed this way to avoid the inevitable deformations if you glue the paper directly.
As usual, glue the side of the passe partout with the brush and then apply the paper by smoothing with a clean cloth.
It is better to proceed this way to avoid the inevitable deformations if you glue the paper directly.
![]() Cut the excess paper flush to the outside of the passe partout.
Cut the excess paper flush to the outside of the passe partout.
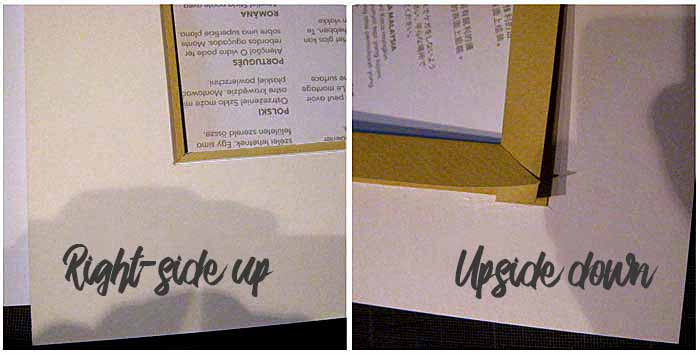
![]() Then open the corners at 45° on the inside of the window. Use the metal ruler as a template to clear the edge tabs.
Then open the corners at 45° on the inside of the window. Use the metal ruler as a template to clear the edge tabs.
![]() Now glue the back of the passepartout and fold the tabs over, making sure they are firmly adhered.
Now glue the back of the passepartout and fold the tabs over, making sure they are firmly adhered.
 The "dépassants"
The dépassants are strips of paper, folded in 2 on itself and glued behind the mat, which protrude 1 or 2 mm from the mat.
These overhangs will give more depth to your framing and better highlight the watercolour. Of course this is not essential but only desirable...
Choose as colour one of the secondary colours of watercolour: don't take the blue already present on the art... but rather a dark green or a dark brown present in the vegetation areas.
In the paper of the chosen color, cut several strips of 4cm wide. Fold these strips in half lengthwise to give them some rigidity.
If you don't know how to pose overhangs... the technique is explained. on this page of the site!

 Final assembly
You now have all the elements necessary for the assembly.
Fix the watercolor on the back of passe-partout with only one piece of adhesive, no need to put too much, it is simply a matter of holding it for the time of the assembly (if you tape everywhere the subject on the passe-partout, it may curl under the glass ...).
Clean the glass, place it in the frame, place the mat and the subject and put the bottom in place.
Hang your watercolor on the wall!
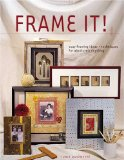
Frame It!
by Tonia Davenport
(click to enlarge)
Framing isn't something one has to leave to the professional.
With Frame It! readers will learn how to use ready-made frames and inexpensive framing materials to create frames perfect for their favorite photo, piece of artwork or souvenir...
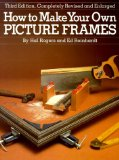
How to Make Your Own
Picture Frames
Ed Reinhardt, Hal Roger
(click to enlarge)
Excellent book for the beginner (we are always beginners !). Clear and concise.
Excellent step-by-step instructions with photos for each and every step.
This book covers all aspects of frame construction, painting, mats, glass-cutting and usage.
A great book to trigger your own ideas to create custom frames.