PHOTO TRANSFER LIKE ON CANVAS
PHOTO DECOUPAGE TECHNIC
 How to transfer pictures
on a painter canvas ...
How to transfer pictures
on a painter canvas ...
It's like a photos transfer on canvas (collage canvas like) that I offer you to day here using decoupage napkin technics (Called in France decopatch or "serviettage")!
In fact, if your pictures are printed on a enough thin paper , the canvas texture on which they are pasted will appear from below and give them a perfect look of transferred photos ! And if you finish you finish with a layer of matte varnish, the "printed on canvas" look will be strengthened.
Here is a step by step to help you to make your first decoupage photo transfer on canvas.
 The necessary equipment and supplies
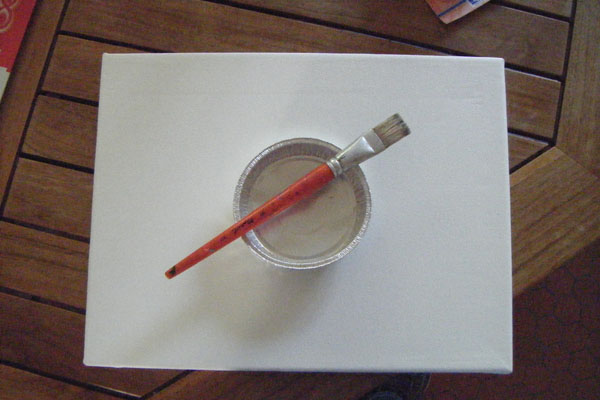
- A painter's canvas mounted on stretchers ... If possible, choose a fabric with a large grain (the texture of the fabric will appear better through the photos). A brush, scissors, a cup for the mod podge.
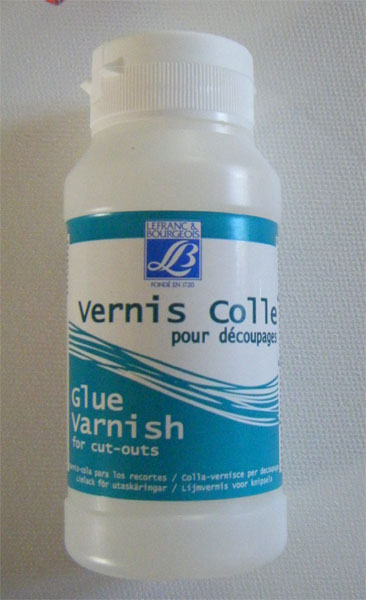
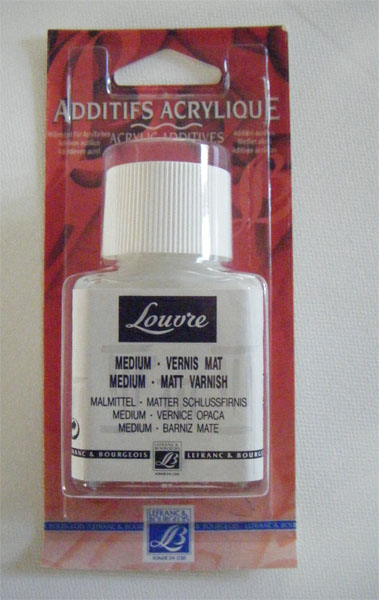
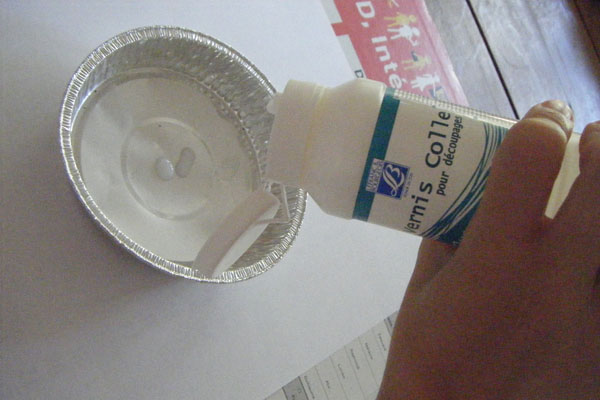
- Glue varnish or Mod Podge and acrylic matte varnish (liquitex is a good brand !)
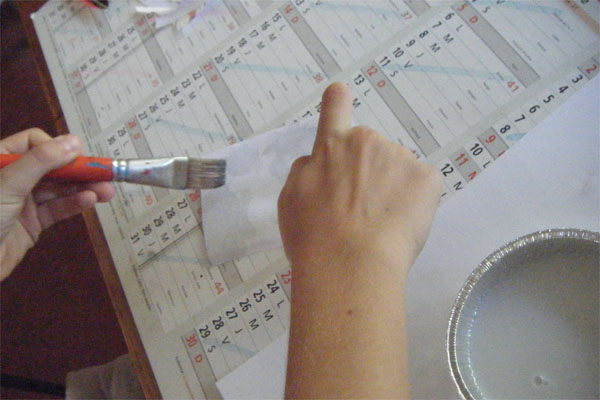
- Some old newspapers or papaerboard calendars protection (!)
- Your photos ... or images downloaded from Internet and printed on A4 sheets the thinest possible (80g/m² is a maximum) .
 Step by step instructions
Step1
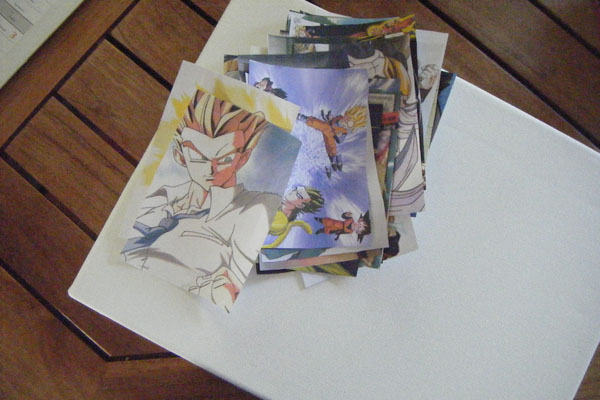
Start by gathering your photos or pictures and print them on a very ordinary A4 paper (80g/m2)... Do not worry if the colors look dull, it's normal because of the quality of paper that lacks thickness and is traversed by your printer ink ...
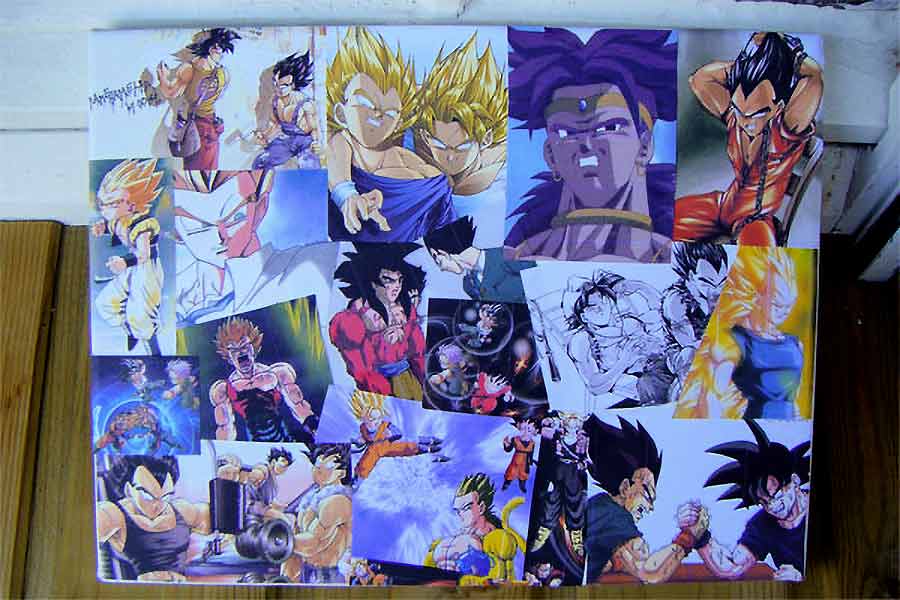
Such as my son, whom I intended this frame, is a fan of Dragon Ball Z ... I've been "fishing" on Google images to find a series of pictures of his favorite heroes ... I could put 4 pictures per A4 sheet which I've after cut out.
Pour a little bit of glue varnish in the cup:
Step2
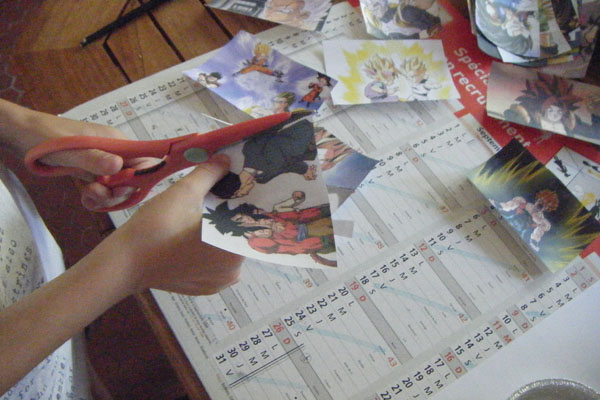
Cut out your first image ... at your convenience ... Do not throw scraps of paper, they will be re-used later.
Step3
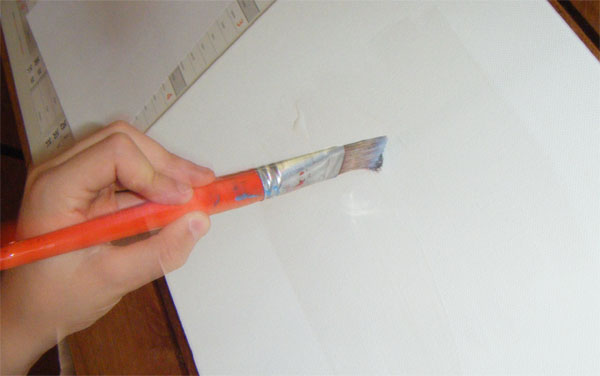
Start by spreading the center of the canvas with a layer of varnish glue. Put in enough to cover the location of the first picture (beware, it dries quickly enough!)
 Step4
Step4
Paste now your first image back...
and place it onthe center of your canvas ...
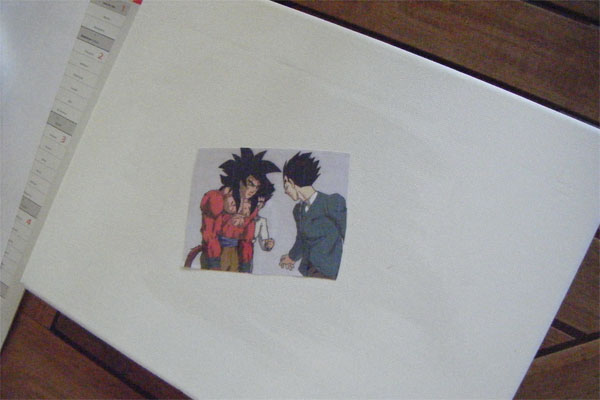
As in the napkin decoupage technique, you can brush glue varnish with the brush on the face of the pic ... this contributes to well soak it and to show, the grain of the canvas under the photo.
 Step5
Step5
Put a little glue varnish on the canvas at the location of your second image ... put your second image by overlapping the first ...
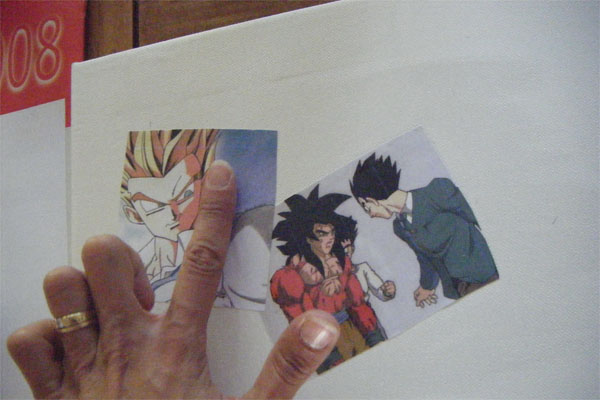
If you do not like too straight edges, you can tear up the edgesinstead of using scissors ...

 Step6
Step6
Paste a new location and place a new image ... Until that you have covered the entire canvas ...
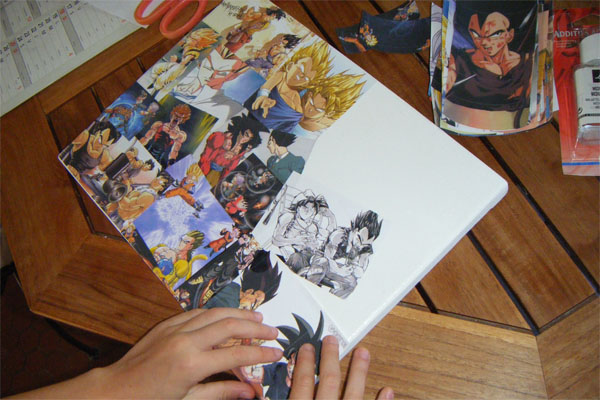
Use the scraps to "fill" the possible "holes" .
It'll just happen, after drying, to coat a layer of matte acrylic varnish ... And now ... Done!
Leave to dry ... Hang it!
A photo collage stuck on canvas...
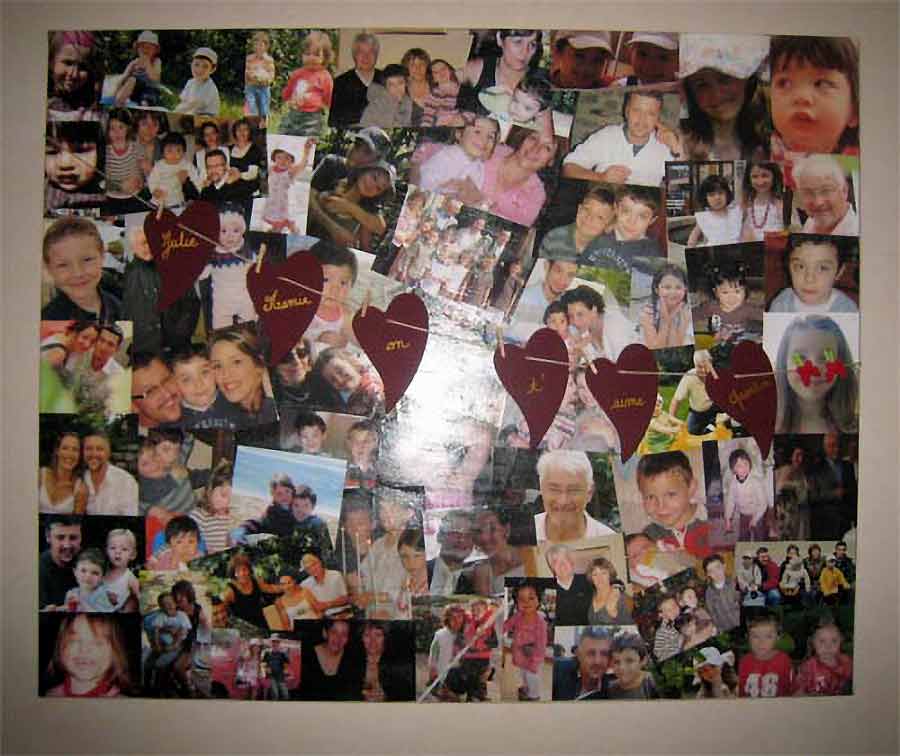
And if you want a full of souvenir photos collage canvas... Apply the same technique of decoupage photos on a painter canvas!
Sort your photos and print them on very ordinarypaper ... Paste them with the decoupage technique on a stretched canvas ...
For this decoupage, I used a canvas size 20F... I added a string with a garland of hearts painted with a dark red coat :
Up to you to try!