ORIGAMI MINI-SCRAPBOOK
Another mini ! Ah, that one, the principle is not new ... it hangs around in a lot of devoted to scrapbooking blogs ! But he deserves not to be forgotten as we get with it charming and elegant simplicity scrapbooking mini-albums.
In the following tutorial, the principle is only stated: for decoration and embellishments, it will suit your tastes and habits ! Go Mimi, it starts!
 Material
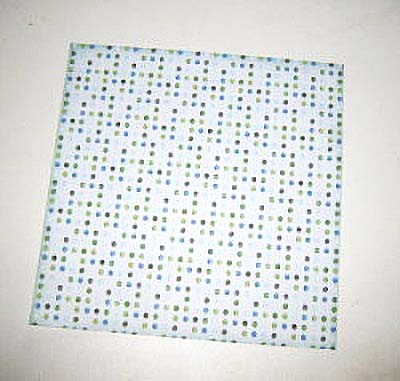
For 6 pages, you will need 6 squares of 21x21 paper of your choice (but you can easily adapt all the given dimensions to your photos ).
2 paperboard squares 11x11 for cover and backing, matching paper for cover.
Also plan for 6 paperboard squares size 10 x10 (you can replace them with cutted to size photos )
And finally, your cropped to 10x10photos .
 Making of the first page ...
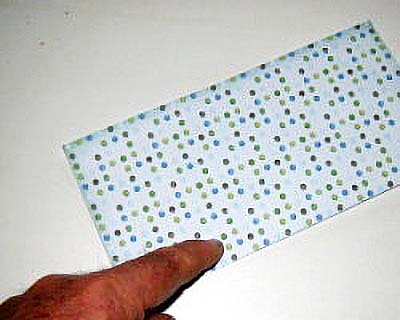
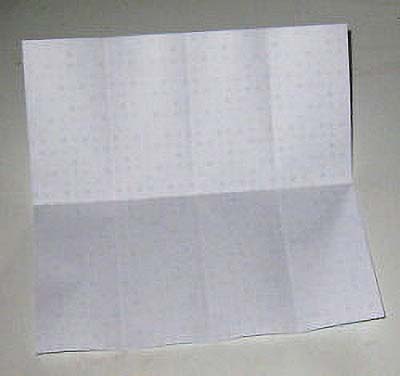
Put a 21x21 sheet front of you and fold it into 2.
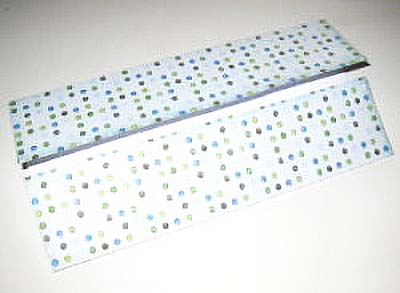
Open the fold and fold each half to the center line, mark out the crease with a bone folder.
Open the paper, rotate it a quarter turn and repeat the same way. Mark first center crease :
Then fold each half again to the center.
Now unfold the sheet and give it flat then turn it over on the table.
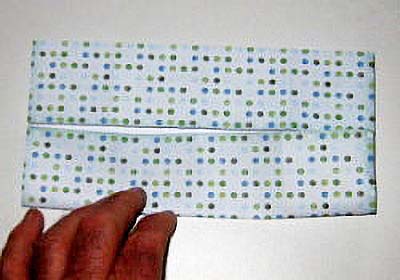
Start now by folding each corner on the center and mark out the creases.
When the 4 corners are folded up on the center, fold back the corners backwards. Mark the creases with the bone folder…
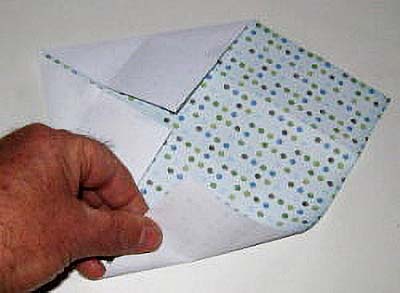
Courage ! It's almost done ! Unfold the sheet, leaving the corners and turn it over .
Using your right hand and left hand as pliers, press the middle of the sides (see the red arrows):
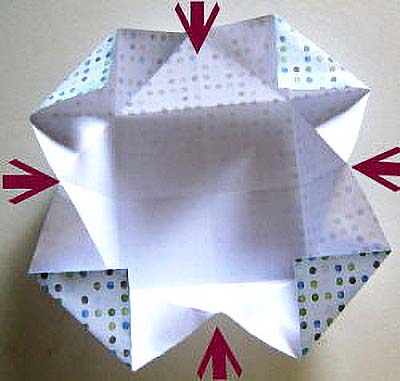
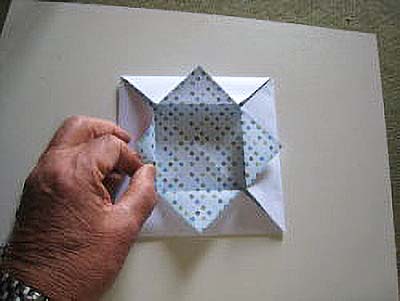
A central square appears. Continue the movement to close to the center and obtain:
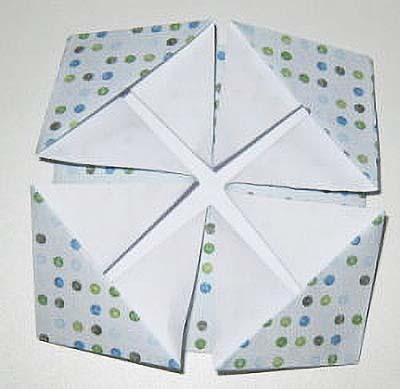
the first page is finished ...
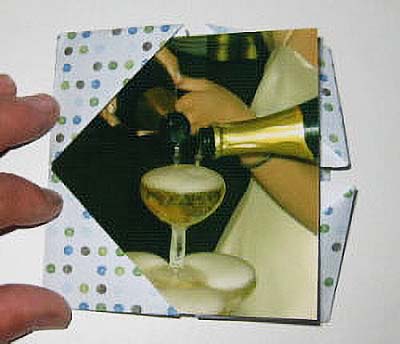
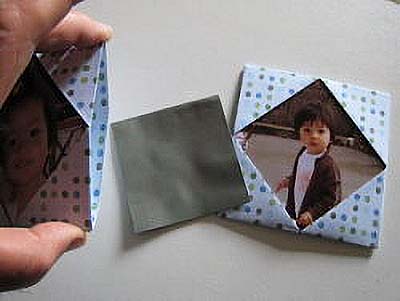
Now take the 10x10 cardboard or a cropped photo with same size and insert it into the folded corners. This is the cardboard that will "hold" your page.
First left:
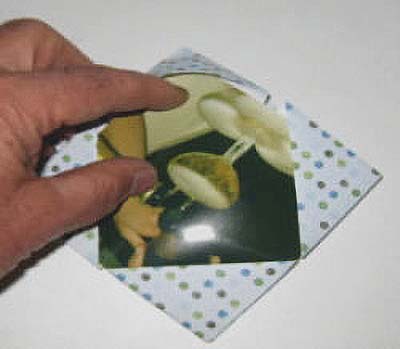
then right in curving slightly the photo to facilitate its installation :
In the same way build your 5 other pages ...
 Assembling pages ...
To assemble two pages, cut in a Bazzil paper a square with 7cm side.
Put glue on half of this square and drag it into the opening of a page:
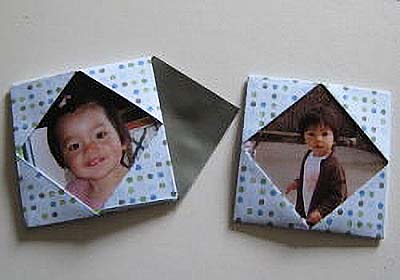
Now glue on the second part of the square ... then slide and glue into the opening of the second page:
 Embellishments & Décor
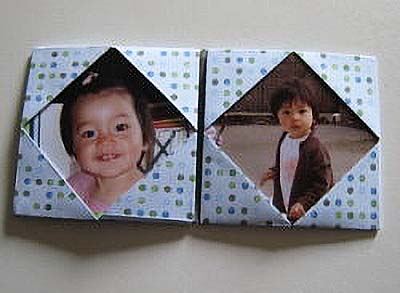
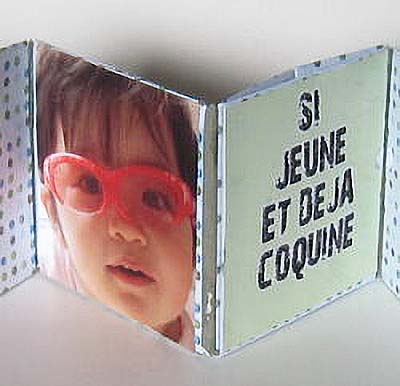
Assemble successively 6 pages:
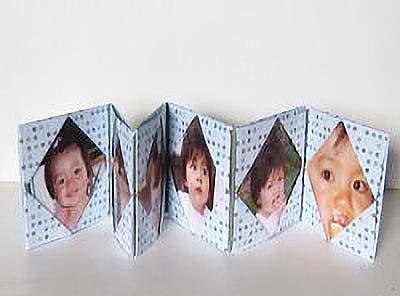
On the back of your mini, there are four slots available for photos or journaling ...
We have now to stick a cover and a backing to our mini album. For this, dress paperboards by sticking papers of your choice, put up two ribbons to close the mini and then paste your two covers.
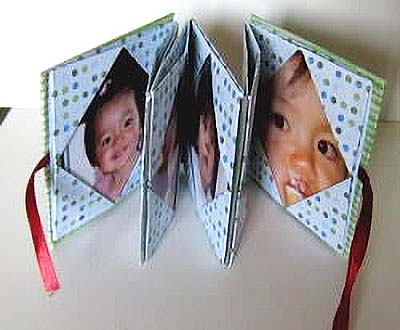
Your can now embellish and decorate ... according your personal taste.
Encyclopedia of Scrapbooking
Creating Keepsakes

If you have only one book of scrapbooking to buy...
Outstanding Mini Albums:(Paperback)
Jessica Acs (Author)
Mini albums have become a popular medium for scrapbookers - they are small enough to complete in a timely manner but big enough to tell a story.
Features 50 albums with step-by-step instructions for over 30 projects - perfect for scrapbookers of all levels...
Make It in Minutes
Roxi Phillips (Author)
these mini-books are perfect for celebrating everything from holiday memories to childhood events

So many styles, so many reasons to make them! Whether they’re accordion folded, stitched together, ribbon-tied, or paper-punched and bound with binder rings...