How to finish your picture frame shelf
Paint or wax ... it's your choice!
You have just DIY your picture frame ledge and, before setting it in place and placing your frames and photos on it, you have to finish it in accordance with that of your interior....
If you are in the "modern", rather bare, the painted finish seems to prevail. You will then choose your satin or even matte paint, according to the colors of your stay ...
If instead you give in the old, the rustic, then you will tint and wax your "picture ledge" in light or dark depending on your furnishings!
 The painted finish
It is the simplest finish to achieve ... but it should not be sloppy yet! Here is the list of the equipment that you will have to implement:
Painting to match your interior, light or dark in satin or matte qualities. I recommend satin acrylic coating (all DIY stores and internet). One or more brushes.
Pass the primer
The primer is either a special undercoat paint, or more simply the final paint you dilute further. The bottom line is that the paint penetrates the wood fibers and, when drying, stabilizes them.
When this underlayment is dry, sand it with 100 grit sandpaper and then 300 grit until smooth. Insist on the slices ...
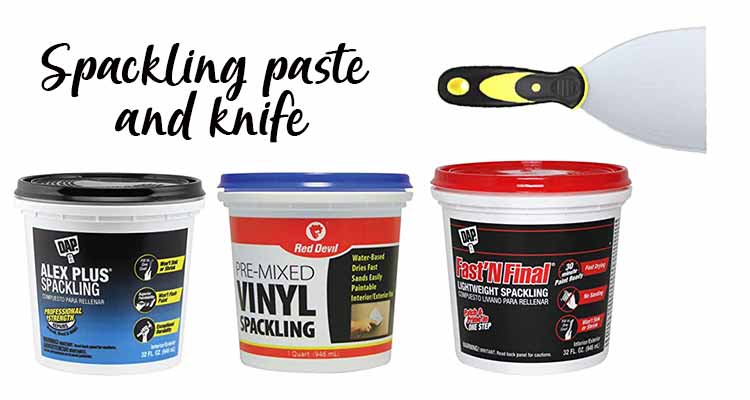
Spend the coating with a knife then sand!
Apply a thin layer of spackling paste over the entire visible surface of the frame shelf. Insist on the ends (the fields).
After drying the plaster, sand the abrasive with 100, then 300 grit. Your photo shelf must be smooth and ready to take the final coat of paint. If some defects remain, recoat and sand again.
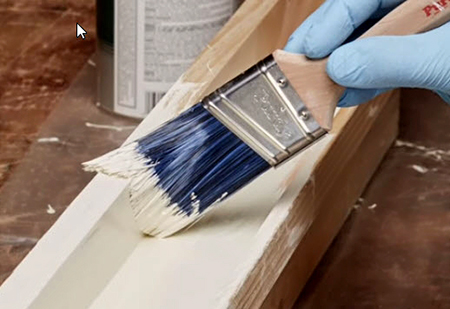
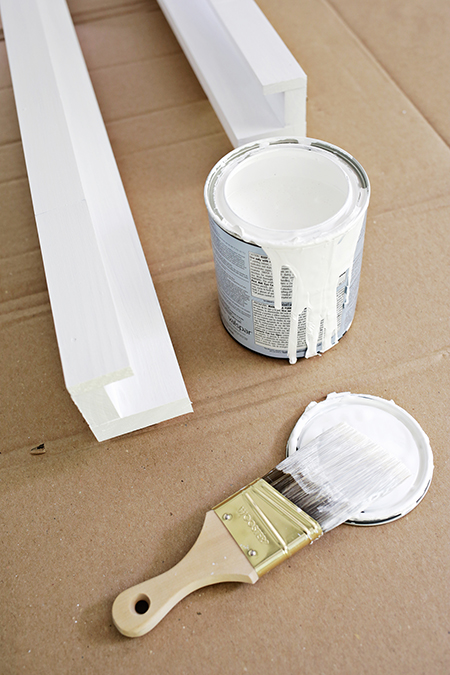
Pass now the satin paint ...
Spread the final paint with a brush. Allow two thin layers separated by 6H of drying ... Then it remains to drill two or three holes in the wide part to pass the fixing screws on the wall ...
For the installation of the painted shelf, consult this method which will guarantee you the perfect horizontality of the shelf ...
The rustic finish

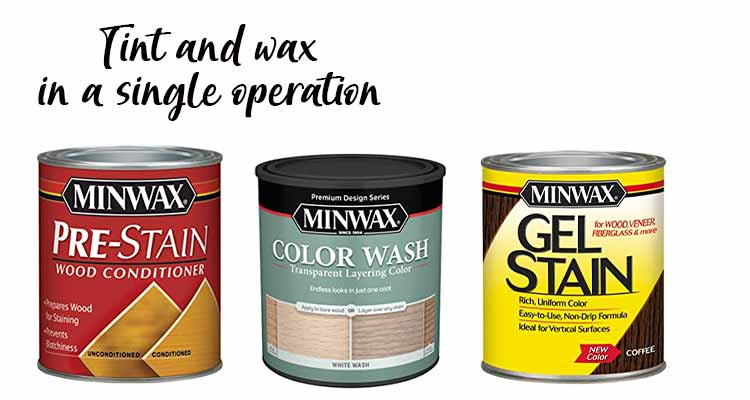
Americans love it ... they love the "rustic luxury"! There are still followers of this style of decor in France ... as well I will give you the stuff to tint and finish your frame shelf with a superior finish.
You will need to tint the shelf:
Pass the shelf to sandpaper 120 then to paper 320 so as to obtain a smooth support. Insist on the ends that are not always easy to finish properly ...
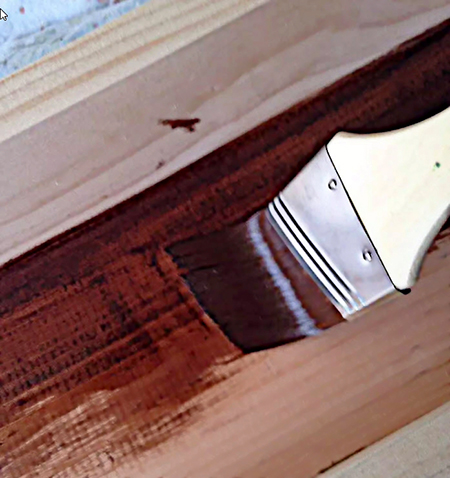
Spread a layer of tint-wax with a wide brush ... do not put too much, just make sure the entire surface is covered. You can also spread your tinting wax with a cloth swab ...
Let it dry for an hour or two and then re-layer. Do not worry if the set seems dull ... just wait for the complete drying of the wax.
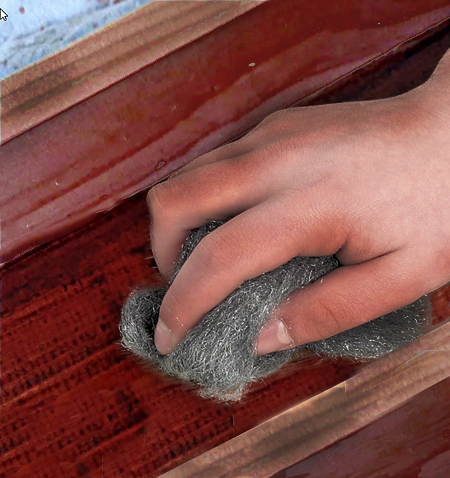
Detach a large enough steel wool pad and sand your frame shelf in the direction of the wood fibers (important!). Tap well! The shelf becomes smooth! And you will see the incomparable satin of wax appear.