YOUR FIRST SCRAPBOOKING PAGE
WITH CORINNE
The author

![]()
How long do you scrap? January 2005
What do you prefer to Scrap? The 30x30 pages and mini albums.
What are your favorite colors? The green, red, white and black, then that depends on photos and papers. It also depends on my mood.
What brings you scrap? It is a complete entertainment that brings a lot of techniques and, therefore, is very varied. The scrap is also the exchange, friendship resulting via the internet and blogs. The "crops" are also sources of encounters and exchanges.
 The material used for this page
To do this page it is not necessary to have a lot of material:
- A sheet of white paperboard 30x30 or A4 type (bristol or Bazzil)
-2 Pieces of bazzil (green and blue for this page) and 2 pieces of matching printed paper .
- A sheet of grid or not A4 card stock .
- Alphabets stickers (but not essential, green for this page), jigs stars if possible (you can also do them yourself).
- A black ink, a black felt pen, a compass, a pair of scissors, an "old writing" rubber stamp.
- A landscape 13x18 format photo or smaller, black and white if you want to use papers which not necessarily fit with the colors of the photo. (See Photo1).
 MAKING OF A SCRAPBOOKING
PAGE
MAKING OF A SCRAPBOOKING
PAGE
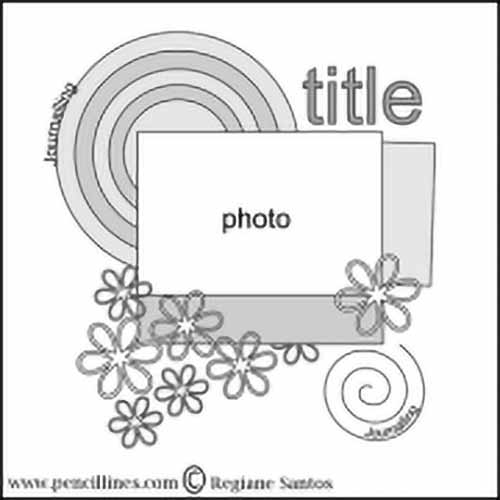
![]() For your convenience and to start, the use of a scrapbooking sketch is recommended, it allows you to orient your layout.
For your convenience and to start, the use of a scrapbooking sketch is recommended, it allows you to orient your layout.
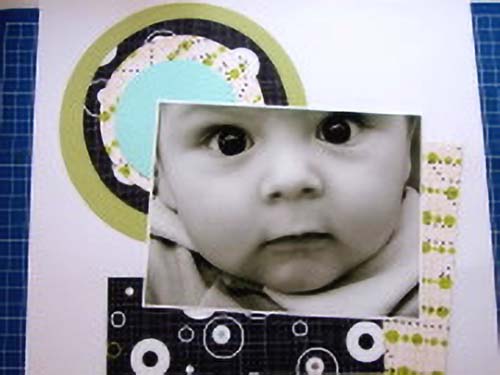
![]() To begin, make circles of different sizes in the 4 papers alternating plain and printed.
To begin, make circles of different sizes in the 4 papers alternating plain and printed.
Then cut out small rectangles in the 2 printed papers that will go to the right at the bottom of the photo.
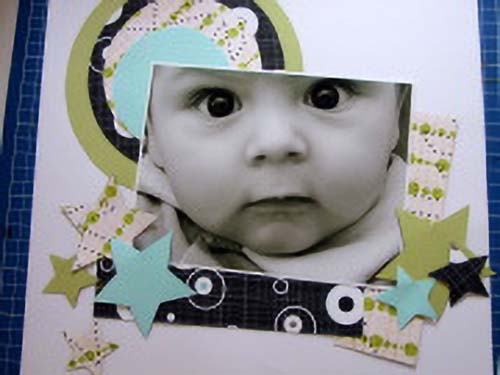
Place your forms and the photo on your blank page.
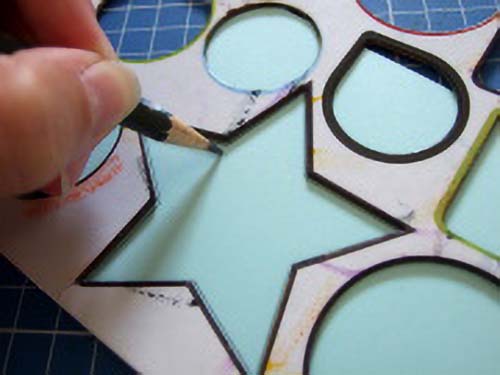
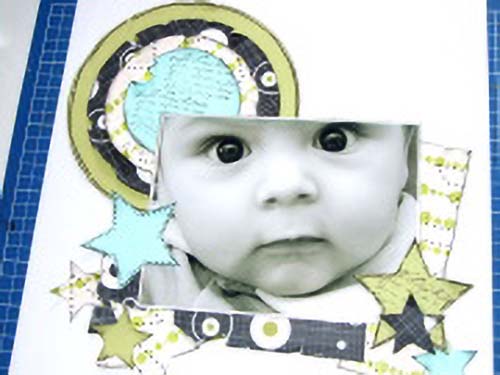
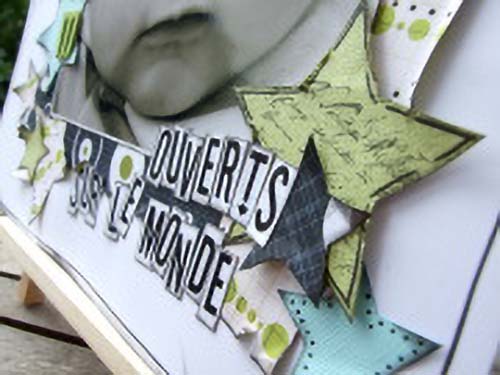
![]() Then, trace and cut the different stars on the 4 papers and place them on your page (pictures 4 and 5).
Then, trace and cut the different stars on the 4 papers and place them on your page (pictures 4 and 5).
![]() Generally I put an odd number of embellishments for a better balance of the page.
Generally I put an odd number of embellishments for a better balance of the page.
![]() To give depth to your papers and your picture you must ink the edges of your elements (circles, stars, photo).
To give depth to your papers and your picture you must ink the edges of your elements (circles, stars, photo).
To add volume to your page, you can crumple and tear the inked edges, it is not an obligation, depending on the style you want to give.
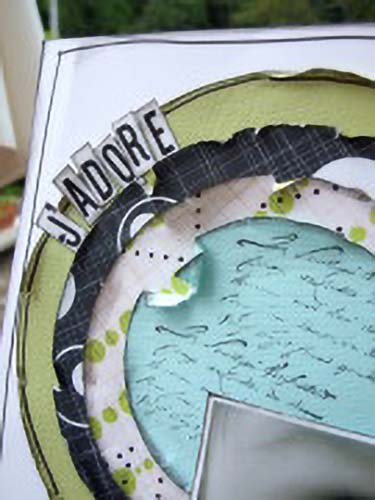
I stamped one of the stars and circles with "writing" rubber stamp to decorate a little the plain papers and I passed the outline with a fine black felt.

![]() Once torn and inked you can start stick your shapes on your white background.
Once torn and inked you can start stick your shapes on your white background.
![]() To keep the depth feeling you put glue at the center of your elements and slightly point their edges (photo11).
To keep the depth feeling you put glue at the center of your elements and slightly point their edges (photo11).
![]() You can use your printer and the grid or not A4 sheet of card stock to write the title and journaling,.
You can use your printer and the grid or not A4 sheet of card stock to write the title and journaling,.
For this page, I chose to take a grid sheet.
Print your text on your worksheet with the font of your choice by staying in the style of the page. Here the police Stereofidelic was used. Please magnified.
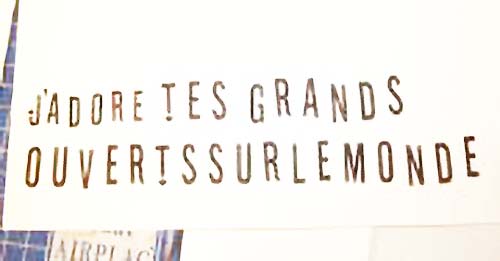
![]() Then cut out the letters one by one (to give a printed style) and ink them on their edges.
Then cut out the letters one by one (to give a printed style) and ink them on their edges.
![]() It's a bit long but it will bring out your text on the white sheet.
It's a bit long but it will bring out your text on the white sheet.
Then glue the letters side by side but not too regularly. I added green foam stickers for a part of my title (Y E U X). .
![]() To complete your page, ink generously the edges of your white background and draw a line with the black felt all around the page.
To complete your page, ink generously the edges of your white background and draw a line with the black felt all around the page.
If you use a template, you can quickly start your page, but obviously you can interpret it as you want.
I put stars instead of flowers and I adapted my journaling down.
<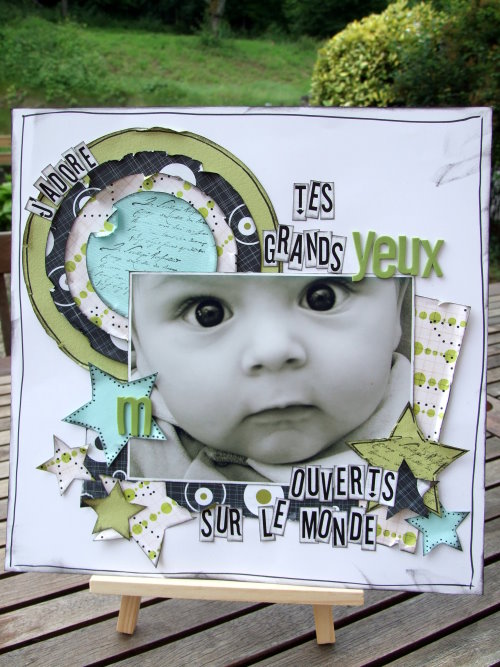
![]() With the same template you can do multiple differents pages, depending on the style you like.
With the same template you can do multiple differents pages, depending on the style you like.
I hope this step by step will help you get started scrapbooking.

Some books to start a scrapbooking activity
Let's Start Scrapbooking for Baby Better Homes & Gardens
 (Click to enlarge)
My opinion : a very best one !
Scrapbook Pages Starring Your Baby Memory Makers
 (Click to enlarge)
Perfect to begin your baby's scrapbook !