Using the miter saw
how to cut with a stop-block
When you have to cut out mouldings to make a picture frame, it is necessary to cut the opposite pieces exactly the same length : the least shift is catastrophic and the assembly “does not close" correctly...
The solution: cut with the stop-block which will guarantee than parallel elements have exactly the same length and in consequence : the perfect assembly of your frame.
 The problem
You have just cut the 4 pieces of a framework… and you've made an error, one of these elements is too long… when you assemble, here is clearly exaggerated, that is likely to occur!

And it is very difficult to avoid such a problem… except if you work with the stop-block of your picture framer saw !
 The picture framer saw
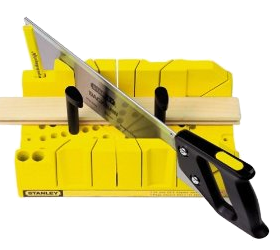
Very often used for right cuts, the miter box is mainly useful for the flat moldings like ornemental mouldings. On the other picture frame mouldings which have a rabbet, the blade can deviate and the cut is not correct. The miter box thus is not very adapted to our problem.
If you only have one frame to build, then you can try the experiment with this box of tabs... with no guarantee of final success!
The picture framer saw is the ideal tool to make a success of the cuts with 45° angle. You can find it in any hardware store, or get it from amazon, it's very handy!
It's the only model they have for sale!
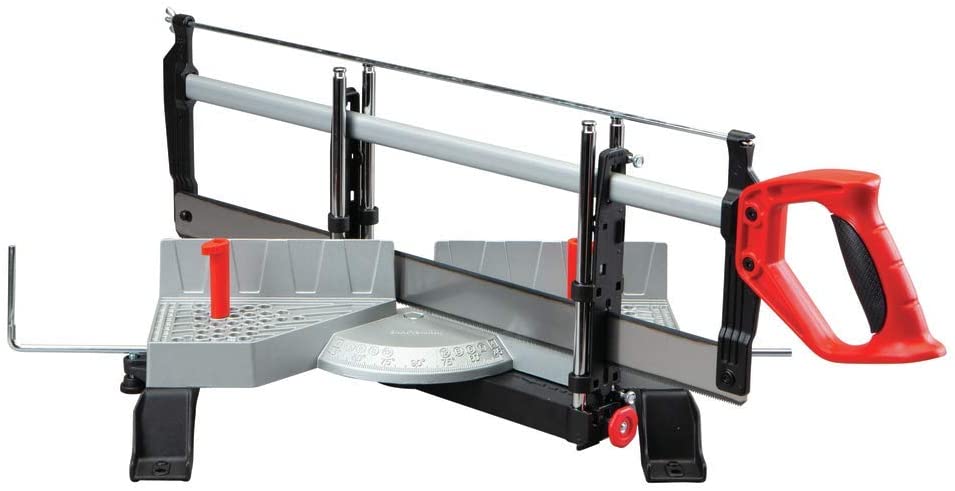
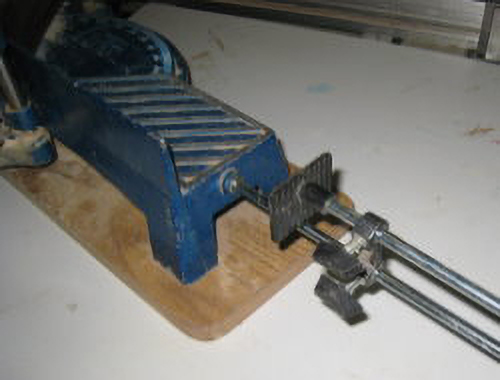
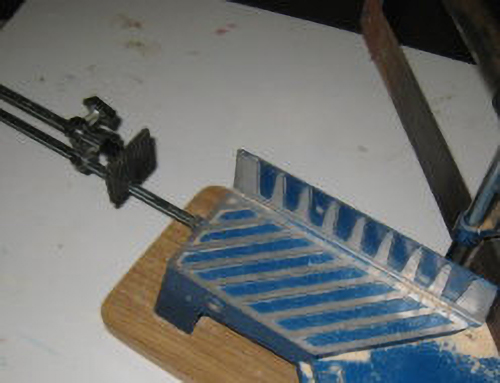
A mitre saw is more precise : it is interdependent of a metal built solid. Guided by two columns, it does not deviate of the axis of cut. Moreover, one directional plate makes it possible to position the blade according to the angle desired in all confidence. Observe the photograph above : on the left of the saw you see on iron rods which exceed. It is screwed on the frame saw and this adjustable device which slides along the stems… it is the stop-block system.
 Using the stop-block
You have two pieces of moulding to cut. These pieces must have rigorously the same length. Here's how to use your miter saw's stop system
Start by screwing the stop-block system on the miter saw…
Best is working at the same time with two pieces of moulding… start by cutting the ends of each to 45° angle.
Then, on one of them, measure and pencil a line for the second angle.
Place the moulding on the frame saw and adjust its position for the cutting of the second miter. Before cutting, move the stop block so that it comes to touch the miter of the moulding. Screw to fix it... and make your cut.
Present the second moulding now… and make it “butt” on the stop-block.
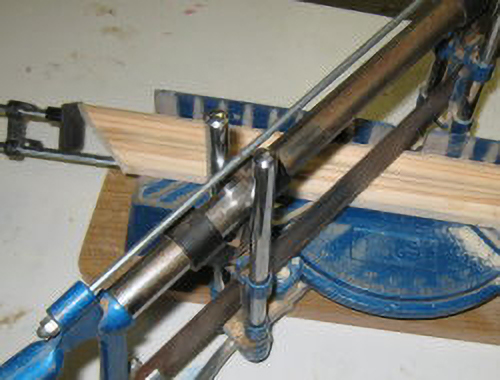
Now, you can saw your moulding… your two pieces will have the same length rigorously! What ensures us an assembly without problems !
There is an another way to obtain 2 pieces with same length... not always easy to do... according to the molding style...
First you align one end of the pieces by placing them on the top of a flat surface... Then, take a piece of tape and wrap around the 2 pieces. Measure the desired length on one of them and cut the 2 pieces at one time with the frame saw.
 Video: how to use the miter saw stop system
Here's a short video that explains perhaps better how to proceed... Pardonnez-moi, cette video est en Français... mais vous savez comment utiliser youtube pour en avoir la traduction dans votre langue!
There, you know everything... Don't hesitate to go for it!
Making Picture Frames inWood
Manly Bannister

(click)
Clear instructions on matting, texturing, finishing. Fully illustrated with photos and diagrams.
Painting
and Decorating Frames
Philip C Mayer

Mr. Myer presents projects easy enough for all of us to try, yet introduces many new ideas to challenge our creativity, too.
Mat, mount and frame it yourself
David Logan

a great job of explaining everything and supplements the text with attractive photos