
BUILD A RUSTIC SMALL FRAME...
FOR YOUR COUNTRY-HOUSE ?
Some site visitors have found a bit complicated the making of the "shack" marine frame ...Because it was necessary to have some tools : at least a jigsaw to cut the opening of the frame window...
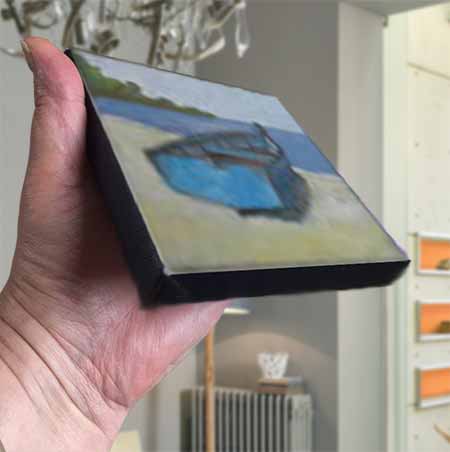
So we will simplify and make with some recovery boards, this rustic frame, a cute little clear frame to hang in a kitchen tiled with white and blue tiles...
 The hardware.
- Some recovery boards ... From pallets, carpentry off cuts or 50x10 lumber... - A framer-saw with its stop - Fast wood glue , some fine nails ... - A bit of white acrylic paint, a bit of Prussian blue acrylic paint (a small tube ... it takes so little!)
 Start building!
You certainly have a project for this frame ... which should serve to highlight a art work, drawing, painting or engraving that you owned.
Start by taking measurements to compute the size of the frame. For me, it's a small canvas 10x10 treated with acrylic and fairly minimalist. It will suit with the relative simplicity of the frame.
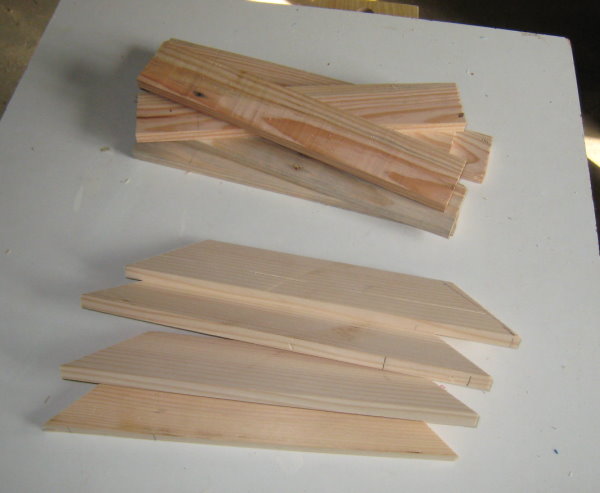
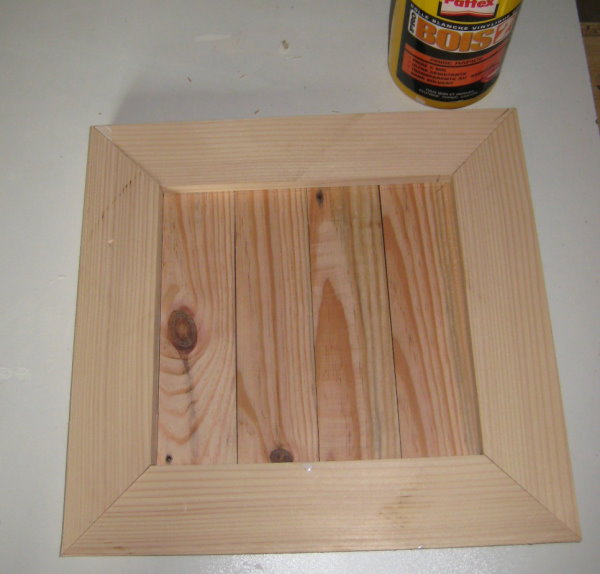
My lumber is 5cm wide and 1 cm thick (it's even better if the widths are different from one board to another). And I wish that my finished frame measures 40x40 (just a little free space in the kitchen!).
So I begin to cut 8 lengths of 40cm long ... and 8x5 = 40 ... wide, it just falls! It'll be good 40x40 !
I've cut these boards with my picture framer saw. A little trick ... To avoid excessive measure (the more you measure and the less accurate it is!) I worked with the saw "stop" it is to say that I've mounted on the saw the special stem with its small sliding wedge that I set to 40cm.
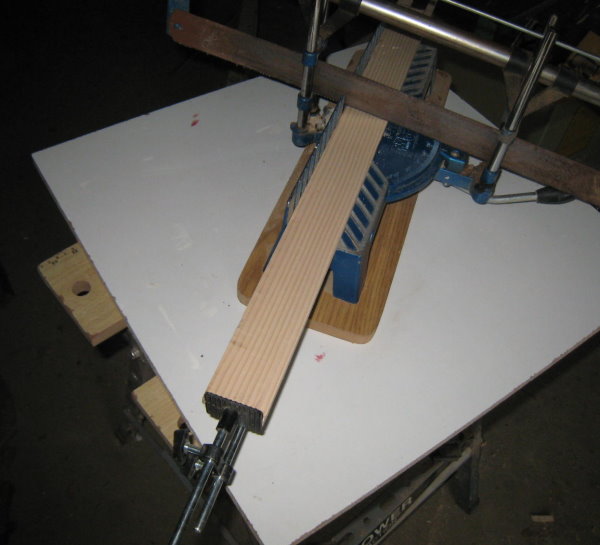
Now you just come to "bump" the board against the stop and then quietly cut. All the bars will have the same length!
Put then boards side by side to take again measurements : I have exactly 40 cm long but only 39.8 cm wide! Take account of this into when cutting edges ...
 Borders and assembly ...
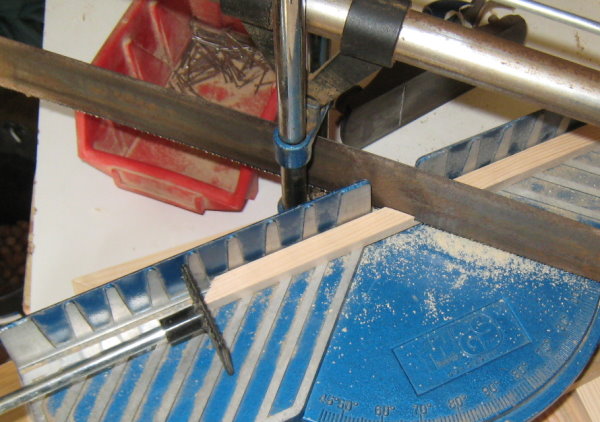
To make the frame with a border, I cut 4 lengths of 50x10 lumber : two to 40cm long and two to 39,8 cm. Cut the ends to obtain a mitred joint... Again I worked with the stop of my picture framer saw.
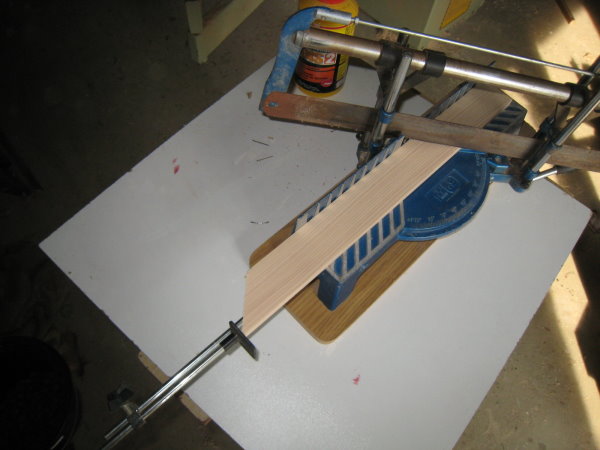
Making so, I am sure that the parallel bars will have exactly the same length : an important condition for perfect angles.
Assemble eight lengths by placing them side by side and paste, with the fast Pattex glue, the first border. Secure with a few fine nails incompletely inserted. Then glue the other three elements. They are the ones who "secure" the frame.
Hold tight all of the glue drying time . If you do not want to tighten the points, using clamps.
 The inner edge ...
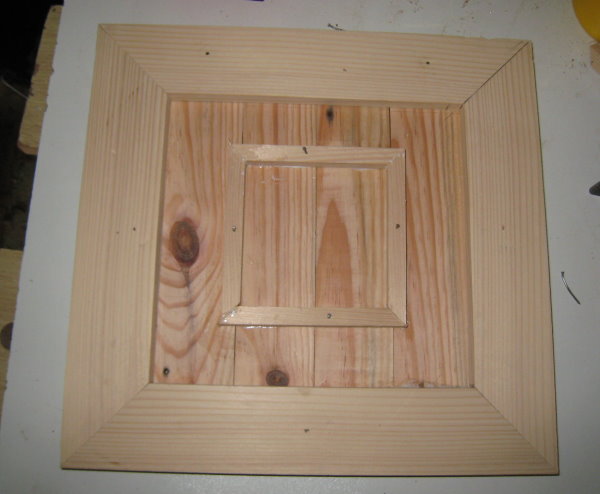
Now cut with the framer saw, short lengths of 10x10 dowel for the central frame.
The small canvas I want to frame measure 10cm x 10cm. I plan internal dimensions of 10.5 cm for there to have a little gap .. The stop is set at 10.5 and I cut my four mitred bars.
A little fast glue and you can set up your inner frame with 4 nails to hold it tight.
 Finishes
Do not put too much paint ... we must see the wood for transparency ...
So Apply a thin layer of off white and immediately wipe it with a rag.
Let dry one or two hours , then with a fine brush, leave some traces of acrylic blue paint (I chose a Prussian blue tube).
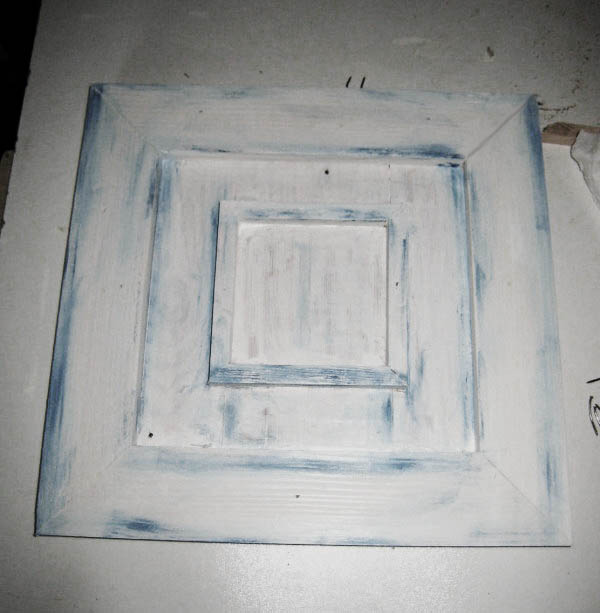
Let dry and then return with your damp cloth with white paint mitigate or even, in places, remove blue traces. Work with lightness, with a thin coat of paint on this frame to maintain a rustic look.
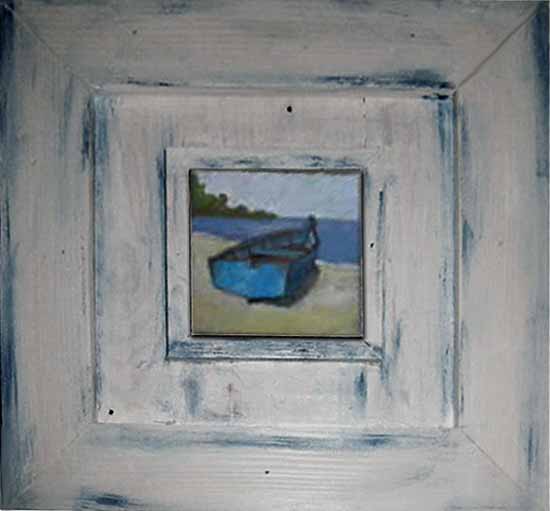
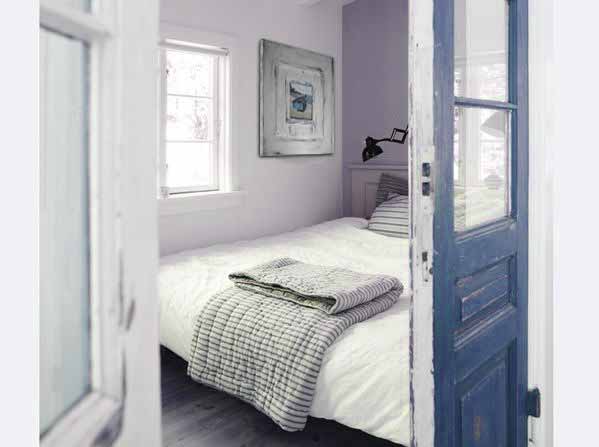
All that's left to do is to hang this rustic frame on the wall of a "fisherman's hut" room to stay in the atmosphere!

How to Make Your Own Picture Frames
Ed Reinhardt, Hal Roger
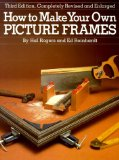
Excellent book for the beginner. Clear and concise. Excellent step-by-step instructions with photos for each and every step.
This book covers all aspects of frame construction, painting, mats, glass-cutting and usage. A great book to trigger your own ideas to create custom frames.
Wood finishing...
Bob Flexner
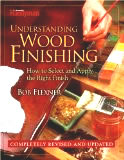
I have bought a number of books on woodworking, as well as a few on wood finishing.
This is by far the best book on finishing that I have come across.
The book takes all the mystery out of all the different types of finishing materials and finishing processes...