Passepartout mounting.
Making of the “package”
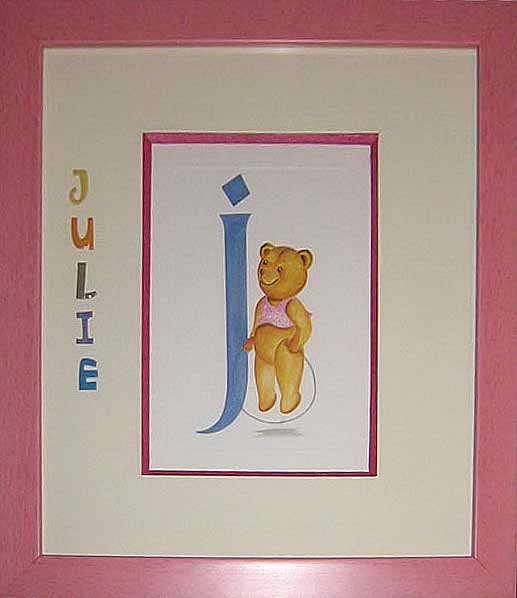
It's for our little Julie we crafted this "Pooh" Frame (with a passepartout mounting) who certainly has a lot of success !
Let's imagine that you have finished the bevel... and the passe-partout (the mat)... see that page.
You have taken your measurements, and made (or ordered to the picture framer) a wooden frame and its protective glass...
Of course, you have chosen its color, matching its pattern (here the old pink of the English bevel is used in the color of the frame).
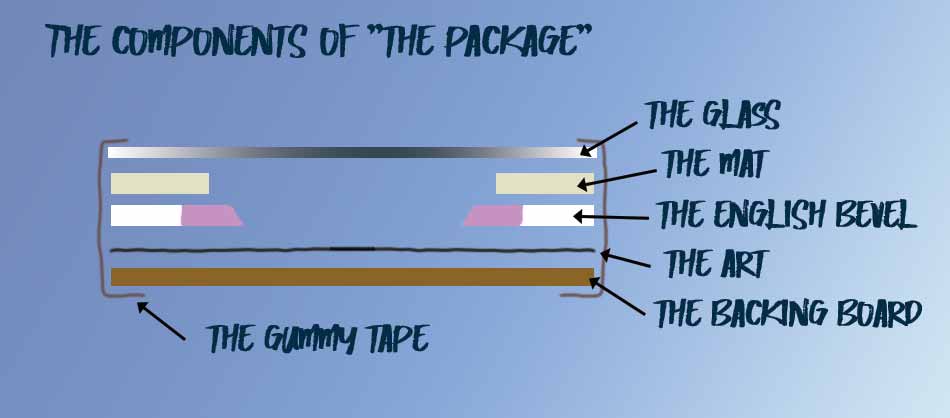
You just have to make the final assembly... that's where "the package" comes in...
It'll just make the final cut ...
 How to proceed ?
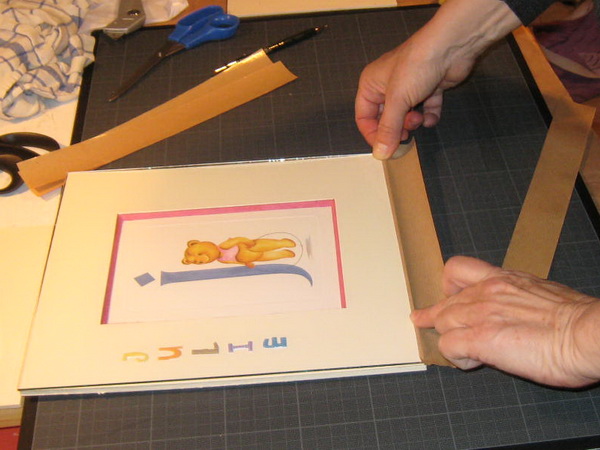
You have front of you: the cardboard backing, the art you want to frame, the bevel (here English bevel 45 °), the mat, and the protector glass ... You will make a closed package with these 5 components!
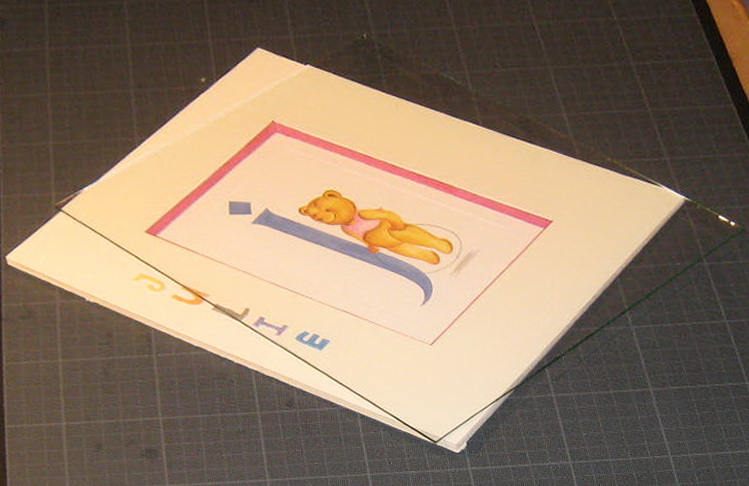
Start by setting the art on the backing board. And with some glue, cover with the English bevel overcome the mat.
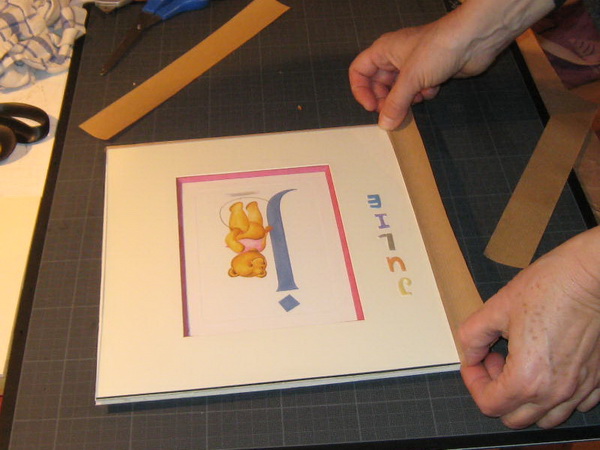
 Pose strips of brown gummed tape
Clean your glass (at least the inner part because after it will not be possible) and put it over the glued elements.
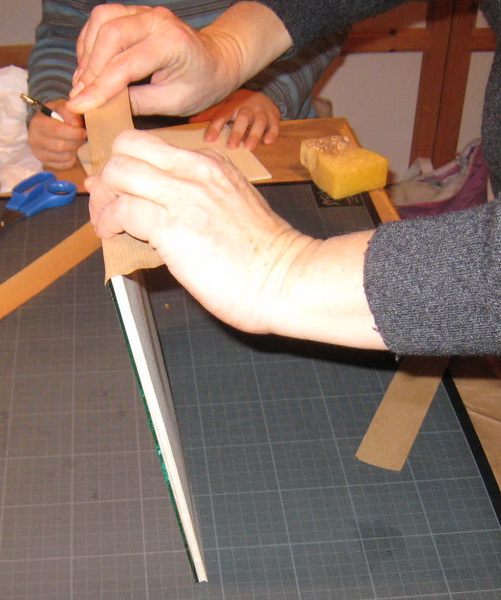
Cut in the roll of kraft adhesive strip 4 lengths corresponding to the dimensions of the package.
With a wet sponge, dampen a first strip and apply it on the glass, 5mm from the edge of the package.
Smooth well and fold up the excess back. Cut the corners so as to provide a small return that masks the corners and will be covered by the following bands.
Fold the excess on the back... It is not necessary to cut the angles too carefully (45° cutting for example) because they are hidden in the final frame.
Complete the other bands in the same way ... Your frame is now sealed against dust ! It's your passepartout mounting "package".
 The implementation in the wooden frame
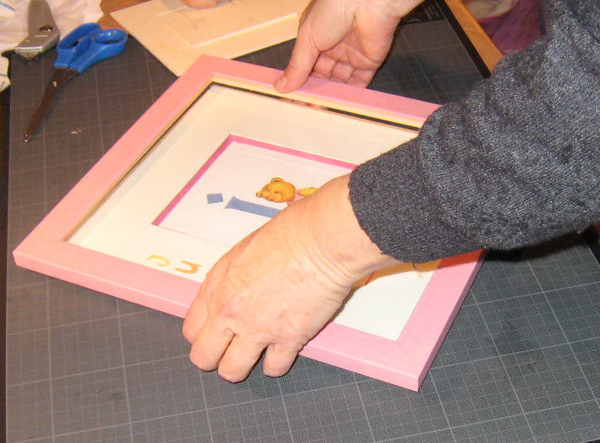
Present the frame ...
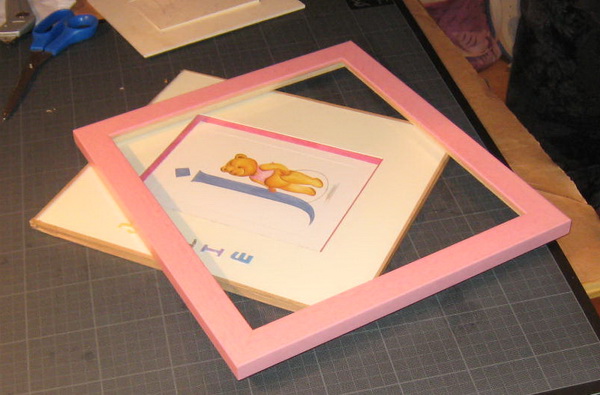
and put the packet in place in the frame
: 
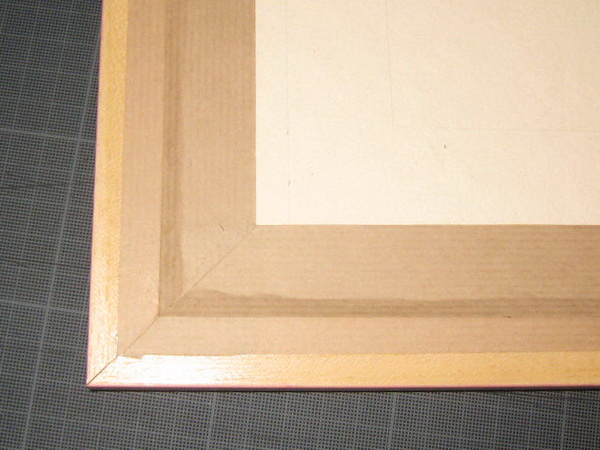
Turn over the frame and fix the package in the frame with some small nails oblique half-inserted . Take care ... because sometimes a misplaced nail broke the glass!
 Finishes
You have to put brown tape kraft adhesive on the back of the frame to hide the nails. Cut strips which this time will be assembled at 45 ° for better aesthetics.
when your tapes will be put, your frame will be as beautiful front
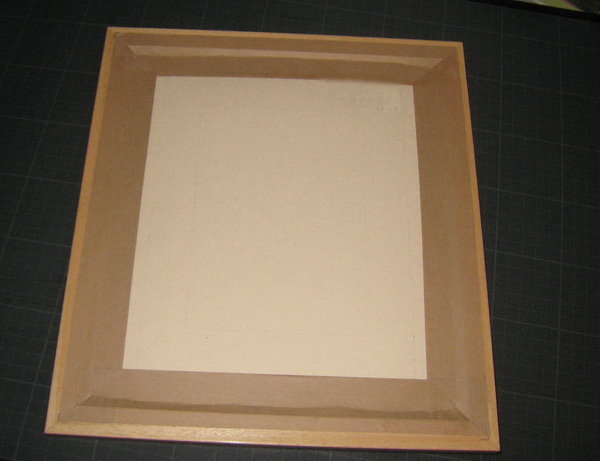
than back !
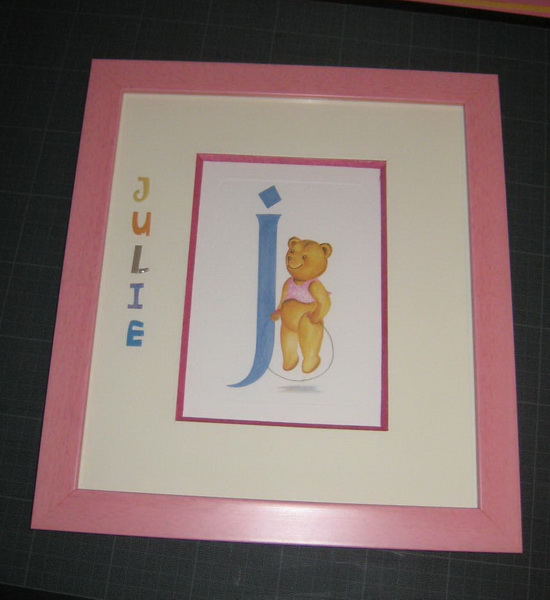
It'll just hang it on the wall!
Mat, mount and frame it yourself
David Logan

An attractive, well-designed frame not only enhances a picture but preserves and protects it.
The best book to buy before framing pictures !
How to Make Your Own
Picture Frames
Ed Reinhardt, Hal Roger
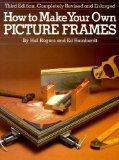
Covers all aspects of frame construction, painting, mats, glass-cutting and usage. A great book to trigger your own ideas to create custom frames.
Frame It!
by Tonia Davenport

Readers will learn how to use ready-made frames and inexpensive framing materials to create frames perfect for their favorite photo, piece of artwork, canvases or souvenir.
Matting and framing made
easy
Janean Thompson
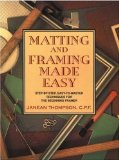
You'll find useful instructions on working with ready-made frames using simple tools (a ruler and utility knife)...