How to frame a portrait
Passe-partout mounting (2)
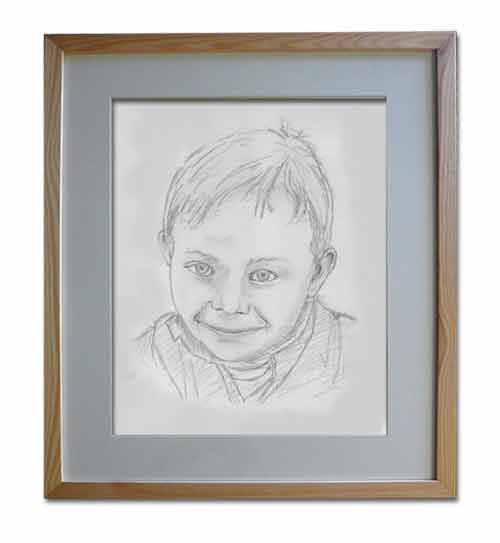
You have a 24x32 pencil portrait drawn on Canson Paper. But you do not want to put it in a too large frame.
I therefore propose you to mat and frame this shetch by creating a passe-partout that will leave visible only the useful part of the art !

Since the drawing sheet is too large ... You are going to hide a part of it using a mat of suitable size.
It will be some calculations for a best adapting, but nothing too complicated you'll see!
 Equipment to provide
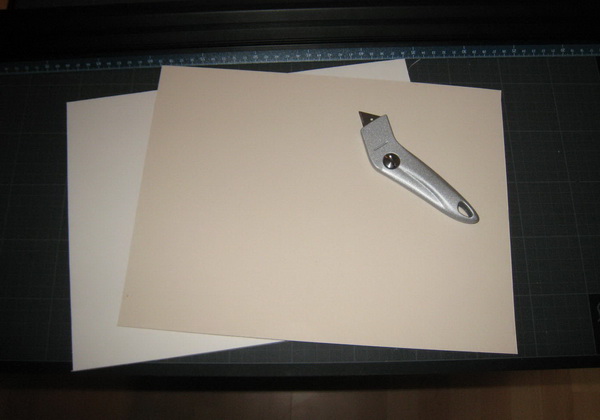
- Stiff cardboard for the backing (2 to 3mm thick) you can also work with old bank calendars, it is a good cardboard.
- light cardboard (cardstock) for the mat (do not discard the empty cereal boxes ... it's also great for this)...
- Grey printed grained paper for the mat or other patterned paper.
- And usual material for cardboard : metal cutting ruler, glue, scissors, cutter, angle 45 °, bent cutter...
 Calculations ..
You have chosen a frame whose dimensions are 30x40: these are standard dimensions that can be found everywhere and that will cost you less than a custom-made frame. The passe-partout and the background cardboard will measure 30x40!
Your artwork measures 24x32... le passe-partout doit avoir une ouverture de 18x27...
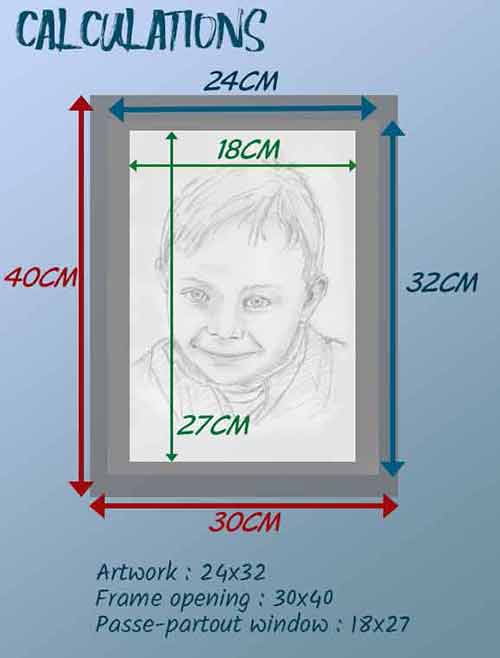
So the calculations are quickly done:
![]() 30 - 18 = 12 ... which gives margins of 6cm on each side ...
30 - 18 = 12 ... which gives margins of 6cm on each side ...
![]() 40 - 27 = 13... we will give 6cm of margin at the top and 7cm at the bottom !
40 - 27 = 13... we will give 6cm of margin at the top and 7cm at the bottom !
Voici donc le plan du passe-partout :
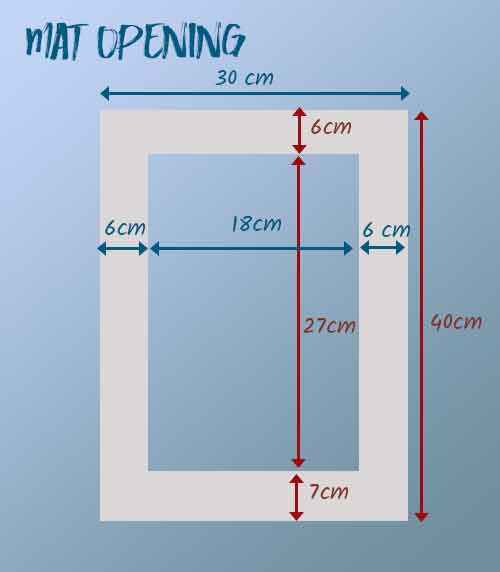
This mat will be cut from light paperboard : it will be also called "passe-partout". For my art, the interested part measures 18cm wide by 27 length ... this is called the mat-window or passe-partout opening.
A little tip: it is better for vision reasons to have a lower margin a little wider than the upper margin: that's why I've planned 6cm at the top and 7 at the bottom!
 Cutting paperboard
With a cutter, cut a 24x32cm rectangle in the light cardboard. Pay attention to the squareness. Then, by using this first cardboard as a template, trace and cut, with the cutter, a rectangle of same size in the backing cardboard.
The thick paperboard is easily cut … on condition that not pressing too extremely on the cutter: pose the heavy cutting ruler on the part to be preserved, along the reference mark, and cut by spending several times while pressing moderately! For the backing, you can use corrugated cardboard recovered from boxes: it's even easier to cut!
If you have... it's better to use a mat cutter... with blades adapted to slide along a ruler... see these pages about MAPED Tools or LOGAN Tools.
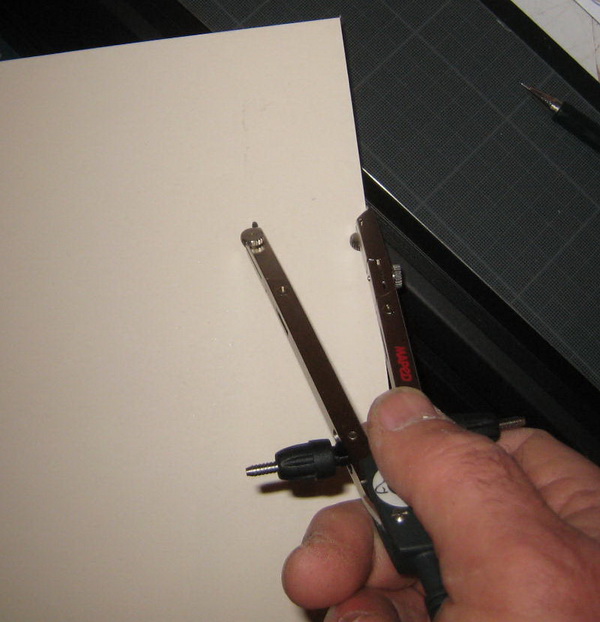
Then draw the window-image ... To do this, take a compass and discard it to 6 cm (the margin): by taking support on the sides of the cardboard and while sliding along those, trace the window to be cut out on 3 sides. Discard now to 7cm and trace the last side.
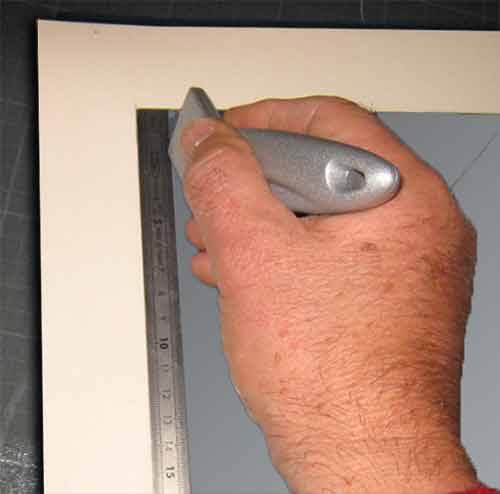
Cut out the opening of the window, using the heavy ruler and the bent cutter : position your ruler on the reference mark of the window and pass the cutter without too pressing, in several times if it's needed to cut the paperboard completely.

Do not worry if you cut a little deeper into the corners, they will be covered after with patterned paper.
When the mat is cut and its window opened, you can, if there are "smearings" sand with fine sandpaper.
 Dressing passe-partout
Place the mat face down on the printed paper that you have chosen. Here, I've chosen a light blue gray embossed paper... And draw around 3cm. Cut out the printed paper.
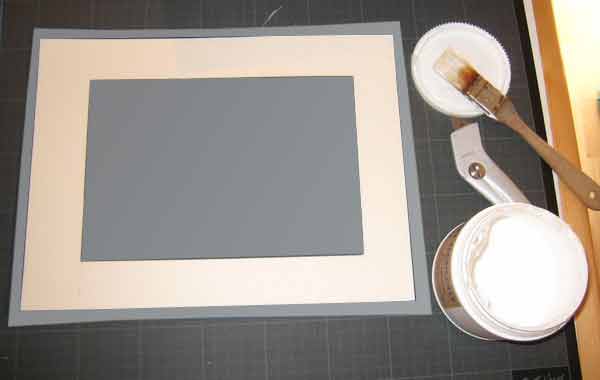
Glue the cardboard face window with a brush and vinyl glue. In general, for a good gluing, it is better to glue cardboard rather than paper ... This will ensure that it does not buckle too ... Now paste the paper and smooth it to avoid any air bubbles!
You can cut the printed paper close-cropped to the external edges (they will be hidden in the frame rabbet by the final gummed kraft paper).
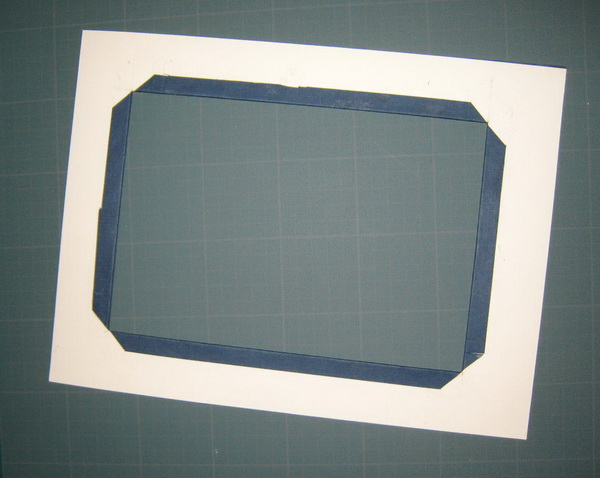
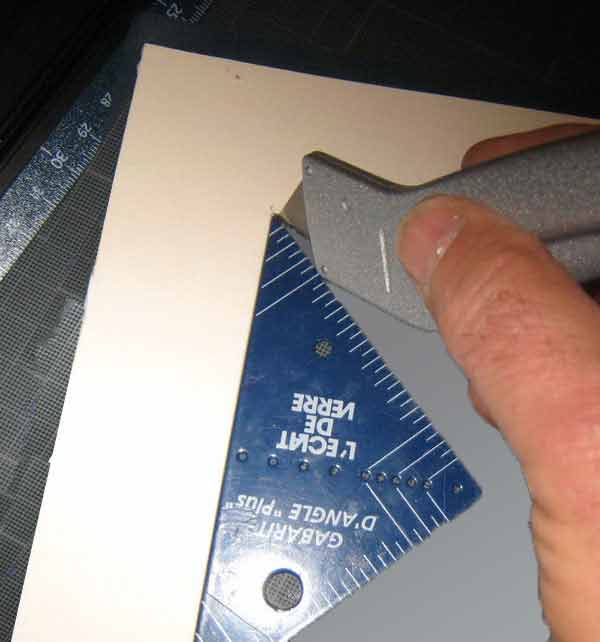
With a 45 ° angle, now open the angles inside the window as on the photo:
Cut now the inside of the window at 1.5 cm from the edges (uses the small ruler as a cutting jig).
You thus form 4 flaps. Fold them back to the back of the passe-partout.
With the back of a blade, mark the folds, at the level of edges, then paste the back of the mat and stick the flaps by checking the angles.
The mat is finished!
Final mounting
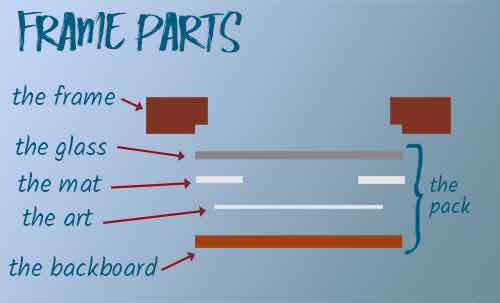
Attach the drawing to the back of the mat with a tape. Mettez l'ensemble sur le backing board
If you want a glass pane ... ask for cutting a glass to size ... but it is not mandatory, it can simply keep the art free from dust and other domestic abuses?
Paste now kraft brown gummed tape around your package to close ... just at a distance from 5mm of the edges. It'll just get a nice wooden frame before hanging your portrait.
Put the pack in the frame and fix it with small spikes pressed horizontallyor use a tab-gun if you have one...
And why not to build the frame by yourself?
Mat, Mount and
Frame It Yourself
David Logan
Now it’s easier than ever to save time and money doing your own framing at home.

(click for +)
This demonstrates how easy it is to mat, mount, and frame art on paper and cloth...
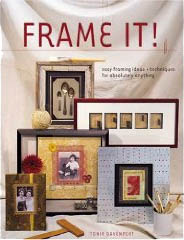
Frame It! (Paperback)
Tonia Davenport
(click for +)
Customers review are the better test for this book !
... The book is an extremely comprehensive guide for standard framing techniques...
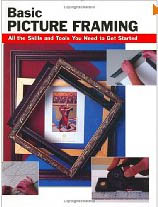
Basic Picture Framing
by Amy Cooper
This detailed guide covers the essentials the beginner needs to get started with matting, mounting, and framing everything from works of art to personal mementoes.
(click for +)
It contains practical techniques and expert tips on choosing the proper matboard and frame; measuring and cutting single, double, or triple mats...
We recommand !