HOW TO PRINT YOUR OWN POSTERS
With your printer!
Printing ourselves posters of all sizes, with our own printer... what a funny idea!
The sites that offer to print your posters are numerous on the internet and their work does not cost too much. Why then try to print our posters ourselves ...
First of all because it's easy, just a photo to upload on a site and we immediately receive the files to print ... It's fast, one or two minutes are enough to start printing: no need to wait for the postman and receive a roll that it will be difficult to put back together afterwards ... and finally, because, even if we make a mistake, we can start over, as much as we want without having to pay between each test !
This is why these sites which offer you to print your own posters are so precious ...
 Create your poster online
 BLOCKPOSTERS.COM
You can try to create your poster online ... Choose your photo and go to BlockPosters.com
The interface of this site is very simple ... It is written in English ... but, even if you do not understand anything in this language, you will not be lost. In 3 steps, you will get your poster!
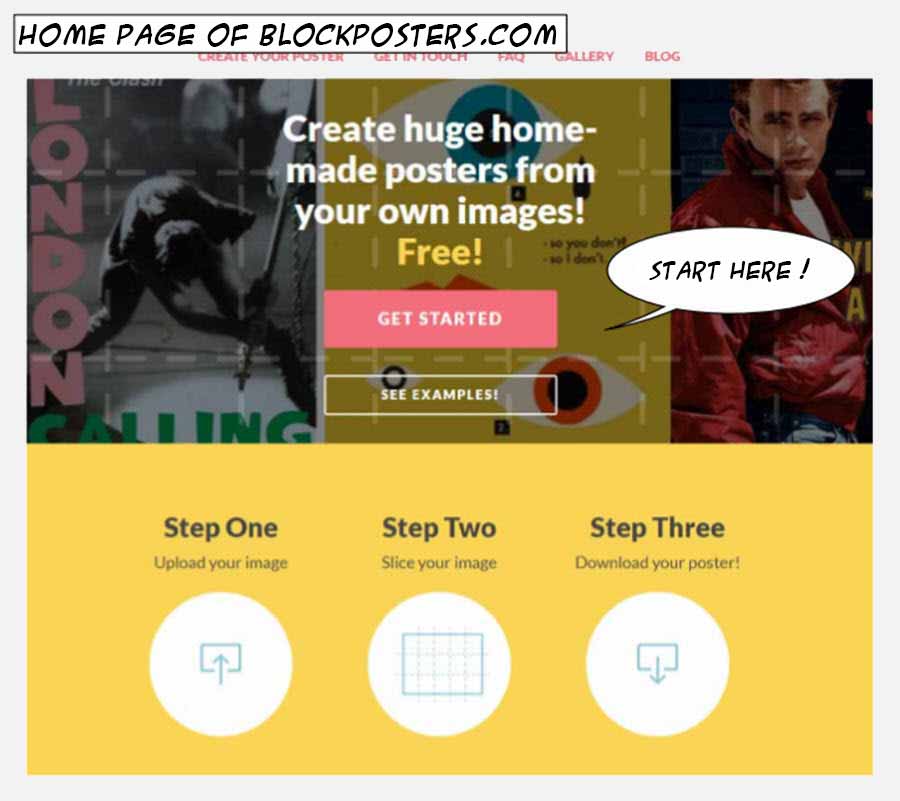
Click on STEP ONE and drag and drop your photo!
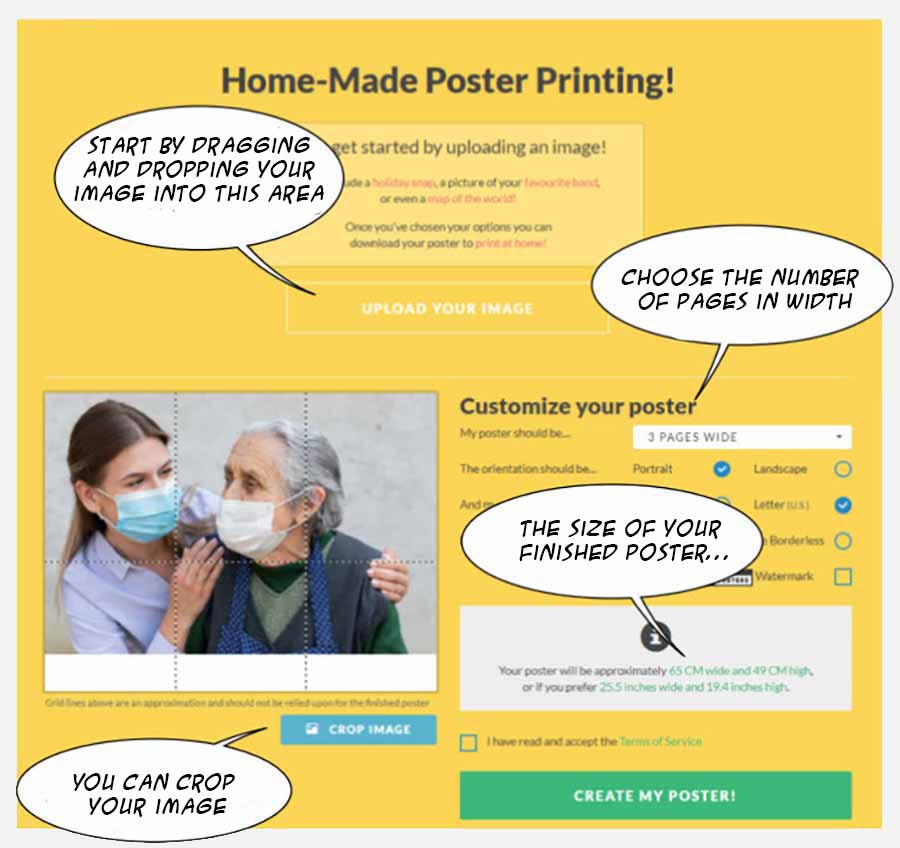
All you have to do is download the result and print it!
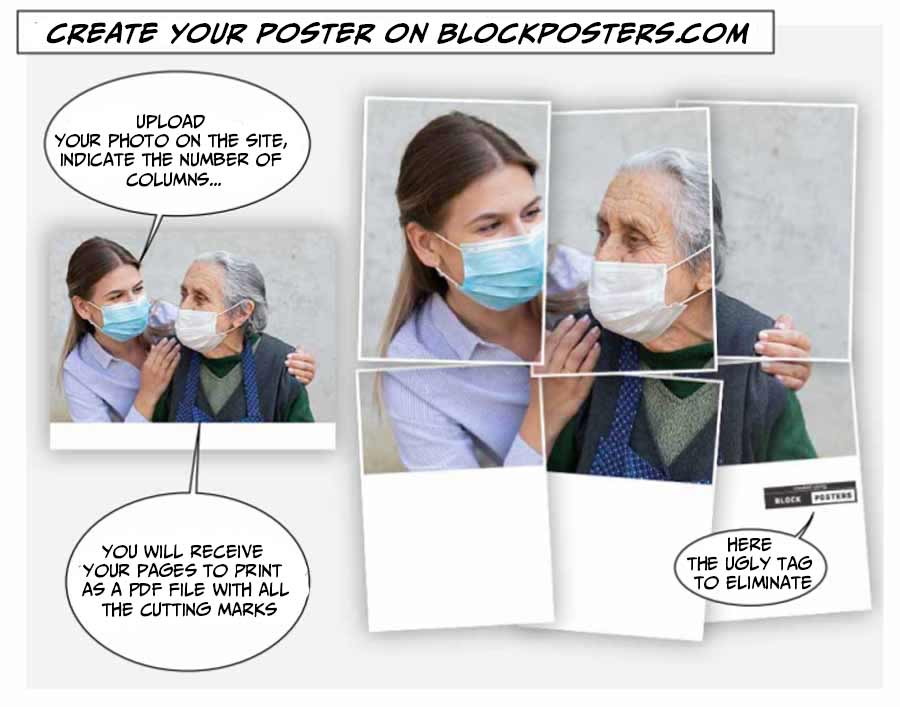
Just a small remark ... PosterBlocks automatically installs a tag at the bottom right of the photo that you want to transform into a poster ... In order to easily eliminate this tag, I added a margin to the starting image white at the bottom. So it will be enough to crop when it is printed to eliminate it!
You can have pictures with MARGES or WITHOUT MARGES: both have advantages.
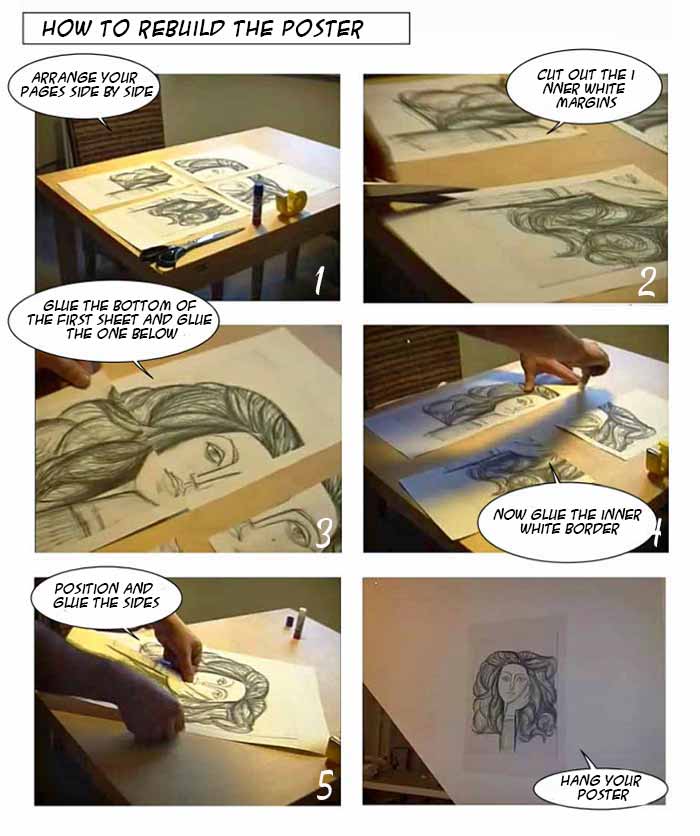
The first ensures that you do not have to do any cutting before gluing on the support ... But you need a printer capable of working without white borders ...
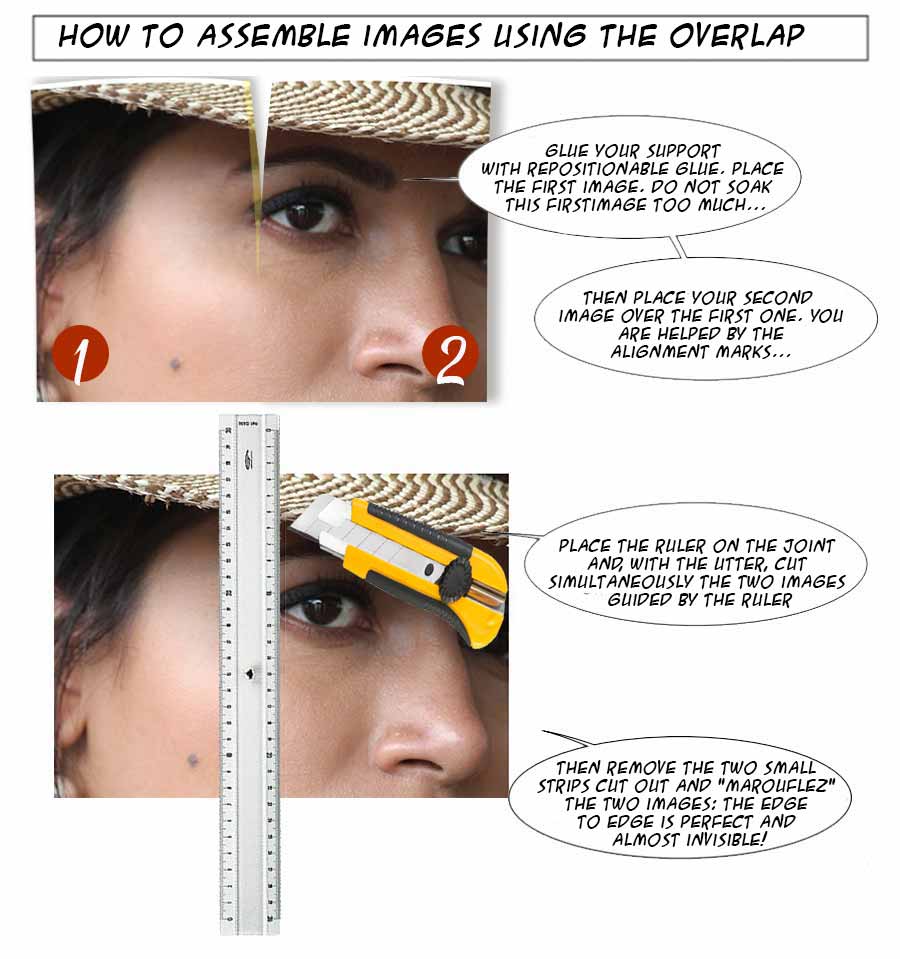
I prefer the second: when gluing, the two sheets overlap very slightly: with a ruler and a cutter we cut both at the same time, so once you have removed the two trims the junction between the two parts will be practically invisible ...
 RASTERBATOR.NET
This site does the same job as the previous one ... with a few extra details that quickly become essential.
So you upload your photo, then enter the final dimension of the poster ... with an additional section: that of the cover.
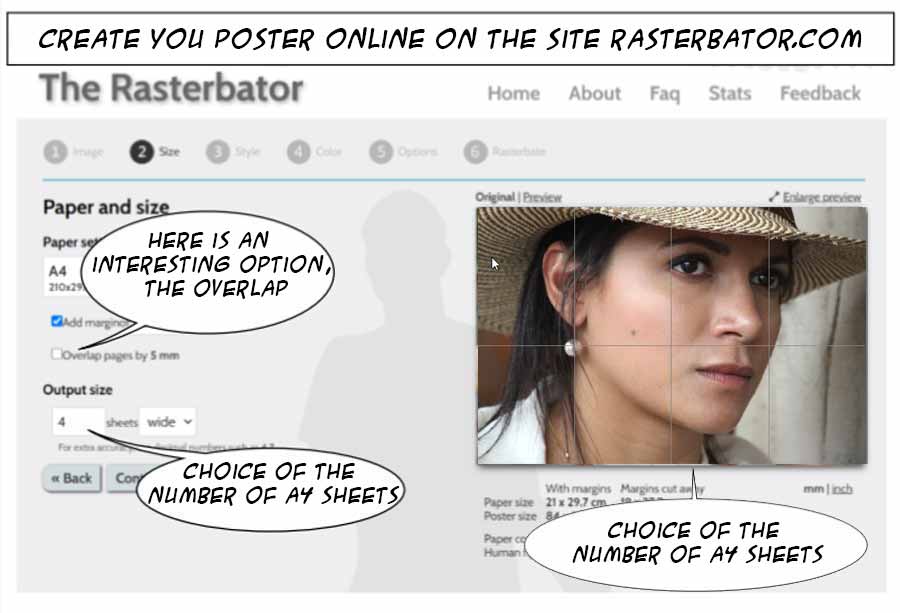
This "overlap" means that two contiguous pages will have a "common band", an overlap that will allow you to reconstruct the poster with virtually no visible seam ... Here is how to proceed ...
If you have trouble finding repositionable glue, here is an amazon link that I spotted for its very low price ... This one also seems to me to have an interesting value for money .
 Stand-alone applications
If you have several posters to print, it is probably better to have your own application rather than working online ... Several softwares are available, not all of them are excellent (especially with regard to the management of collections. .. I present here the two who float above the lot.
PC POSTERAZOR application
No need to describe how it works ... it is common to all software that prints posters in several sheets ... Note that this software is completely free, light and very functional ... It manages the overlap areas particularly well (which are configurable), this without the fuss and in a very intuitive way ...
In order not to unnecessarily clutter your PC, I suggest you download it in a portable version: thus, there is no installation that takes up too much space on your hard drive ... You can find the latest version at this address .
The download takes less than 5 seconds: click on PosteRazor.exe and you are very quickly ready to print your first poster.
With ADOBE ACROBAT
Adobe Acrobat can resize your poster, but the manipulation lacks user-friendliness ... You must therefore go through an image processing software to choose the dimensions of your future poster ... Otherwise, you can choose when printing the desired percentage increase in size!
Otherwise Acrobat perfectly manages the margins and especially the overlaps ... which are fully adjustable.
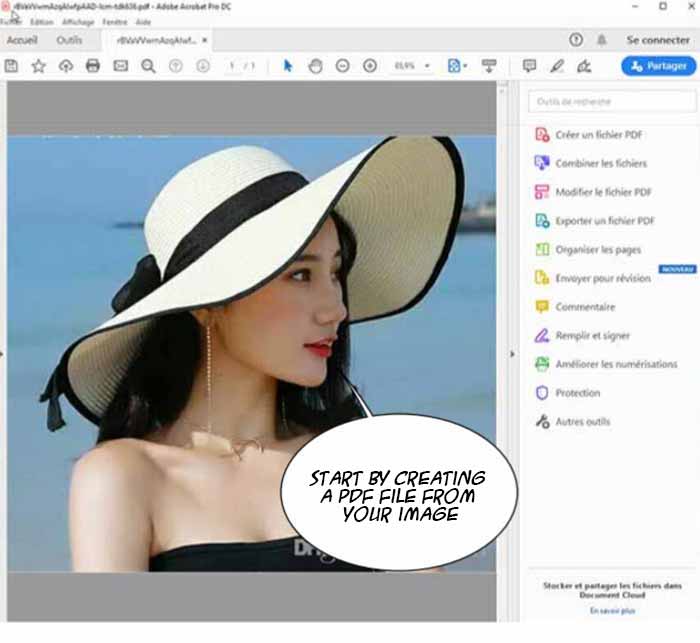
Start by creating a pdf with your image, resized or not ...
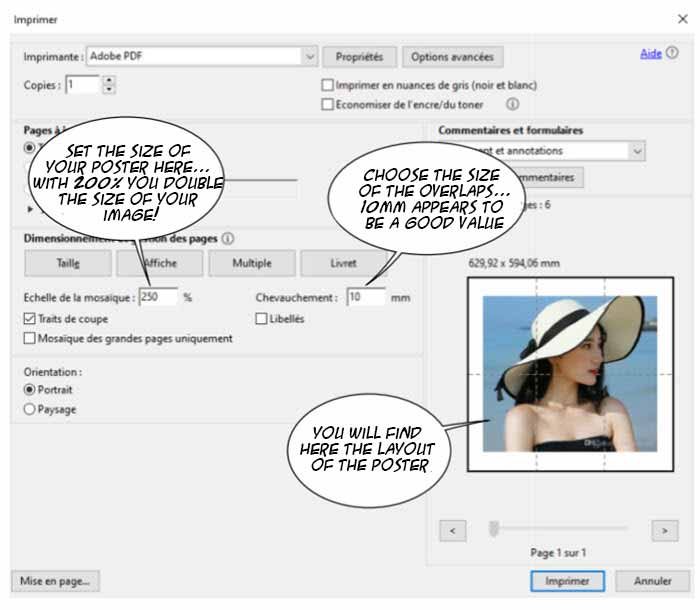
Once this is done, you go straight to printing. Optionally, set the percentage of magnification of the image and follow the results on the cropping at the bottom right. Also define the overlaps, usually a 10mm overlap is sufficient, it's up to you ...
When you are ready, start printing and carefully put the "pieces of the puzzle" together!
 And to finish...
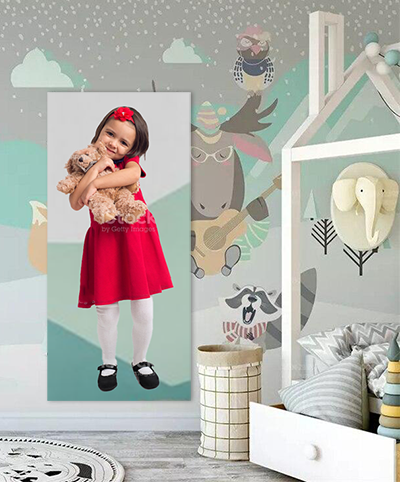
Just a quick wink to complete this page ... A statistic on online posterization sites shows that most requests relate to "full-size full-length photos" ... To display in your room if you are a little narcissistic so much, it is the foot!
