
Frame a painting
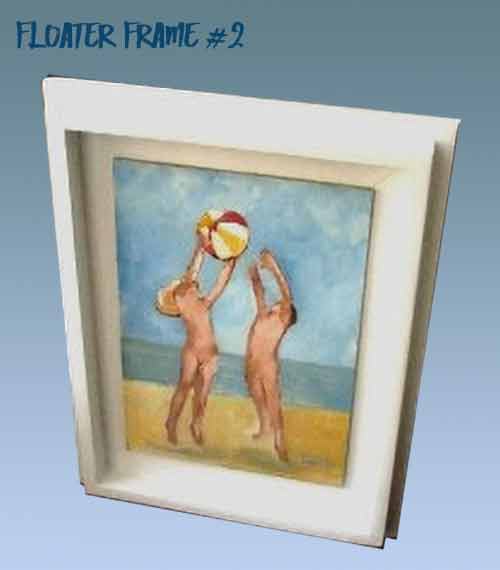
How to make an FLOATER FRAME (2)
This second box is slightly different from the Floater Frame #1.
The manufacturing principle remains the same, only the shape of the moulding changes.
It is a very modern frame and often used in the galleries of exhibition for its great sobriety which puts well in value the paintings which it contains.
In addition, its cost is extremely low ... So many reasons to start manufacturing!
 Equipment
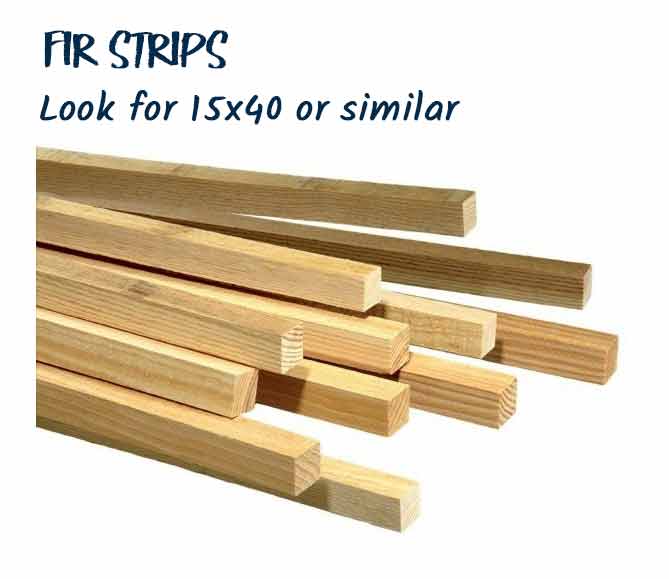
- wooden slats : I chose here slats of size 5x1 (called rectangular bracket in DIY stores) as well as 2x1 cleat (Once again, these dimensions are not critical and you can adapt them according to what you will find in wood and DIY stores). Look Leroy Merlin for economical MDF cleat
- You will also need the miter box, glue ... All that has been specified in the material page .
 The painting to frame
It is a small oil painting (1) 18.5x26 dimensions made on a hardboard isorel.

 Assembly of cleats
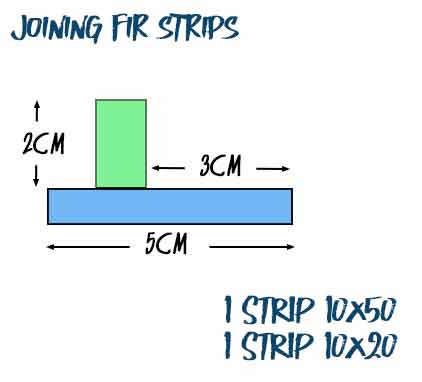
The slats are glued perpendicularly to one another. Stick the edge of the first cleat and stick it on the other cleat 1cm from the edge (see diagram if explanations are not clear).
To maintain during gluing, use small clamps or small tips incompletely depressed and you will tear after drying.
Repeat with other slats so that you have enough chopsticks to frame. Do not put too much glue. This one must not overflow on each side of the collage!
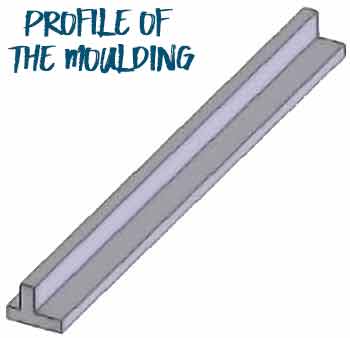
You must obtain a molding in the shape of the diagram.
When the glue is dry, sand with a fine sandpaper to eliminate any defects. Scrape off traces of glue if there are any.
 Cutting bars
Start cutting the first side of your frame with the miter box. Cut a 45 ° angle first. The small side of each amount constituting the box will be 2cm less than the corresponding dimension of the table.

For example, if your art measures 18.5 x 26 cm, then the small edges of the sides will measure respectively 16.5cm for the two shorter and 24cm for the other two.
Thus, your art can be placed at the bottom of the box, covering it 1cm in all directions.
Put in place the stop of your miter box (if it has one) and set it to the correct length. Cut the second angle at 45 °.
Otherwise, you will use this first frame side as a template to draw and cut the second side. By doing so, you will have two sides of the same length.
Continue in the same way to get the other two sides of the frame.
 Joining the box
When all sides have been cut, glue the ends and assemble the box by keeping it flat.
You can then put presses or heavy objects to maintain your collage during drying time or better, use a frame press.
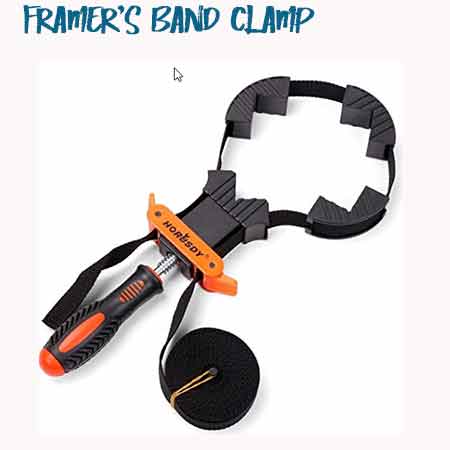
If you have clamps, use them! See FloaterFrame #1 . Put the two clamps in place without tightening them, then, alternating, tighten in one then the other. Check that the angles are right and do not shift.
Do not be worried ... the Pattex polyurethane, once dry, will keep your assembly well.
If, despite everything, you do not trust the assembly, you can consolidate it then with some staples nailed to the back with a stapler wall but it is not essential or better, put V-Nails to join your frame... (look at this Amazon page for these V-Nails)
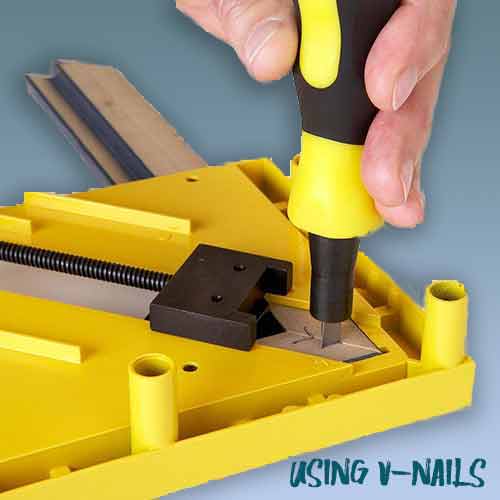
How to use these V Nails ? LOOK HERE
 Sanding and painting
Let the glue dry a day, then sand lightly to remove any wood defects. Hide defects and holes with plaster. Sand then.
The color of the painting you have chosen must, in general, use one of the colors used in the painting (not necessarily the dominant color). It must also be in harmony with the colors of the place where the painting will be placed. In case of hesitation, a slightly shaded white is appropriate most of the time.
Satin acrylic paints that are monolayer or even matte and have a high degree of coverage should be preferred, which have the advantage of drying quickly and not to emit solvent odors.
Spend one or two coats of paint with very light sanding between coats.
 Mounting
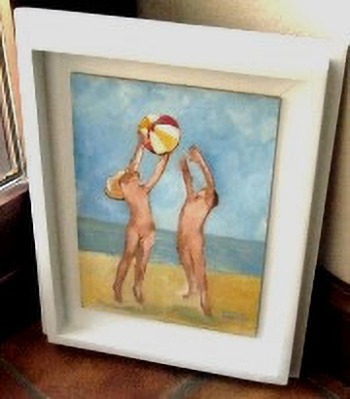
Your table is slightly larger than the inside opening of the frame: show it from the front and fix it from the back with small screws that go through both frame and frame if the board has one.
If your art (like the one shown below) is painted on a hardboard (isorel or plywood), you can put it in place and hold it with small strips of double-sided tape around its entire periphery. If this is a cansvas stretched on bars, you can screw from behind to secure the art in the frame...
See also the "Fix in the frame" page for further explanations.
Next: Making a FLOATER FRAME #3

How to Make Your Own
Picture Frames
Ed Reinhardt, Hal Roger
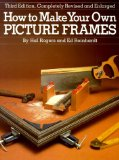
This book covers all aspects of frame construction, painting, mats, glass-cutting and usage. A great book to trigger your own ideas to create custom frames.
Making pictures
frames in wood
Manly Bannister
Create all kinds of picture frames from simple wood mouldings to elaborate carved types.
Frame It!
by Tonia Davenport

Framing isn't something one has to leave to the professional.
With Frame It! readers will learn how to use ready-made frames and inexpensive framing materials to create frames perfect for their favorite photo, piece of artwork, canvases or souvenir.