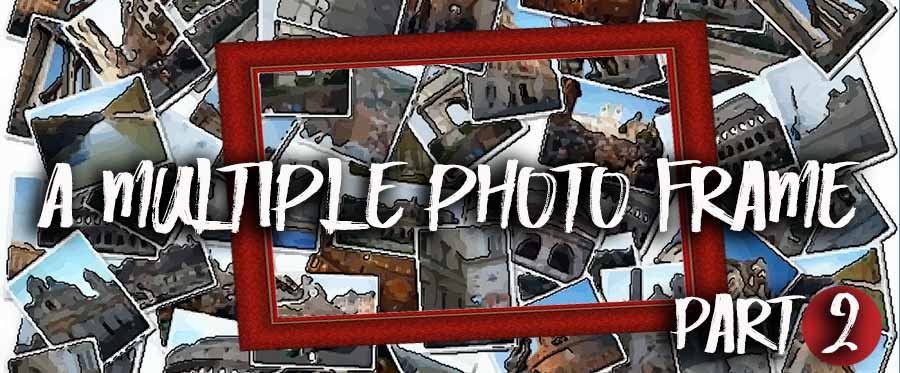
DIY your multiple photo frame :
Making of the wooden frame
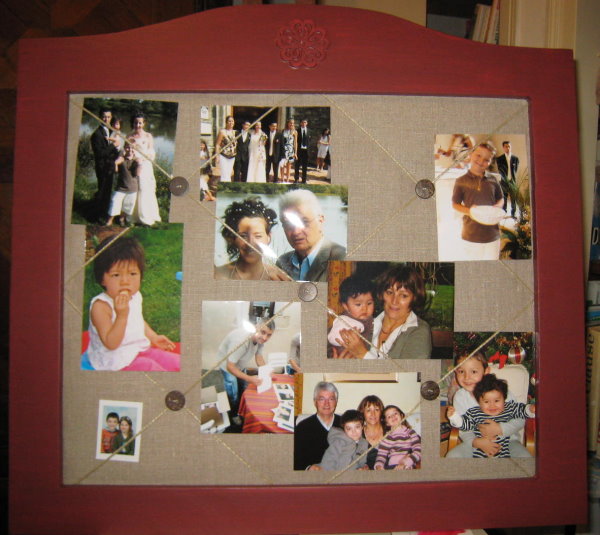
You want to have your last pictures in front of your eyes...
You want to review the last sea side holidays, and change with those of the CloClo's birthday? To snap with pictures of your boy-friend... and put another 3 days later ...

In short, you want an evolutionary frame... where the scenery is not frozen ... and you can change overnight .. then you need a multiple photo frame ! (photo HERE).
In this page, you're making the wood frame... and in this other, you'll make the second part...
Here are all the indications to perform his part!
 The necessary equipment
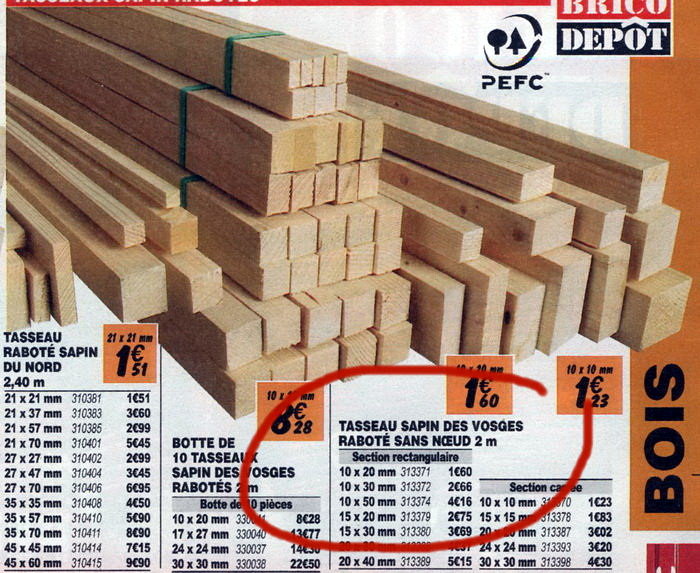
For the wood frame: (cost: less than 12 $)
- Picture framer saw.
- A jigsaw (possibly)
- cleat 2"x1/2" (see Catalog Bricodépôt) Or other of 1cm thick
- cleat 1"x1/2".
- A decorative wood flower .
- Glue wood fast
- A fewnails, a hammer ...
 The making of the frame
The opening of your multiple picture frame must be 20"x16" (50cmx40cm). It determines the sizes of the parts to be cut.
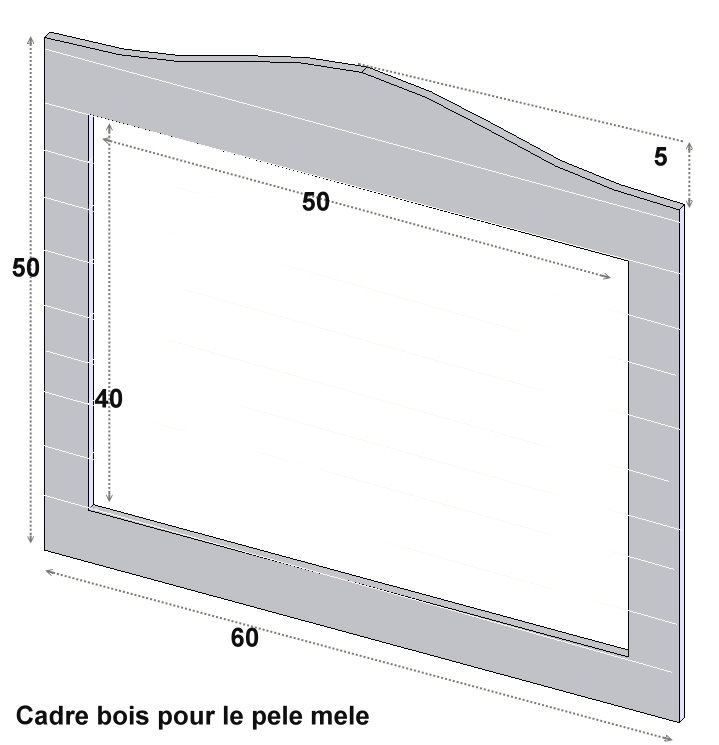
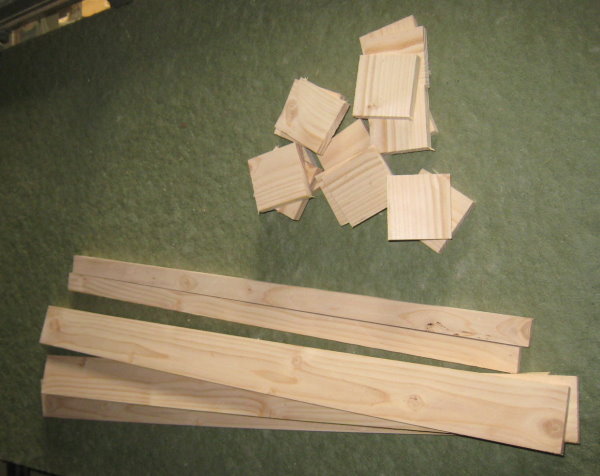
In the 2"x1/2" cleat you cut:
- 3 lenght of 24" (60cm)
- 16 pieces of 2" (5cm).
Then, in the cleat 1"x1/2" (20x10) :
- 2 pieces of 20" (50cm).
To have perfect cuts straight and square, work with the picture framer saw and and the stop (because you have to be sure that all the identical parts must have exactly the same length).
When sawing is finished, lay out the elements well flat to ensure that everything is OK before starting to stick. You may sand any burrs or splinters due to sawing.
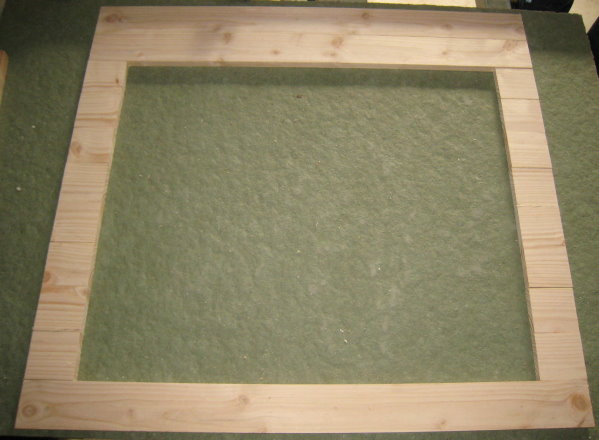
 Joining the frame parts.
Protect your working area with plastic or old newspapers. Glue the edges of the different elements and assemble them progressively face against the table.
Start with the two high elements of the framework…
Do not put too much adhesive ! It's better if it does not overflow the collage! The modern wood glues are so powerful that just a little bit is sufficient to securely hold two parts by their sides!
When all your components are glued and placed, check squaring while you can still move them.
To improve alignment, help you with a piece of cleat and use this piece as a stop pushing the elements on it.

Don't worry for curved part on the top (if you want to make one) you will saw it when glue has dried !
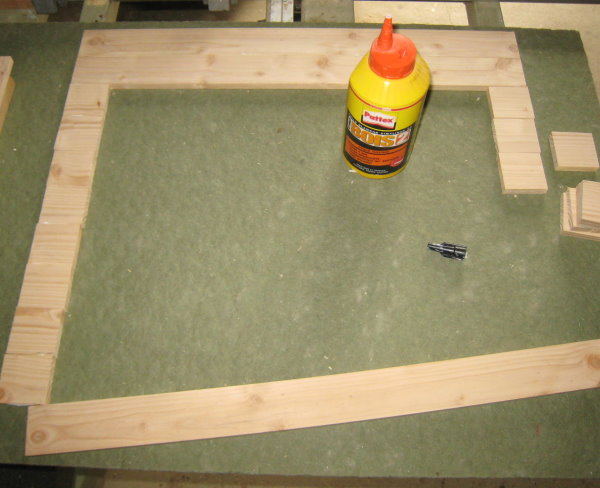
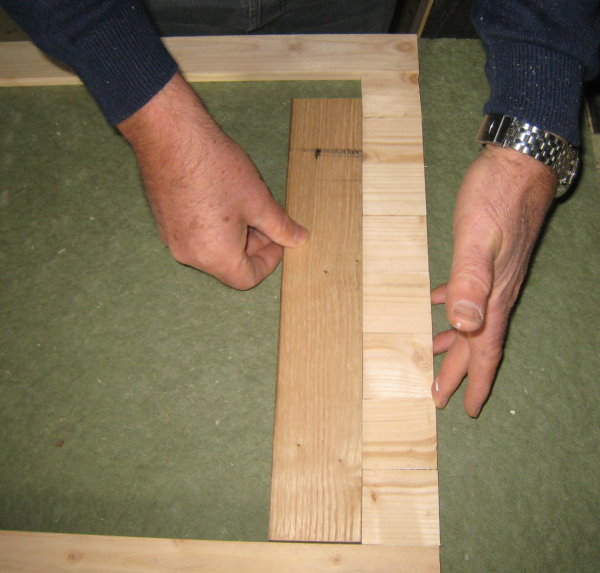
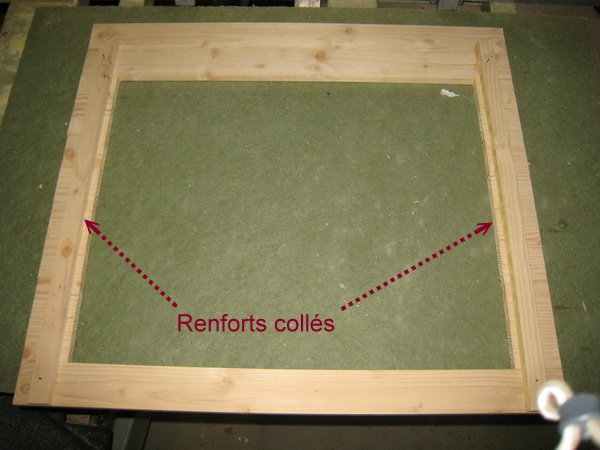
Now glue the two parts of 1"x1/2" (20x10) length 20" (50cm) and place them at 1/2" (1cm) of the opening edges.
You will use them as reinforcements and also like false rabbets. Use for clamping 2 small nails half inserted.
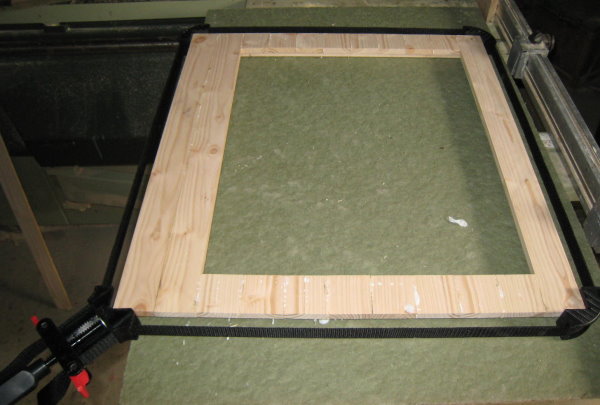
Tighten all ... if you have a Quick Adjust Band Clamp ti's easy ... otherwise use what you have (clamps, stapples...) to keep your part during the drying time.
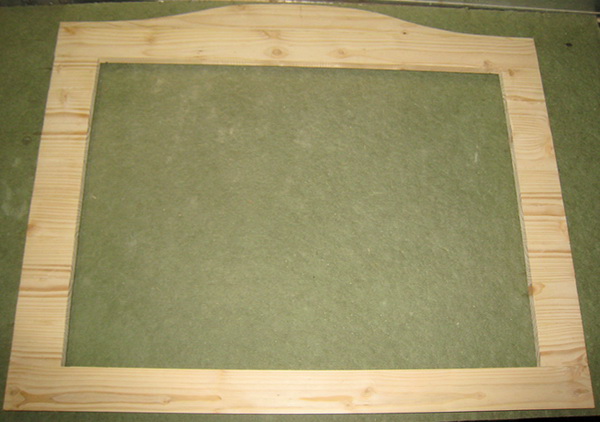
 Draw and cut the capital
To cut the curved part, you'll need a jigsaw ... Note that these cheap small saws, you can find for a low price everywhere, still cut properly. And if you're not a hard handyman, you don't need more sophisticated and expensive tools ! And as long as you keep your receipts ... they are guaranteed for 1 year!
To draw the curved part, the chapiter,you can download the half-model ... HERE. Print it out (select "fit to page") and cut it. It should measure approximately 10" (25cm).
Put it on the top of the frame in its middle, draw with a pen the first part of the capital. Turn the template and draw the second half. Then cut along the outline. Sand carefully because the cut that is rarely clear!
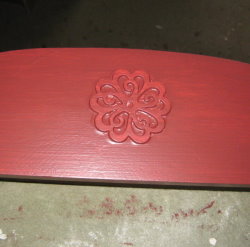
At the center of the capital, paste a wood cut flower-shaped or otherwise as desired.
 Finishes
Sand again the face of your frame. Filling in any holes with coat of plaster. Give a final sanding before painting with acrylic resin paint.
A first coat slightly diluted ... which will dry quickly. Sand again lightly before adding a second coat with the color you've chosen.
For my multiple picture frame, after the first primer coat, I've paint 2 coats of dark red Lindin.
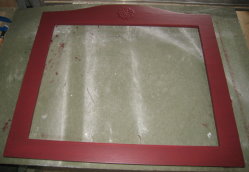
Two peaks screwed back, a wire, it's ready for hanging!
But before you've to make the second part of the MPF to place it in this frame...
How to Make Your Own Picture Frames
Ed Reinhardt, Hal Roger
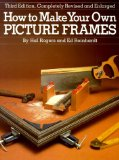
Excellent book for the beginner. Clear and concise. Excellent step-by-step instructions with photos for each and every step.
This book covers all aspects of frame construction, painting, mats, glass-cutting and usage. A great book to trigger your own ideas to create custom frames.
Wood finishing...
Bob Flexner
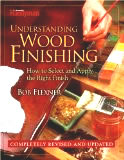
I have bought a number of books on woodworking, as well as a few on wood finishing.
This is by far the best book on finishing that I have come across.
The book takes all the mystery out of all the different types of finishing materials and finishing processes...
Diary of a Wimpy Kid DIY book
by Jeff Kinney

(click pour +)
>Now every kid can write like a Wimpy Kid!
An exciting companion to the bestselling Diary of a Wimpy Kid series.
“First of all, let me get something straight: This is a journal, not a diary.”...