Scrapbooking album made with coffee filters
STEP BY STEP COFFEE FILTERS MINI ALBUM
 How long do you scrap?
I started in early 2006
What do you prefer to Scrap?
Find new ideas for sketches, make pages and mini album the most original as possible and give pleasure around me in offering altered books, decorated boxes, canvas ... etc ...
What are your favorite colors?
Blue, blue and blue !
What brings you scrapbooking?
Scrapbooking allows me to embellish all my photos which are highlighted. The albums are more fun to watch, I like to show them to my family and friends and share all my creations on the Internet... This creative leisure also makes it is possible to excell myself and seek novel methods in order to be different. This is also a way of escape from my everyday life and immerse myself in my memories and make them live.
 Equipment used for this coffee filters album
Materials you need to make this album:
- Coffee filters (here I chose the size in number 4)
- Scissors and cutter. - paper trimmer if you have.
- Cutting Mat
- Rule / glue / Papers /
- Various embellishments: (ribbons, brads, flowers, ribbon pass, magix mesh etc ...)
 Coffee filters album making of
 STEP 1
Choose your photos and their locations in the album (those who are stuck on the front of the filter and those that will be inserted within the filter).
Position them front of you.
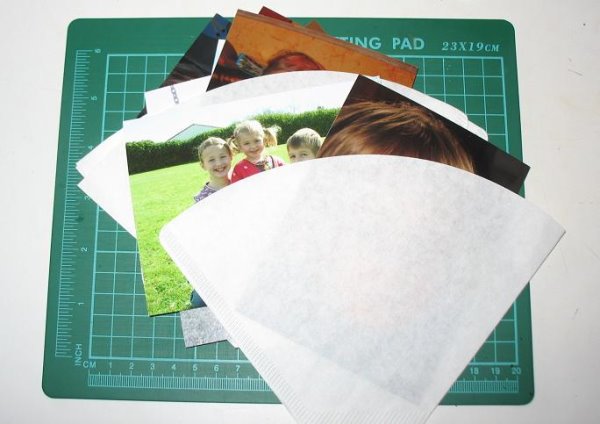
CAUTION Prepare your album while thinking about putting ALL the coffee filters in the same direction!
TIP : You can make a gauge using the cardboard box of your filters. The model is on the back, just cut it!
Sometimes the models on the back of boxes represent the outside or the inside of the filter (it depends on brands).
In my explanation, my template was with external dimensions of the filter.
 STEP 2
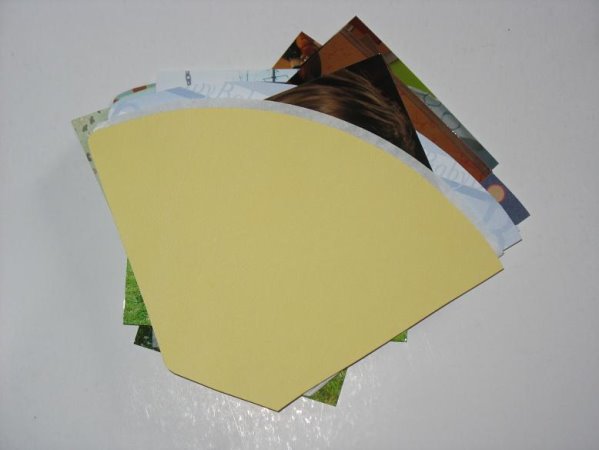
Preparation of the outside of filters: Cut as many papers as the faces of your coffee filters using the gauge.
For making my album, I need 5 coffee filters. I prepared 10 cuts so that I'll stick in front and behind of the filters : 5 cuts recto and 5 cuts verso (note this is important because the coffee filter has a rounded corner: so, be careful with your cuts!).
Warning: take rather a plain paper for the first coffee filter because it will be the cover and coordinate the color of your papers according to your photos.

 STEP 3
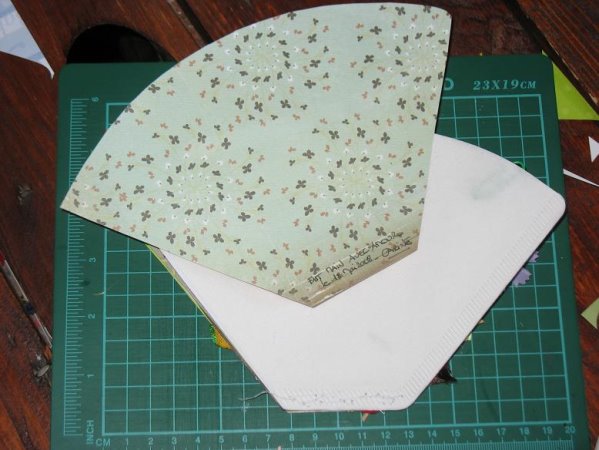
reparation of the interiors (guides) of the filters:
Cut out as many papers as coffee filters using your gaugee. Here, I cut 5 FACES (recto)! so that the spacers fall into each filter.
You can if you want to put a smaller gauge! So, your dividers will not exceed.
Once your cuttings are finished, lay out them with their place in order to see your album. .
Tip: Keep your scraps of paper, they can serve you for matting your photos, embellish your pages .... etc.
 Step4
Step4
We'll start making the album. We deal first with the first interlayer because the cover will be made at the end.
You can crop your photo as you want, or leave it as is. You decide ....
Then just paste your photo on your interlayer and embellish it according to your tastes and your equipment!
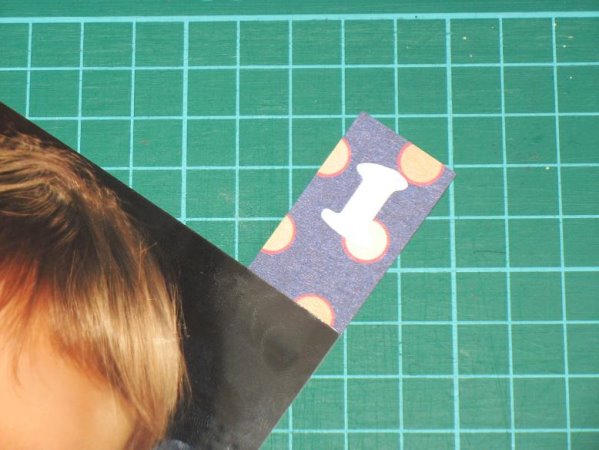
I propose in my album to put numbers on each insert to allow the user to navigate easily ....
If you want to work so, here's my explanation: Make first the number because it will be integrated under the photo or under an embellishment in order to hide the cardboard. Cut a very thick paper cardstock like or a thin cardboard (but in this case you've to cover it with printed paper) Size: 2X5cm. Paste it under the picture or under the interlayer or under an embellishment.
 STEP 5
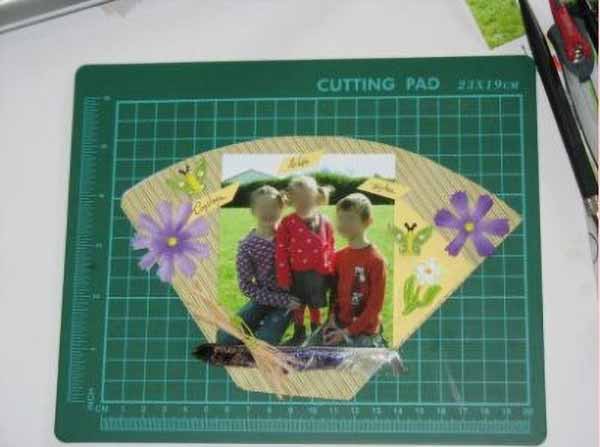
To embellish my first interlayer, I select some scraps of paper, I cut circles that I glue on the guide for matting the photo.
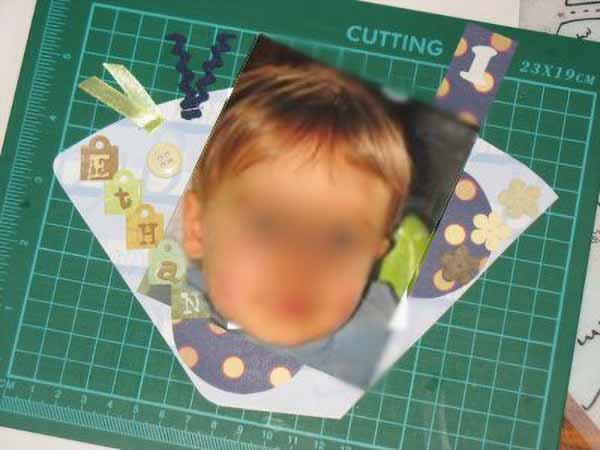
I use a self-adhesive alphabet tag for the title.. I add some flowers and I stapple matching ribbons and buttons.
Once finished, simply place it in the first filter. Repeat in the same way for the other guides.
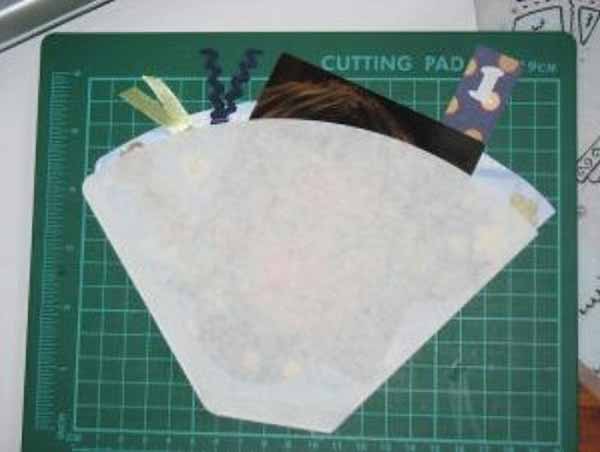
STEP 6:
Now, we'll make the front page of the album.
I take my first cut paper Recto and my photo. I cut my picture, I stick paper offcuts on my paper, and I stick .. Then simply embellish as I did previously. The cover will be stuck on the first filter at the end of the assembly… as well as the back of the last page…
WARNING: according to the glue you use, it is better to put a cardboard template inside the filter (if you've cut the gauge on the filter box initially, he will do nicely) to prevent it from sticking on the other side.
Once you've finished all embellish your pages and dividers, glue the paper under the back of each coffee filter.
Depending on the thickness of the paper, I suggest you to put the coffee filter once stuck in a thick book to flatten it during drying.
ATTENTION TO NOT STICK ON THE BACK OF THE LAST FILTER NOR THE FACE OF THE FIRST FILTER.
 STEP 7
Once completed the inserts and pasted your pages EXCEPT the front cover and back of the album, we will bind the pages. Bind only the coffee filters as on the photo (I mean you do not put the spacers).
CAUTION: IT IS IMPORTANT THAT ALL THE COFFEE FILTERS ARE PERFECTLY SUPERIMPOSE BEFORE BINDING.

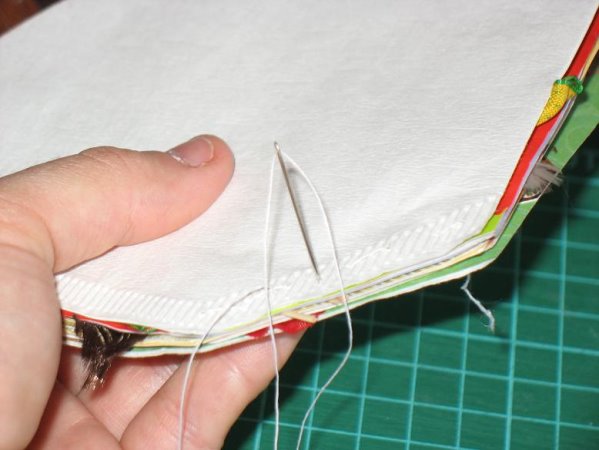
 STEP 8
With the help of a needle, thimble and thread, I sew the bottom of all filters, and this with several points.
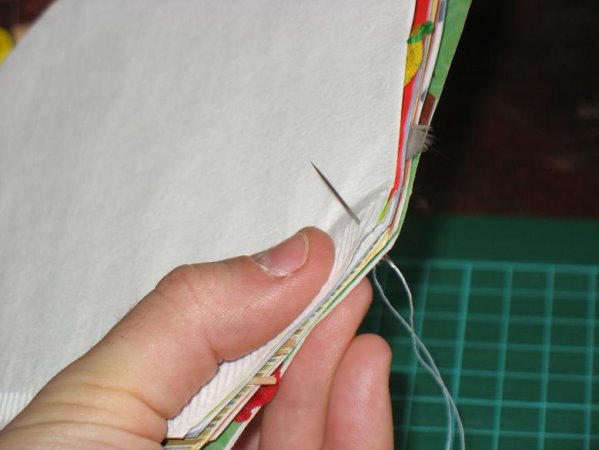
Caution: You've to sew well right and not in zigzag. If not the seams will be seen when you will browse your album.
 STEP 9
Once sewing is completed, you can paste the back cover... And embellish it if desired!
It only remains to make the album cover. Embellish to your liking and paste this page!
Add all your spacers and admire your work! Your Mini ALBUM IS FINISHED!
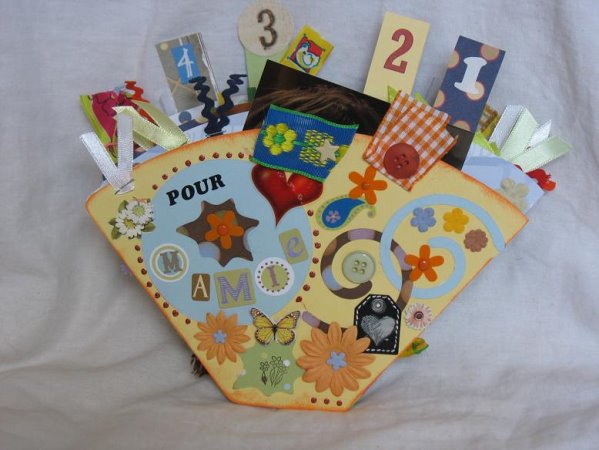
Good srap!
![]()
Encyclopedia of scrapbooking Creating Keepsakes
Introducing the scrapbooker's new best friend. When it comes to making the most of your memories, take a page from the Creating Keepsakes experts.
 (click to enlarge)
Beginners and more experienced scrapbookers alike will turn to this hefty new reference guide time and time again for helpful insights and daily inspiration on tools, techniques, layouts - plus all the can't-miss tips you'd expect...
my opinion : one of the best !
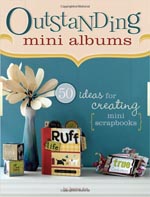
OutStanding mini album Jessica ACS
Mini albums have become a popular medium for scrapbookers - they are small enough to complete in a timely manner but big enough to tell a story.
 (click to enlarge)
Features 50 albums with step-by-step instructions for over 30 projects - perfect for scrapbookers of all levels.
my opinion : if you love mini album... it's the right book !
Make It in Minutes : Mini-Books. Roxi PHILLIPS
So many styles, so many reasons to make them !

Every one of the 45 projects is charming and quick to craft and is perfect for celebrating everything from holiday memories to childhood events...
My opinion : All the basic techniques are covered, along with plenty of tip boxes and many advices on choosing paper and other materials.