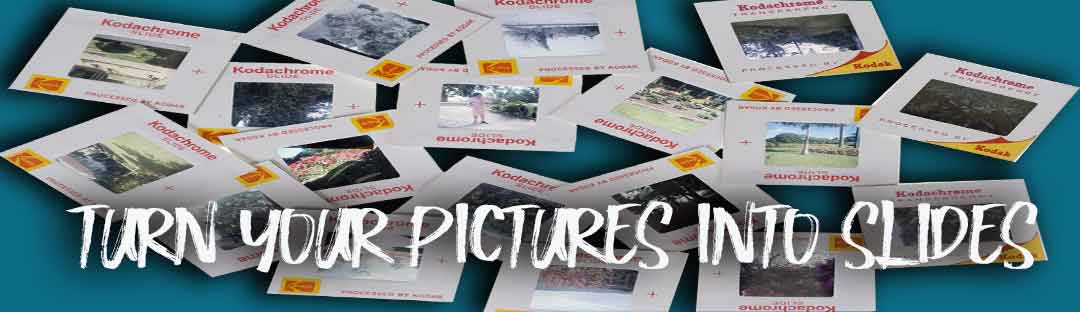
Turn your photos into slides
How to make slides with your photos
A series of photos ... Why not turn them into slides?
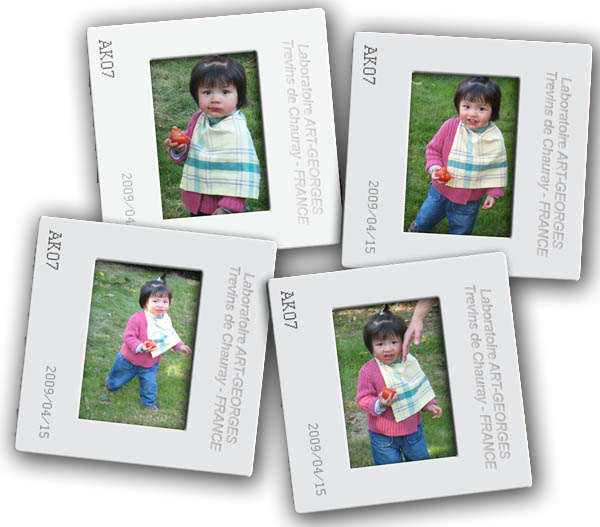
That may help to give good vibrations to a page of digital scrapbooking!
It's quite pleasant, isn't it? And it gives a vintage look to your scrapbook pages!
So, if you want to try, start your PHOTOSHOP ... and lets go!
You can build your own slide (cover slide) or scan one slide you have or use this ready one... or to DOWNLOAD HERE
 SLIDE MAKING OF
A slide mount measures 5cm x 5cm ... and its window 3.6 cm x 2.4 cm. These dimensions will serve as our base.
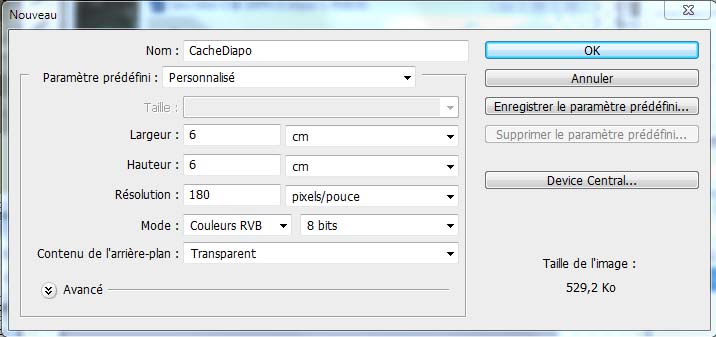
![]() Start creating a new image named CacheDiapo, fully transparent, 180dpi and 6cm on 6cm a little larger than the slide... to have a little room to work.
Start creating a new image named CacheDiapo, fully transparent, 180dpi and 6cm on 6cm a little larger than the slide... to have a little room to work.
![]() . Choose the rounded rectangle tool, Attach the radius to 10 pixels and draw the shape that will fill almost the image:
. Choose the rounded rectangle tool, Attach the radius to 10 pixels and draw the shape that will fill almost the image:

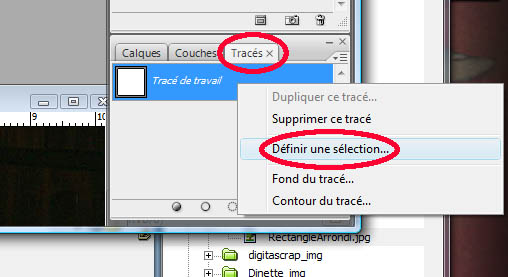
![]() Right click on your rounded rectangle and choose Make Selection in the dropping menu. Finish by filling the selection with the bucket paint tool with light gray. (Of course ... you can go faster by selecting ... layer forms menu tool path... but do nothing complicated here!)
Right click on your rounded rectangle and choose Make Selection in the dropping menu. Finish by filling the selection with the bucket paint tool with light gray. (Of course ... you can go faster by selecting ... layer forms menu tool path... but do nothing complicated here!)
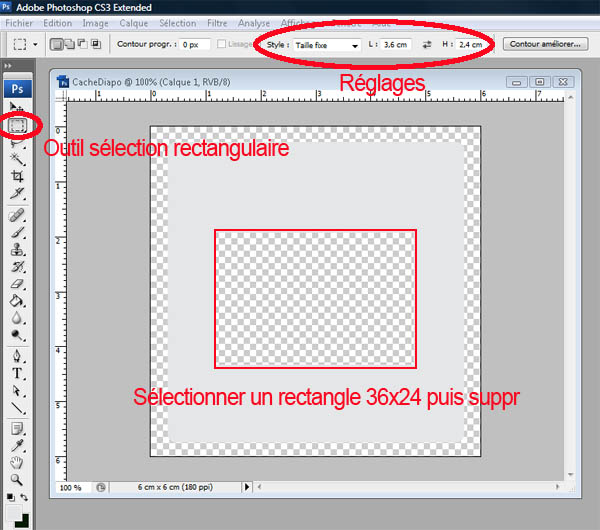
![]() Unselect. Repeat with the rectangular selection tool. Choose Fixed Size in Style then L: 3.6 cm and H: 2.4 cm (the windows of our slide)
Unselect. Repeat with the rectangular selection tool. Choose Fixed Size in Style then L: 3.6 cm and H: 2.4 cm (the windows of our slide)
Select then a rectangle the center of your image ... Obviously, if you want to be precise, we should draw lines from the reference graduations ... but this is simply to give ideas ... You can move your rectangle with the keyboard arrows... to place it gently.
Then delete the rectangle by pressing Delete (Del)
![]() The shape of your slide is over ... you'll give it a little thickness.
The shape of your slide is over ... you'll give it a little thickness.
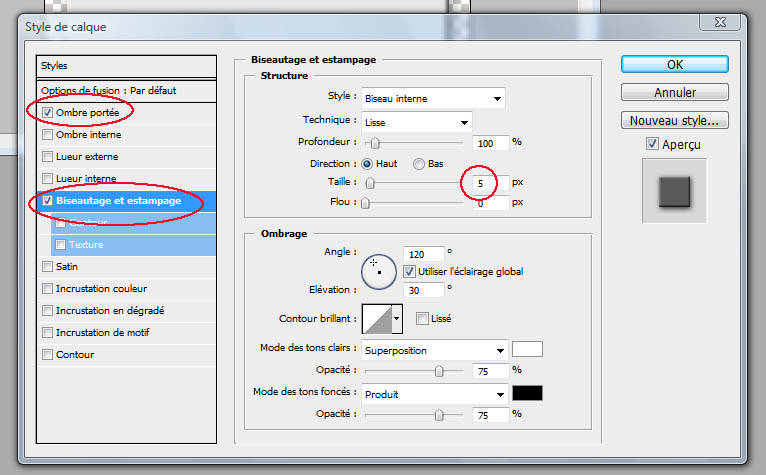
Select Layer 1 in the layers window, then clicking fx (or double click on layer 1) shows the blending options.
Check shadow and Bevel and Emboss where you let the basic settings.
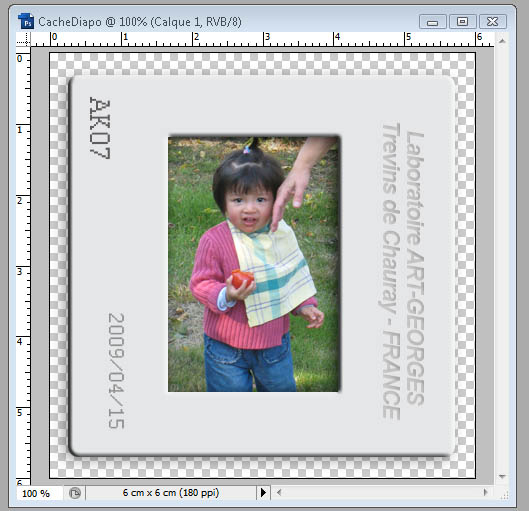
Your slide is almost finished ... For a little more realism, I invented a laboratory ... a date and serial number fake ... written on the cover with very pale ink.
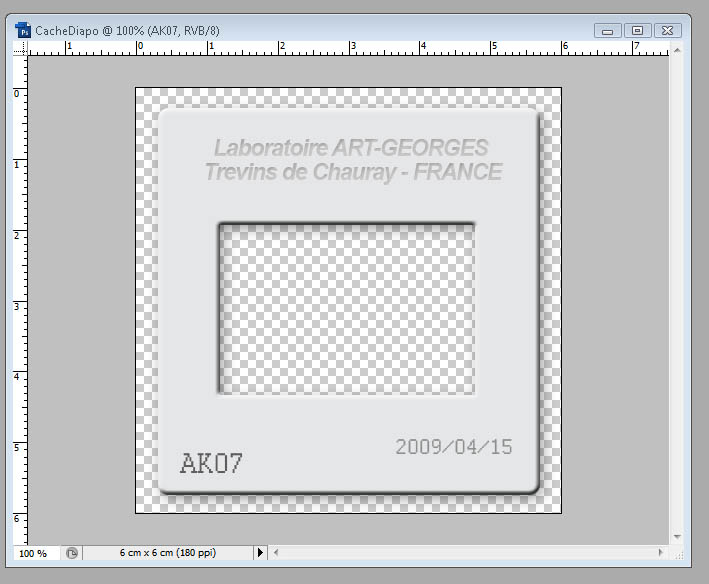
So far for the slide : Rasterize different texts and merge all layers.
Save your cache slide . psp format ... or . png format (that is so easy to use...)
 Placing pics in the slide cache ...
Open your slide in Photoshop... Now open the different photos to be put inside...
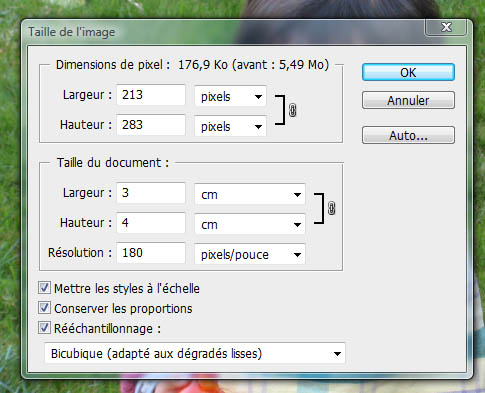
You must first adjust the image size to those of the cover slide ... To do this, Image> Image Size and adjust the dimensions a little larger than the window of 2.4 cm by 3.6 cache. I chose 3cm by 4
Then drag on it the image of the slide ... Don't forget to rotate the slide if necessary using Edit> Transform> Rotate 90°.
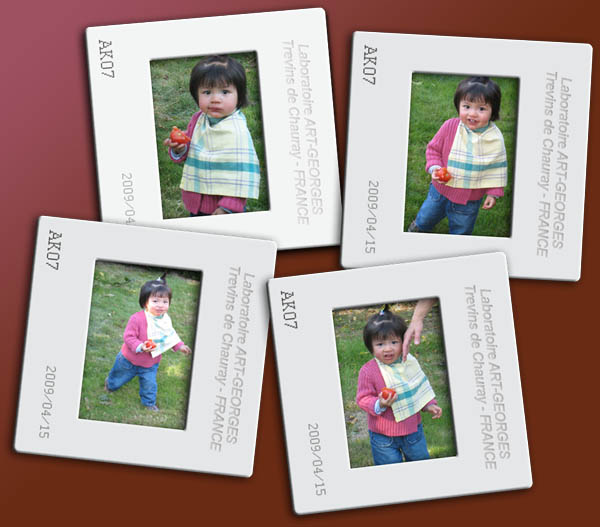
Make sure all is OK before merge the layers ... Create a new document bigger and drag your first slide into...
Return to the second photo, Resize it and drag ont it the slide... repeat the same treatment... and so on ...
Arrange the slides as you wish ... Rotate them (Ctrl + T) at your convenience ... Serve hot!
Visual Start Guide
photoshop CC
Hallelujah!!! A Photoshop book that indicates new or improved Photoshop features!
Adobe Photoshop CS6
Class room in a book
With 14 lessons I was able to cover most of the book in two weeks, spending about 2 hours a day

Learning Photoshop
Complete Training
This Book Teaches You Complete Photoshop CS With Pictures And Practical Examples, Best For Learning A Professional Course.