

All pages decorated will be visible on my blog, to get them by mail, just my contact me and I sent you the file.
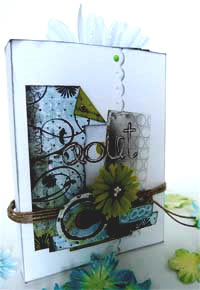
 Mini-album Sleeve
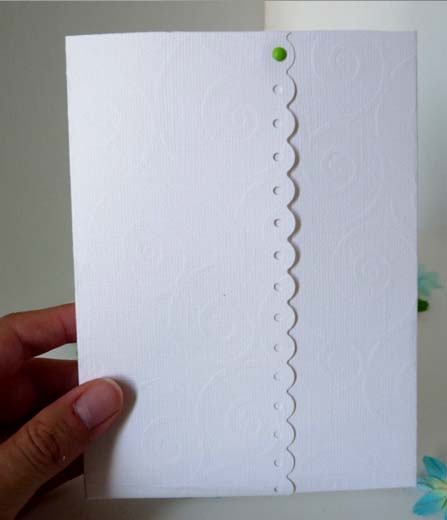
Take the white paper cut in step 1. Make the folds as in the diagram below:
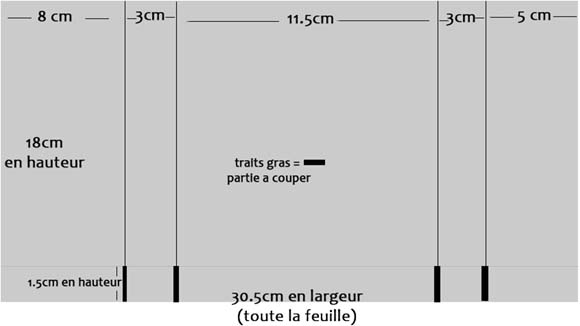
You can scallop (or tear or make any other form) on the side of 8cm (after scalloping = 7.5cm).
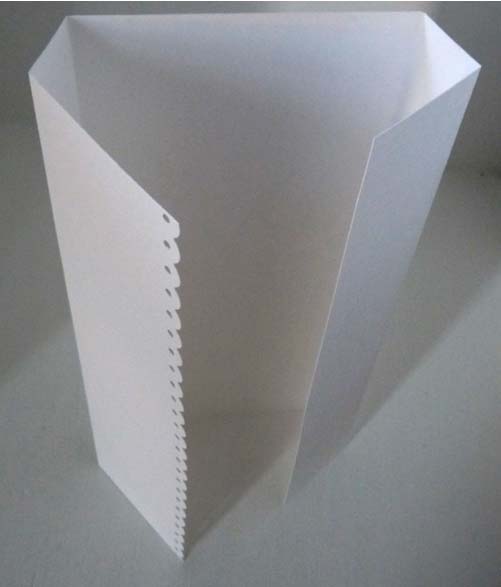
You have then to fold the bottom or staple it, or paste it (it will also add a strip of paper so that the staples or glue can not be seen after the fact).
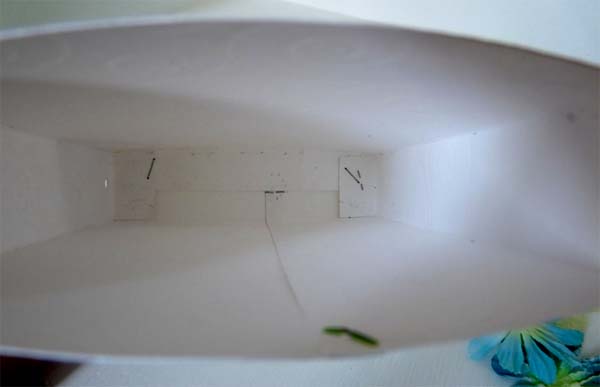
It is normal to have a small gap/blank (background) which will not be sawn after pasting the piece of paper on top.
You can put a small brad at the top to well make hold the structure (or paste the entire height below the swag. I have not had to do that, this is just good with a brad) and a clip on the middle that will not be sawn when the box will be decorated, in order to properly maintain it.
Then you have to decorate it with paper and embellishments. To make a nice closure, do as follows:
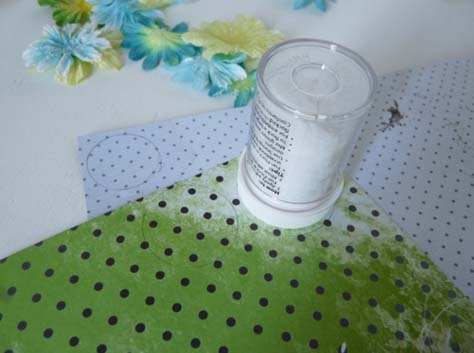
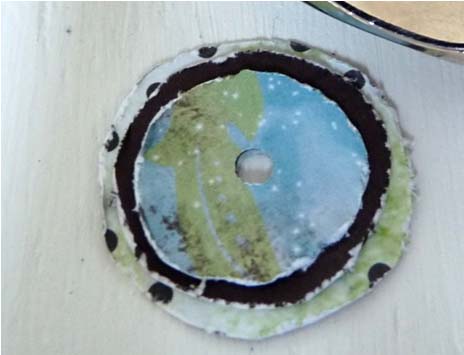
Cut 3 rounds in different papers (or use different front back), no need to cut right round, the opposite!
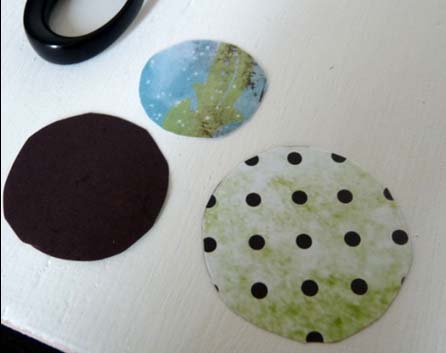
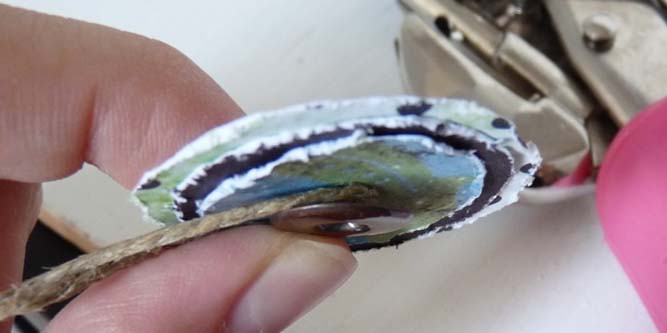
Using the blade of a scissor (or sandpaper) scrape the edges of the rounds in a very rude manner, they will bend a little, that's what makes the charm. Put them on each other.
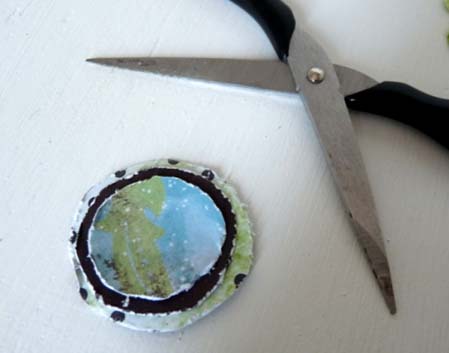
With the Crop-a-dile punch a hole (with the large hole) in the center of the 3 rounds.
Take the eyelet and the cord supplied in the kit, pass the rope behind the eyelet, making 2 rounds ...

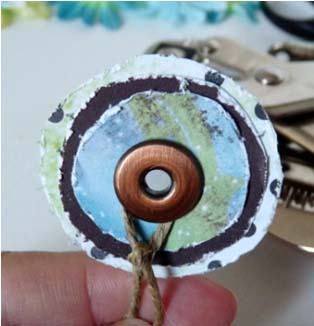
Place the eyelet in the round and flatten it with the Crop-a-dile (if you do not have Crop-a-dile, try another tool, but it is better to do only one turn with the cord so that everything takes time to flatten the eyelet with a hammer for example).
Then make a knot, loosely. DO NOT CUT ABOVE THE REST OF CORD, let it hang as an embellishment.
When you've decorated the box (think of this embellishment before pasting!) made 1 or 2 turns with the rope, pass in the first round and tie a knot, then glue the round (or paste it first and go around and try to pass the string below, if possible.
Iil is difficult for me to properly explain this step (yet is very easy to do!). I've put the rounds on a 3D foam to give relief, and added some embellishments.
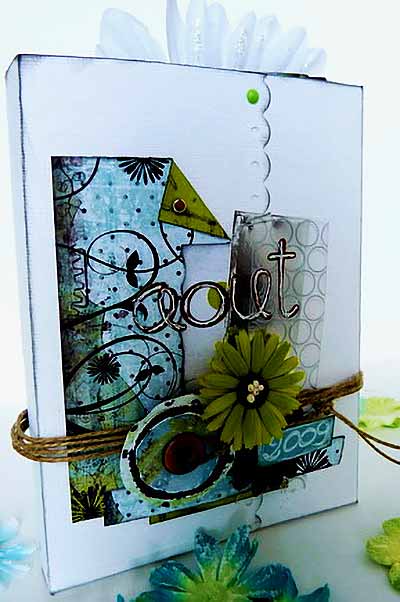
All details are on the mini blog (decoration). Thank you!
![]()
Encyclopedia of Scrapbooking
Creating Keepsakes

If you have only one book of scrapbooking to buy...
Outstanding Mini Albums:(Paperback)
Jessica Acs (Author)
Mini albums have become a popular medium for scrapbookers - they are small enough to complete in a timely manner but big enough to tell a story.
Features 50 albums with step-by-step instructions for over 30 projects - perfect for scrapbookers of all levels...
Make It in Minutes
Roxi Phillips (Author)
these mini-books are perfect for celebrating everything from holiday memories to childhood events

So many styles, so many reasons to make them! Whether they’re accordion folded, stitched together, ribbon-tied, or paper-punched and bound with binder rings...