You're the star !
How to put your photos in a magazine
Have you never dreamed of a magazine in which your children or friends are the stars ? But you do not know the chief editor of VOGUE...
No problem ! It's perfectly possible ... and easy ... with PHOTOSHOP ... if you follow this step by step tutorial !
If you prefer The Gimp, PhotoImpact or Photofiltre ... you can easily translate because the used functions are standard!
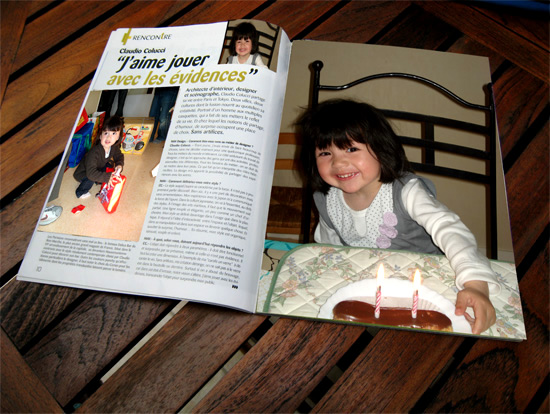
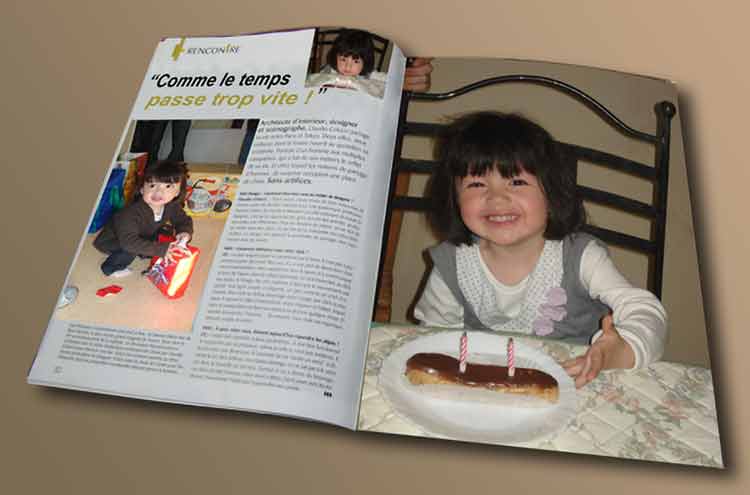
And here is an example of what you'll get to the end of this tutorial ... example that will adapt to your preferences, of course!
 How to start
Start by shooting pictures of magazines open on a table ... Choose your photos to integrate ... If you prefer to work with photos from this tutorial, you can DOWNLOAD THEM HERE.
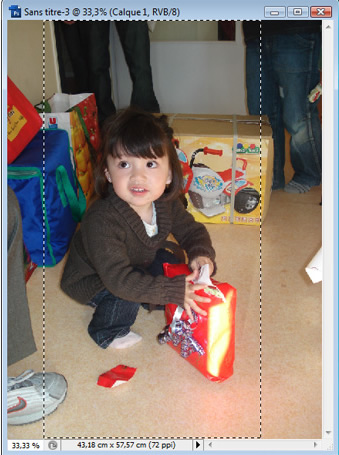
Then, open the photo of the magazine ... Also open the 3 pictures that you want to integrate ...
![]() We begin with the right page ! On the magazine...
We begin with the right page ! On the magazine...
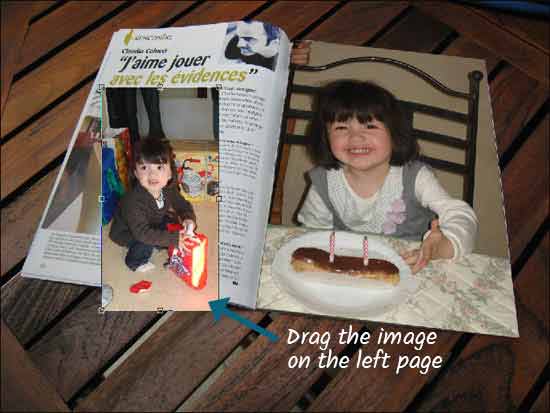
With the Move tool, drag your first photo onto the magazine. A new layer opens, name it PageDroite.
Use Edit> Transform...If necessary, increase or decrease the size of your PageDroite to fit with the proportions of the magazine page.
Hold down the CTRL key and operate the handle at the top left of the image to get on the top left corner of the image of the magazine ...
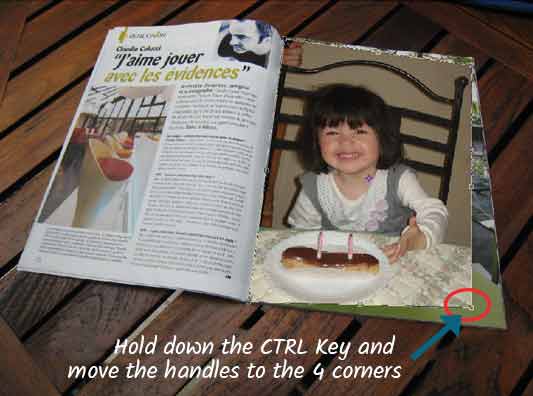
While still holding down the CTRL key, use the handles to move them to each corner of the right page.
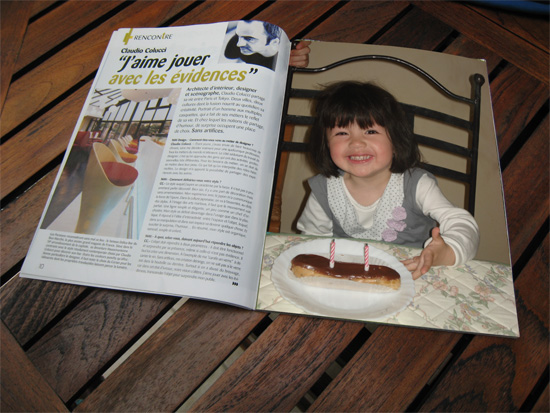
Your image now right covers the page!
![]() Now open the second image to integrate it...
Now open the second image to integrate it...
You notice the picture on the magazine is relatively length stretched. With the tool Rectangular marquee try to select an elongated rectangle on your image:
Press Ctrl + C to copy this selection, then, in the same manner as the previous image, drag it on the left page of the magazine.
Make Ctrl + T (or Edit> Transform) and, while maintaining Ctrl button key depressed, drag the handles so as to cover the second image of the magazine.
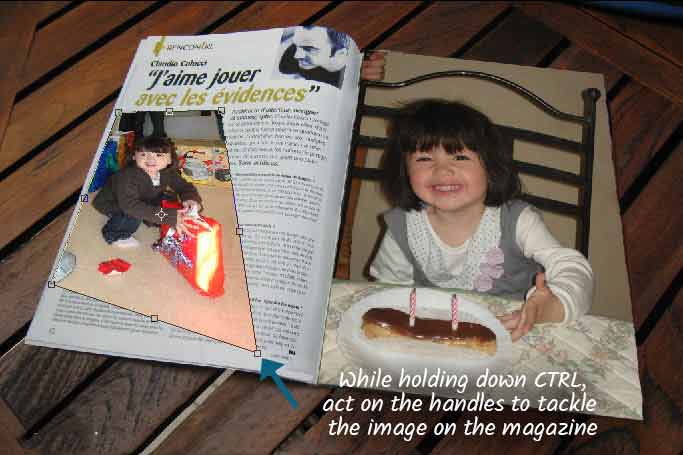
Validate when the result will be correct...
![]() It remains to place the small image on the left top
It remains to place the small image on the left top
You notice that it follows the curve of the magazine. Start by selecting a portion of your image in place respecting the shape of the place : here almost a square. Copy your selection and drag it onto the magazine.
Make Ctrl + T (or Edit> Transform) and adjust the size of your selection on the site. Remember to rotate the selection to bring its edges parallel to those of the site. Confirm.
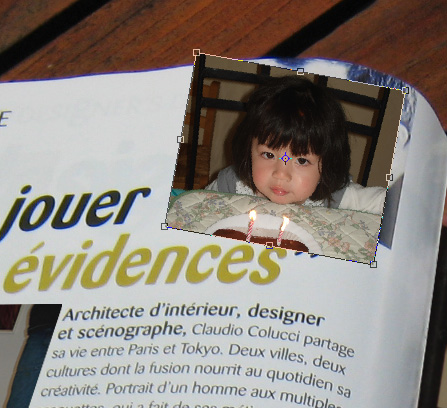
Now misrepresent your selection to the round shape is: do Ctrl+T. A grid appears, drag on the grids and push the handles to adapt the best the selection to the round shape.
You can always go back after Ctrl + Z if you do not like ...
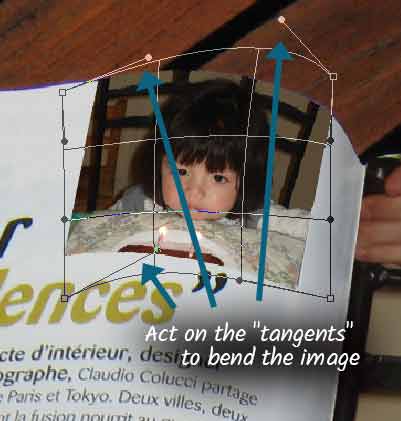
Validate when the result is satisfactory ...
If you want to have a perfect result, also change the titles with the same method ... You're done! Happy reading!
Encyclopedia
of scrapbooking
Creating Keepsakes
Introducing the scrapbooker's new best friend. When it comes to making the most of your memories, take a page from the Creating Keepsakes experts.

(click to enlarge)
Beginners and more experienced scrapbookers alike will turn to this hefty new reference guide...
my opinion : one of the best !
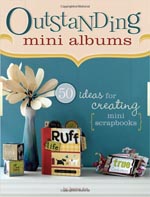
OutStanding
mini album
Jessica ACS
Mini albums have become a popular medium for scrapbookers - they are small enough to complete in a timely manner but big enough to tell a story.
(click to enlarge)
Features 50 albums with step-by-step instructions for over 30 projects - perfect for scrapbookers of all levels.
my opinion : if you love mini album... it's the right book !
Make It in Minutes :
Mini-Books.
Roxi PHILLIPS
So many styles, so many reasons to make them !

My opinion : All the basic techniques are covered, along with plenty of tip boxes and many advices on choosing paper and other materials.