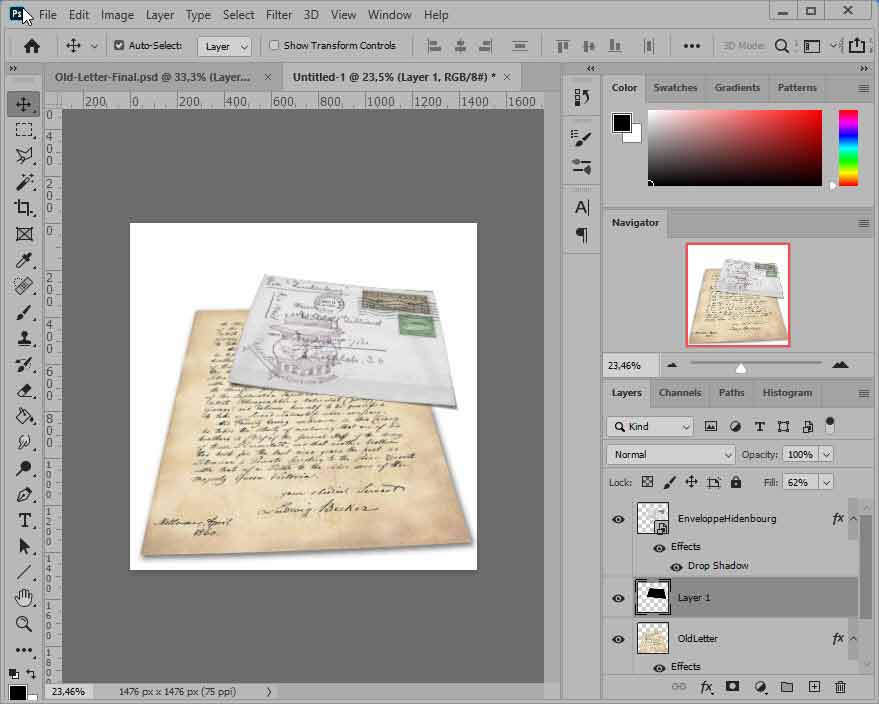
Put your photos in the spotlight!
Final Layout
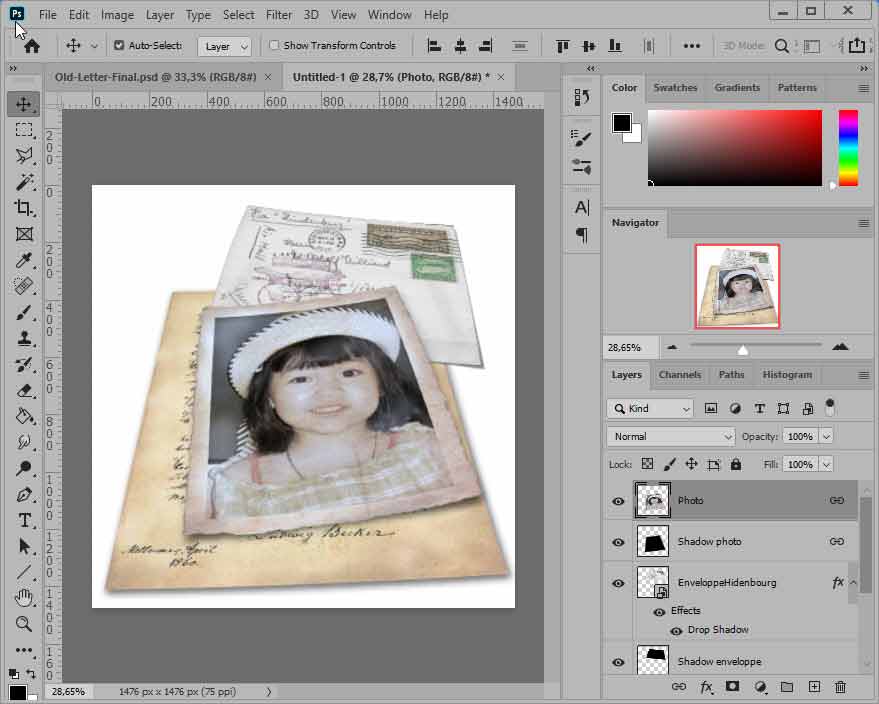
In this page, you will present the different elements you have worked on in the previous sheets....
 Setting up the old letter
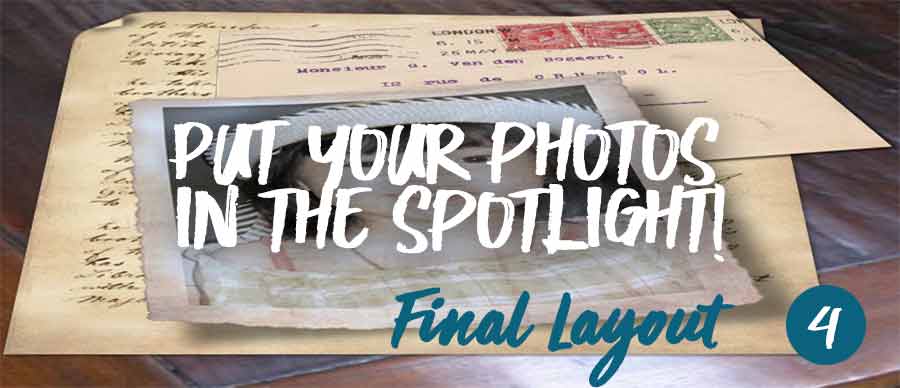
In Photoshop, choose File>New and create a new image, 30x30 cm to 72dpi, with a transparent background (or not, at your convenience).
In our staging, the letter will be underneath, covered by the envelope itself, partially covered by the photo.
Open now the image of the old letter you will need: the handwritten sheet... and drag it to the page! This creates a new layer called "OldLetter".
You will now give the perspective effect by first typing Ctrl+T, then while holding down the Ctrl key, act with the mouse individually on the "handles"... Don't forget to validate when it's convenient for you.
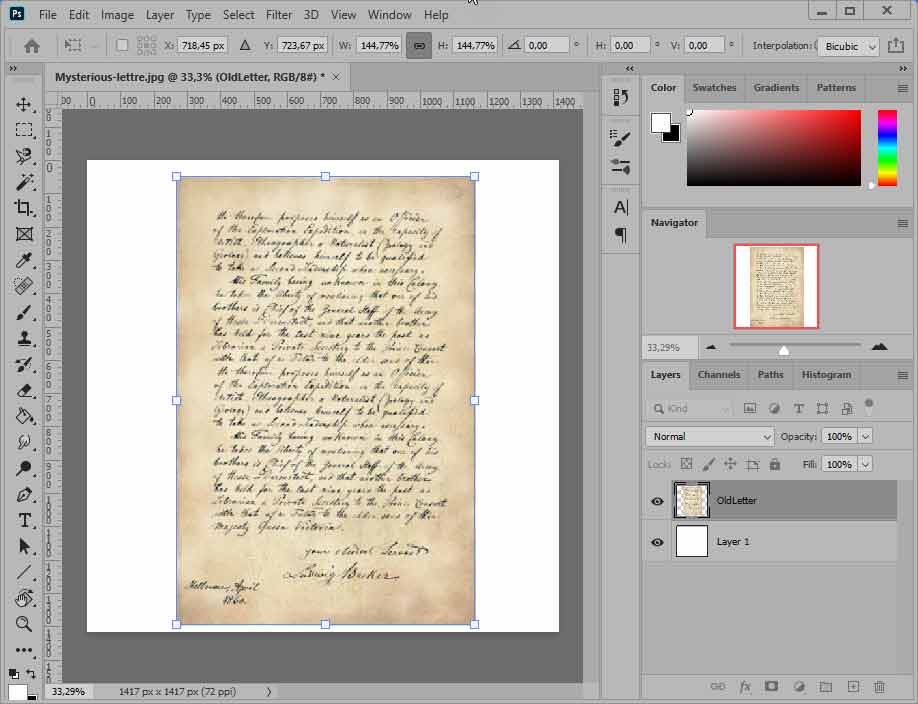
To finish this first step, give a slight drop shadow to the letter to give it a little thickness....
Confirm by clicking on OK.
 Work on the envelope
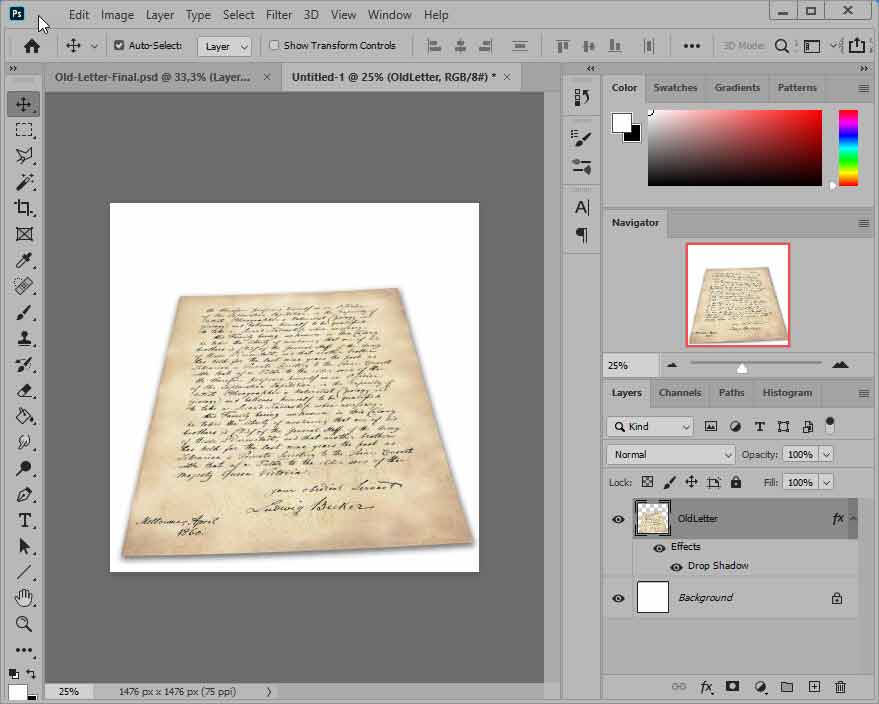
It is now time to open the image of the envelope and paste it on our image under construction.
This creates a new layer that you call "envelope".
Again using Ctrl+T to display the "handles" and holding down the Ctrl key, act on each handle individually to give an impression of perspective.
Here, using the curved photo technique, I slightly deformed the envelope and assigned it a slight drop shadow...
Don't worry if the elements don't seem to you to be in their final place.... As they are all in separate layers, you can come back to them later and replace them individually if the layout or orientation of the layers needs to be reviewed.
 Placing the photo
Finish by dragging the vintage photo over the whole. With CTRL+T, rotate your photo to bring movement into the final image....
Redispose the 3 elements until you are satisfied with the result....
All that remains is to drag an image onto the background layer...
I chose a photo of an old waxed table that reinforces the idea of ancient times and I call this layer "wooden structure".
You get the final result... to which you only have to add the journaling!
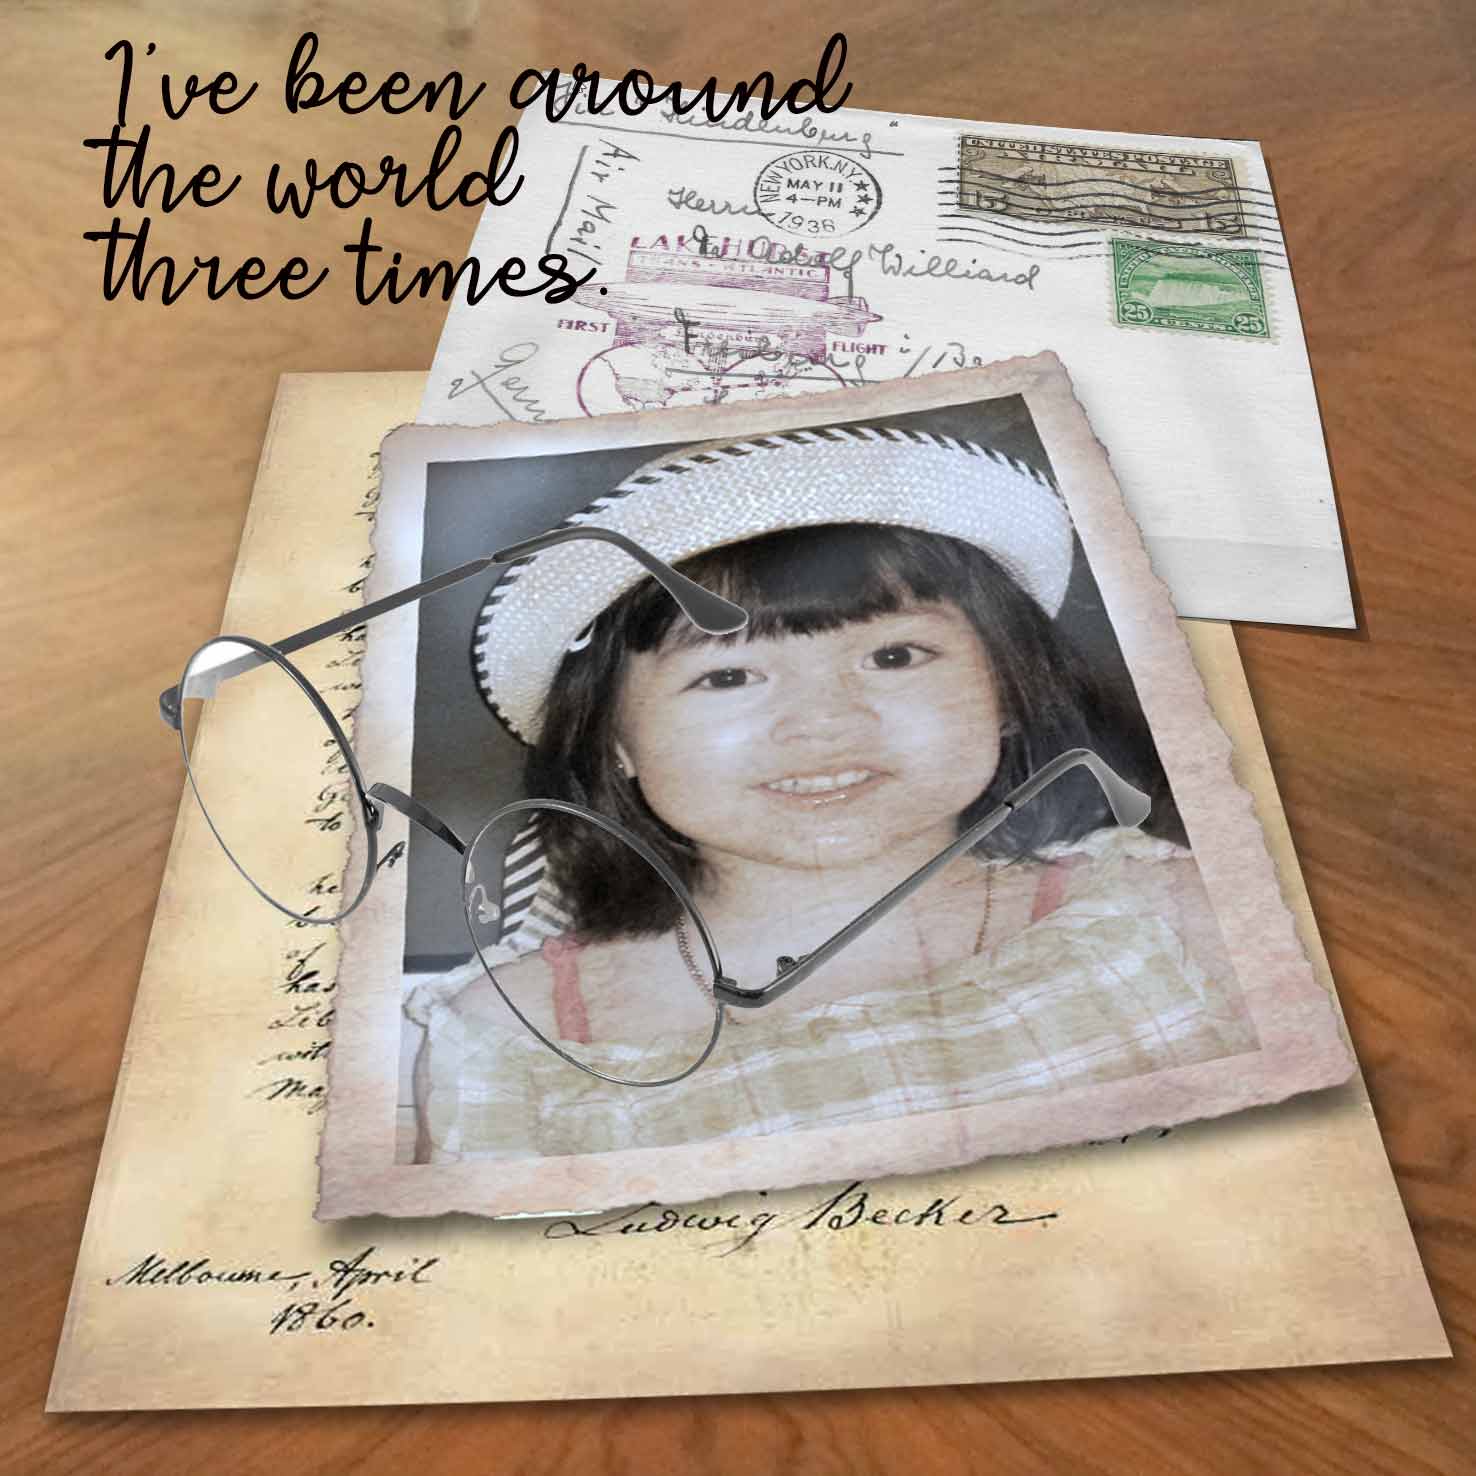
To give a little more variety, I added these glasses to the composition.... I just wanted to smile a little!
It's up to you to try it now!